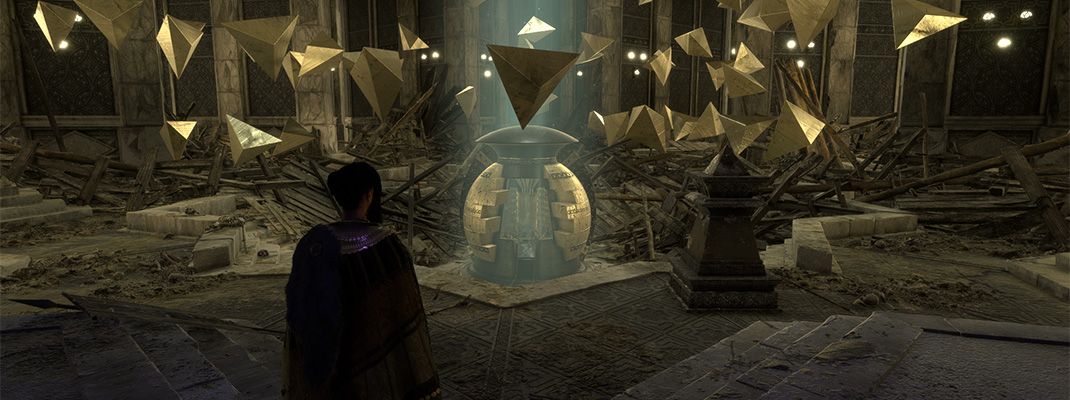
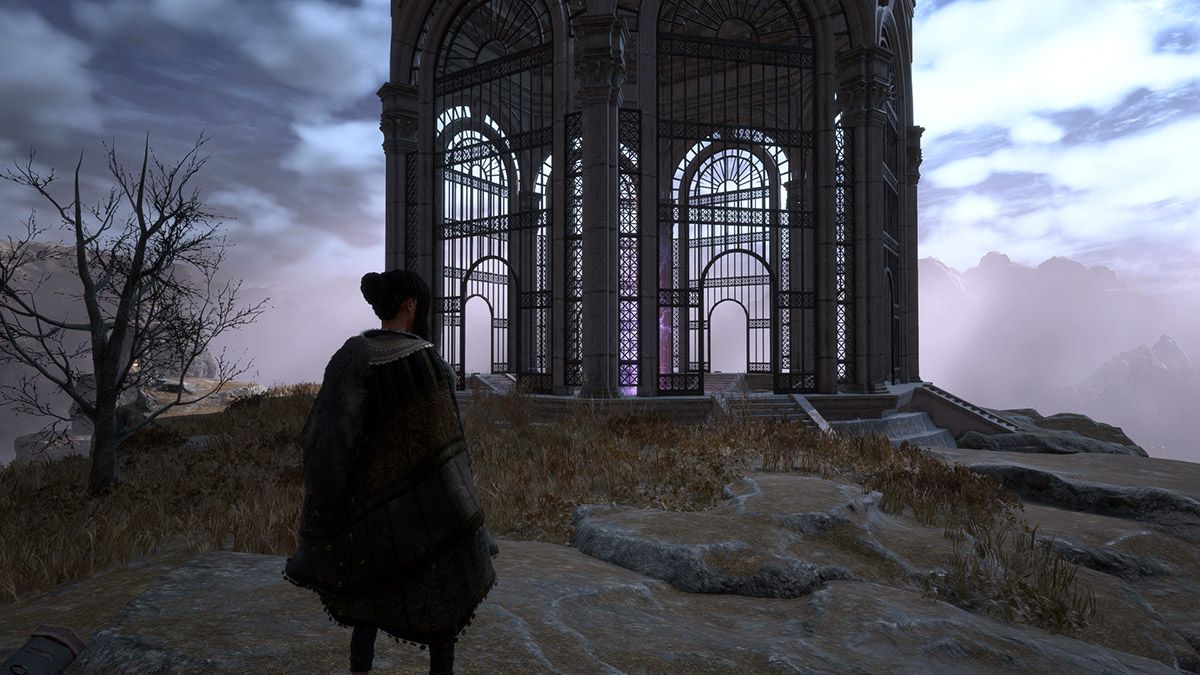
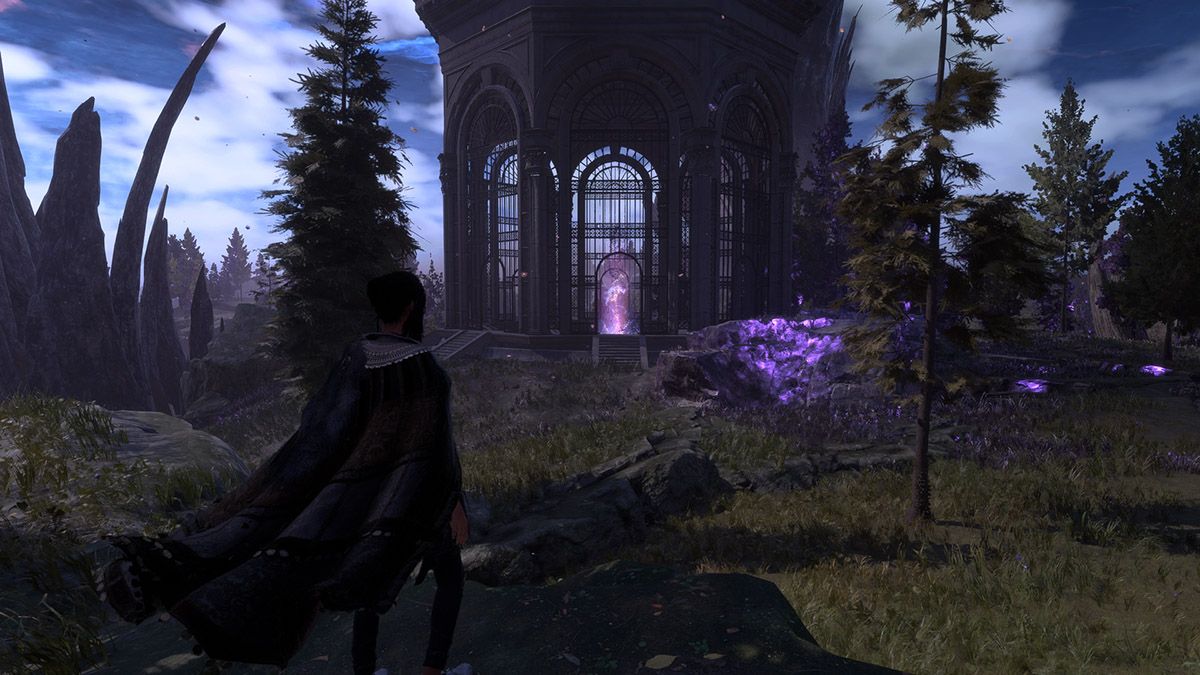
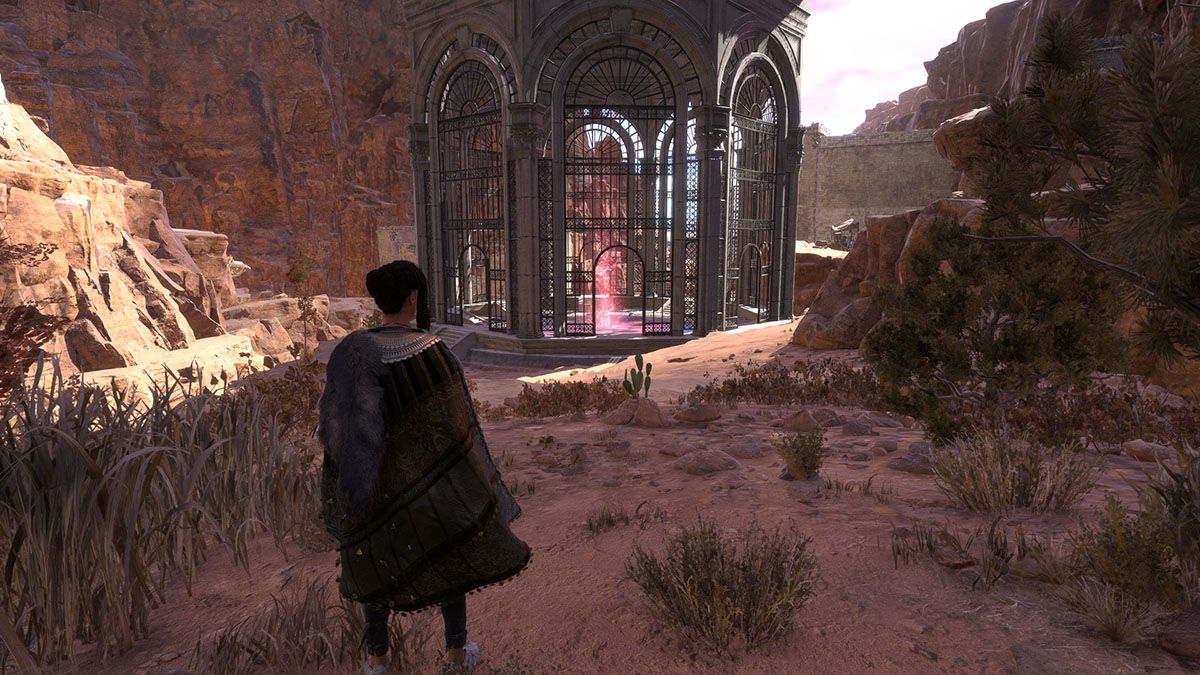
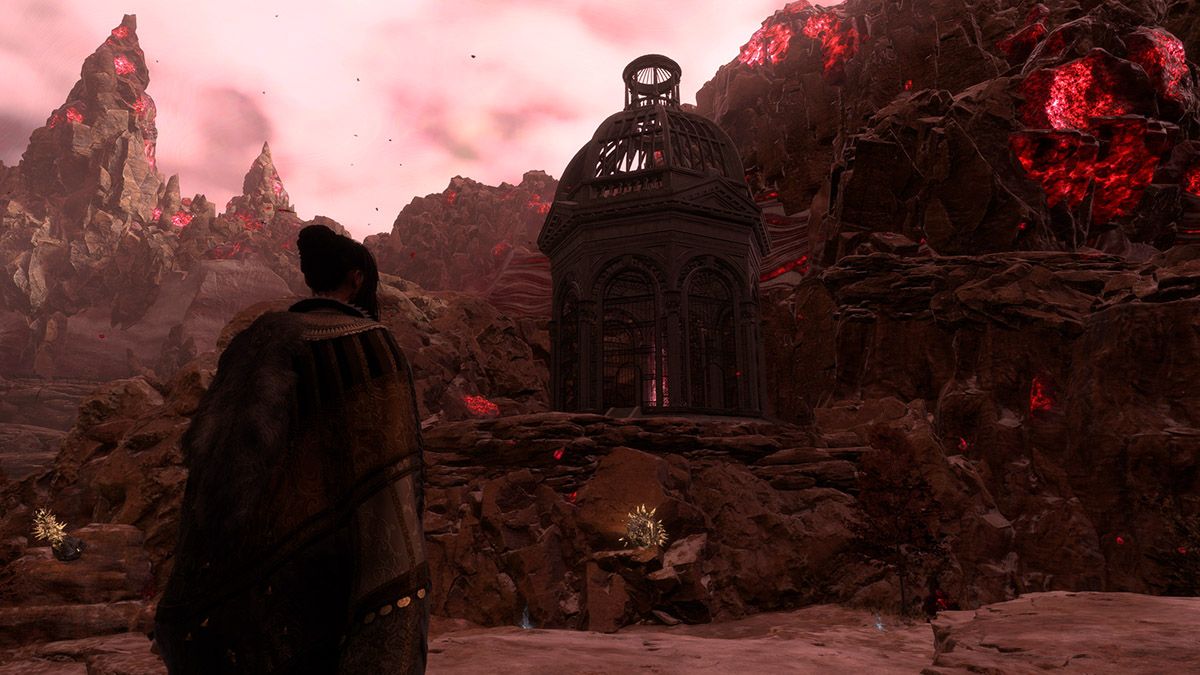
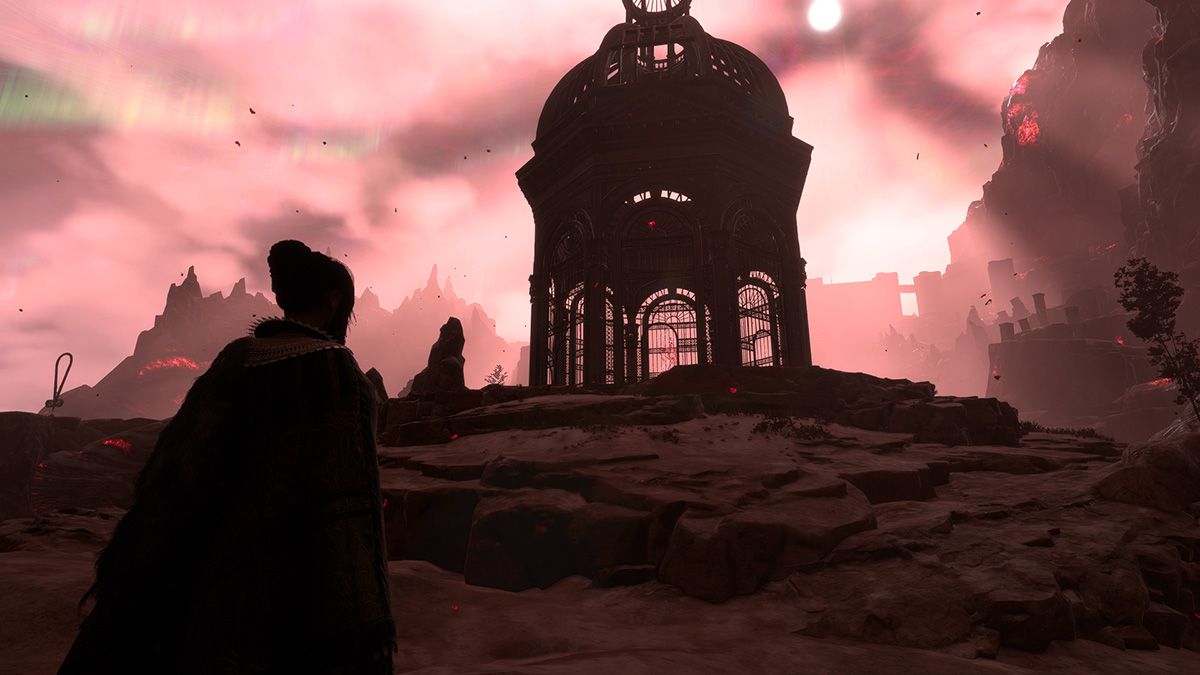
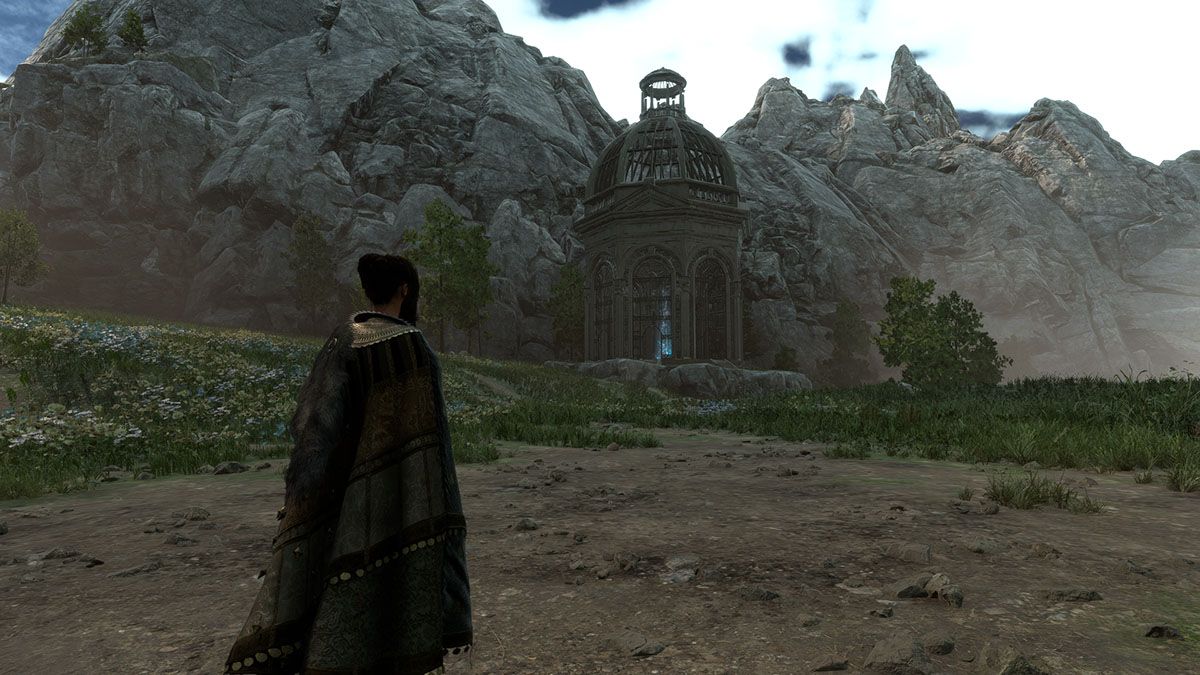
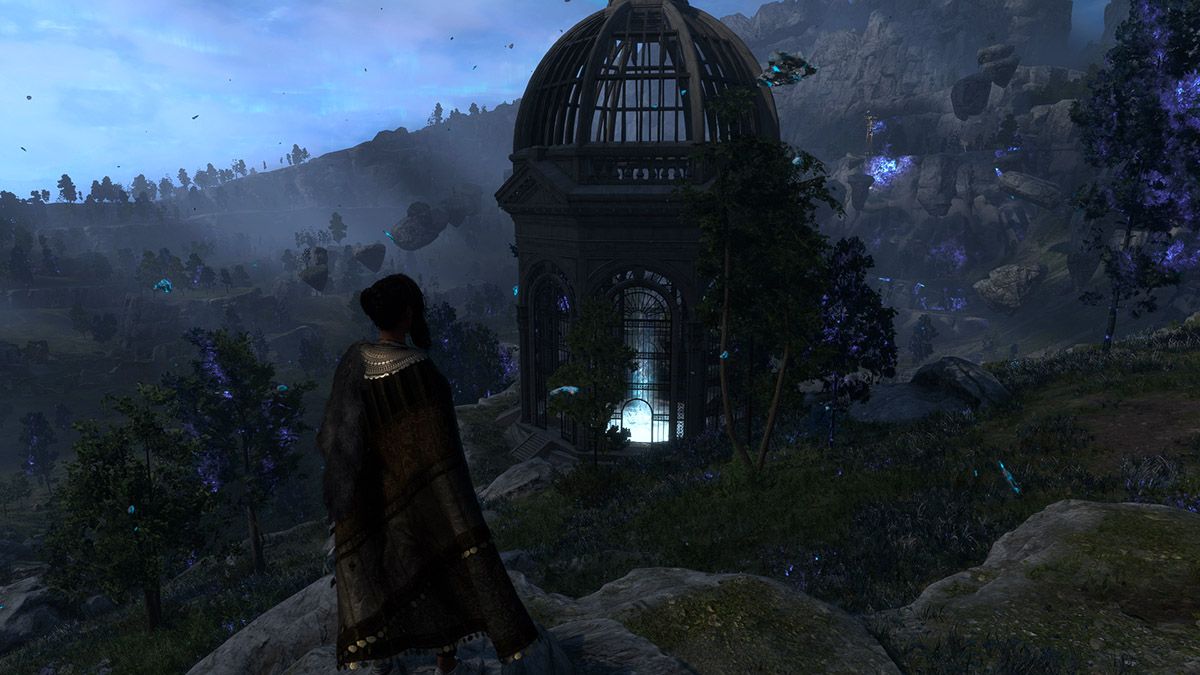
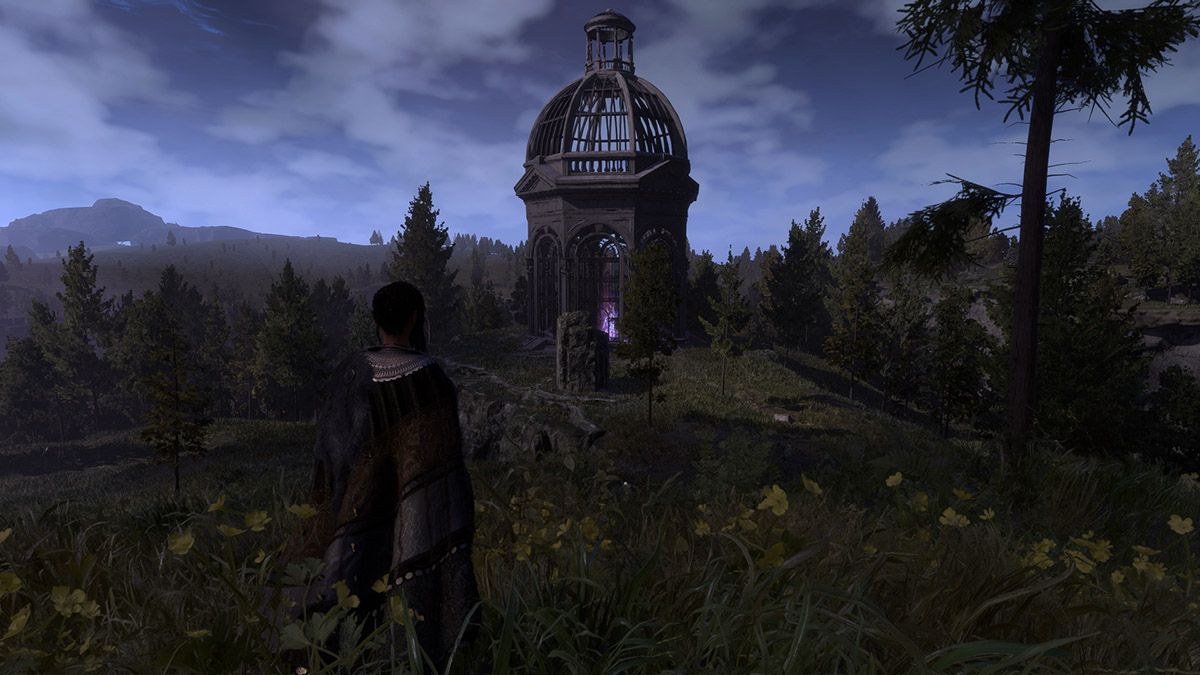
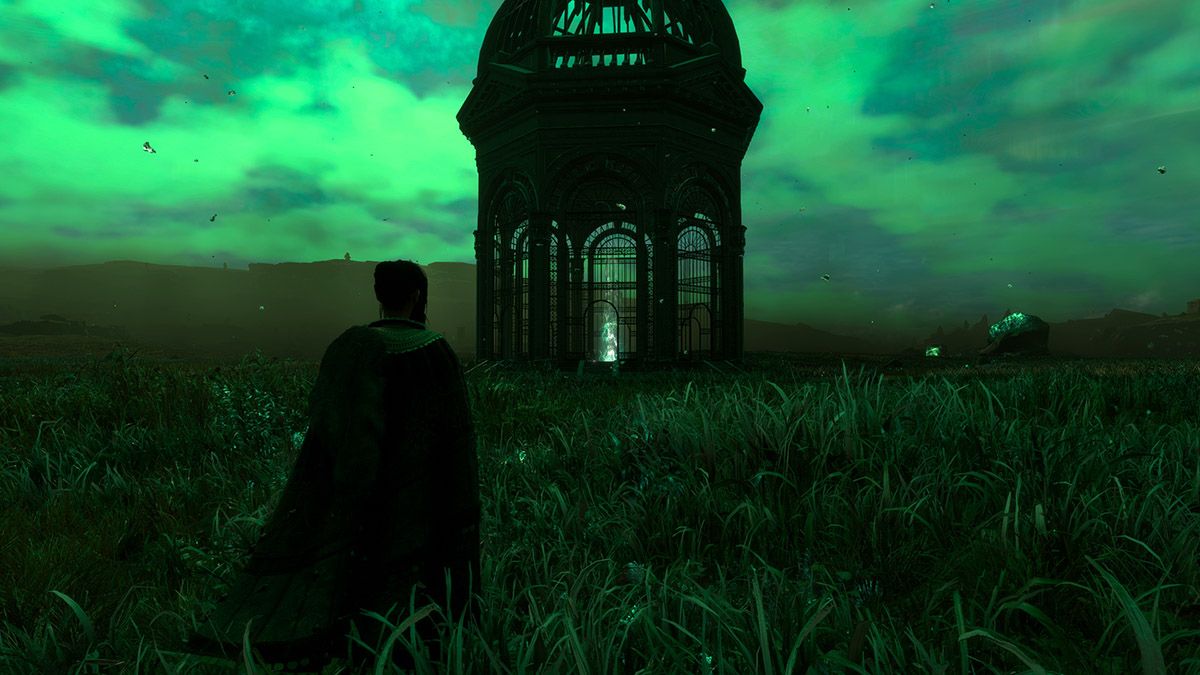
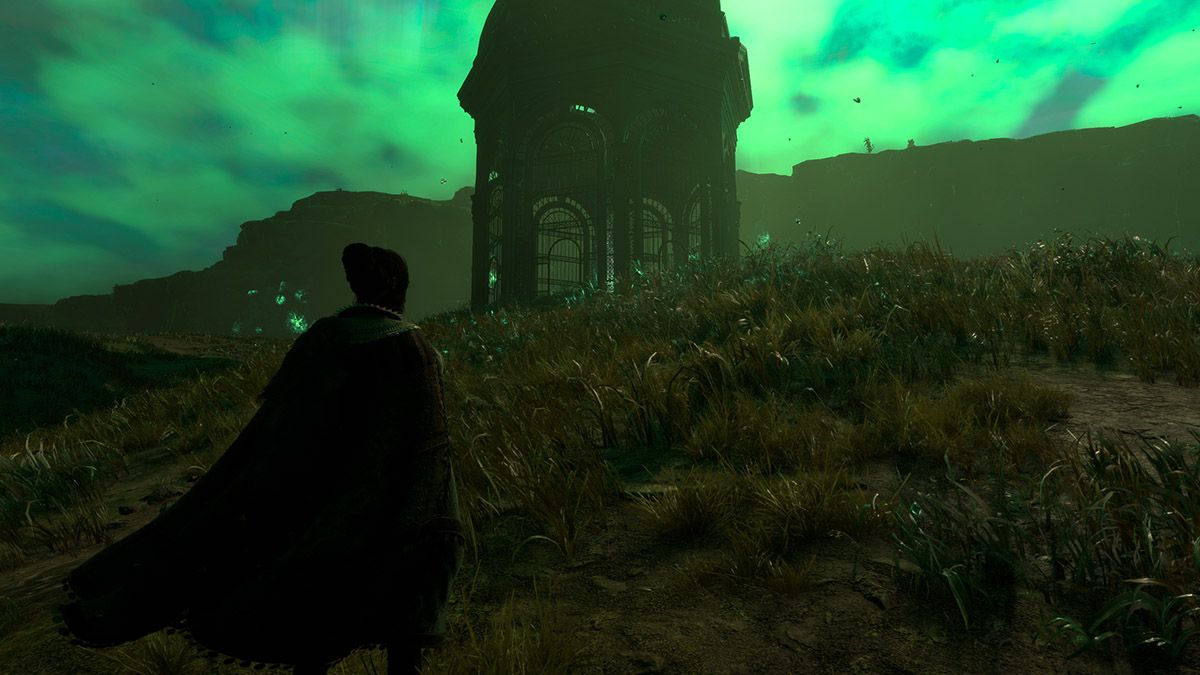
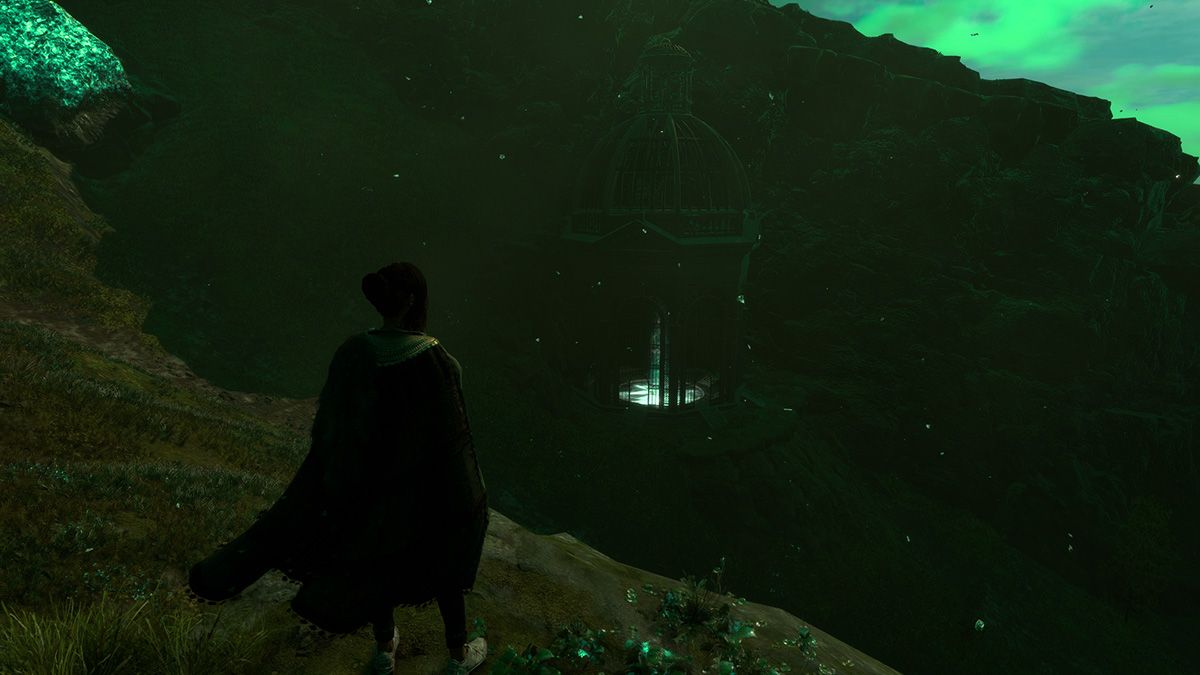
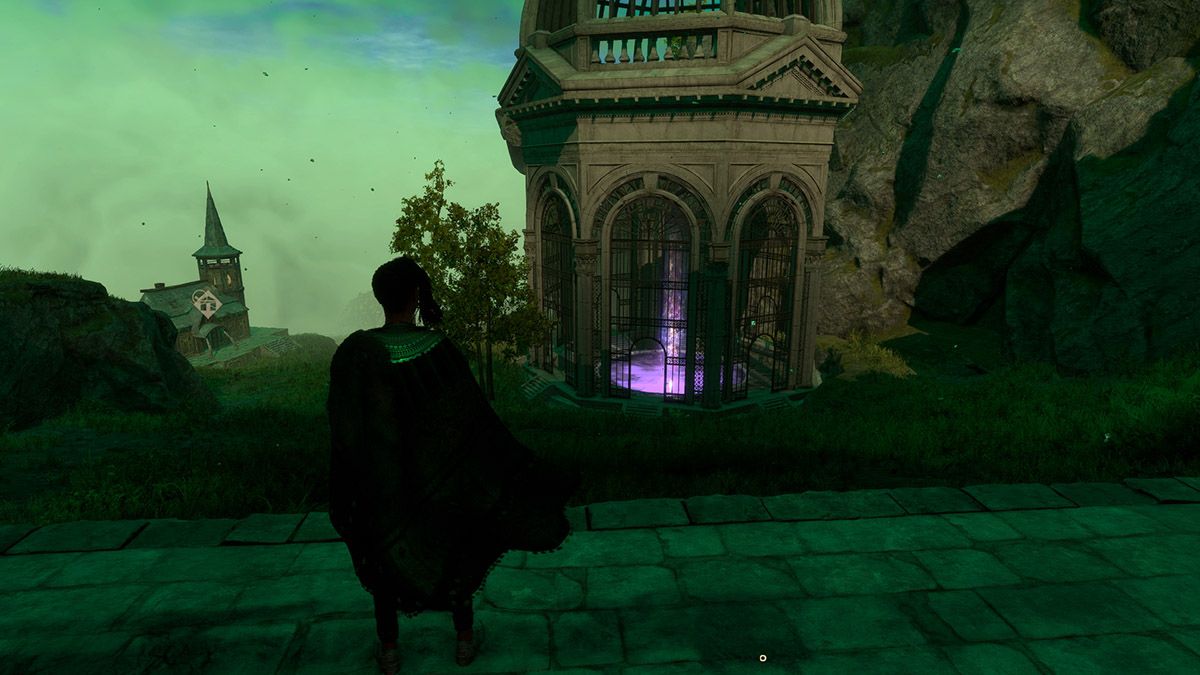
By far one of the more worthwhile side activities in Forspoken are undoubtedly the Locked Labyrinths, the game's equivalent of a mini-dungeon. Requiring players to move from room to room, taking on a varied number of enemy waves before tackling a unique boss at the dungeon's end. Players' rewards usually coming in the form of new gear and some extra tidbits of lore for those keen to learn up on the history of Athia. Below you'll find a complete run-down on how to quickly find all thirteen of the tucked-away Labyrinths. The following guides are based on players having beaten Tanta Sila in Chapter 5 and acquiring the ability to swing between grapple points dotted about the world to get around more easily. And to access parts of the world your magic parkour can't reach. Some are a little trickier to find than others, but here's a breakdown on where to find them all.
The Barren Plains - Locked Labyrinth: East
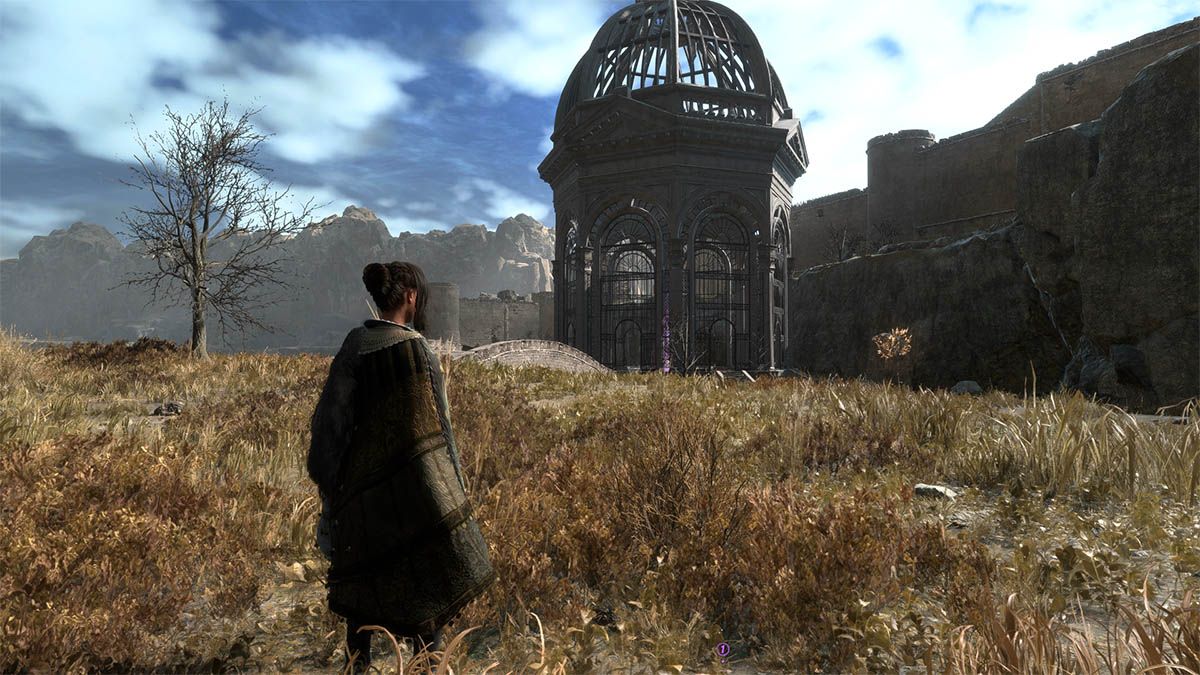
After leaving Cipal for the first time -- shortly after acquiring the ability to double-jump and successfully scaling a wall directly in front -- you’ll soon come across the second Pilgrim’s Refuge of the game: Barren Plains Refuge. From there, take the route on the right, keeping near the curvature of the cliff, that features grapple points jutting out. After a brief descent, the first Labyrinth of the game will appear before you.
The Blessed Plains - Locked Labyrinth: Hill
From the Eastern Cipal Refuge, head West and keep a look out for an opening on the left with a couple of grapple points to get you higher. Up top, head directly West and keep going until you spot a Belfry on your left. To the right of that is another pair of grapple points. Use them to climb higher and continue West until you're blocked off by a wall. Move around the wall's edge to your left and safely descend, continuing on close to the cliff's edge to your right and eventually you'll reach the Blessed Plains Refuge. From there continue descending in a South-Westerly direction. Eventually, the Labyrinth will materialize from out the fog. Jutting out of the bit of land the Labyrinth is on, you'll find a diagonal formation of crystals to grapple onto. Use them to ascend and finally reach the Labyrinth.
Cipalin Way - Locked Labyrinth: Castle
Fast-travel to the Pilgrim’s Refuge in Junoon castle Town and head directly to the west side of town, but do not exit town. Parkour up until you reach the top of one of the sentry towers and follow the wall south until you’ve reached the nearby raised plot of land on your right. Drop down and make a short trek west and you’ll reach the Castle Labyrinth.
The Guardians' Way - Locked Labyrinth: Barrier
Entering The Guardian's Way for the first time -- or by returning to the region's North-West entrance that connects to The Blessed Plains, turn South-East and you'll spot the top of the Labyrinth in the middle of the tight channel you'll need to head down to get to Praenost Castle. After passing a Refuge on your right, a Belfry on your left as well as the settlement of Ligare, head towards the Fortress and then turn South. A couple of hundred meters up lies the Labyrinth.
The Citadel - Locked Labyrinth: Cliff
After entering the Depths of Corruption in Praenost from Middle Praenost, make your way through The Citadel, keeping in a South-Easterly direction. reaching Fort Praenost, head directly East until you reach the Citadel: Western Refuge. There, bee-line directly South and on the region's own Southern edge.
Pioneers' Plain - Locked Labyrinth: Mountain
Another easy one to spot, albeit tougher to reach given the region and its steep drops. Exiting out of the cave you rest at during Chapter 5 -- after escaping the highly-concentrated Breakstorm -- take the first make-shift bridge across, ignoring the second bridge that appears to your left. Continue forward until the Labyrinth appears more clearly and directly in front of you. From there, turn right and drop down to the nearby lower chunk of land and providing you're still sprinting, jump the final and shorter gap to arrive at Pioneers' Plain's lone Labyrinth.
The Fountainfields - Locked Labyrinth: Mountain Base
From the Fountainfields Refuge, continue following the trail West, crossing the bridge and into the small settlement of Colline. Pass through Colline and exit West -- before turning left to enter the Depths of Corruption, the Labyrinth will be directly in front of you.
The Untrodden Forest - Locked Labyrinth: Depths
After entering the Depths of Corruption, travel South until you reach the edge of the crater where a series of floating rocks provide a grapple route to a Refuge at the center of the region. From there, head South-East across another set of rocks and grapple back up the cliff to reach this Labyrinth.
The Wolfwoods - Locked Labyrinth: Forest
At the start of Chapter 11, immediately head North East until you reach what would usually be the entryway to the Depths of Corruption. A prompt will ask you to look up, to which select Yes when asked if you want to leave. Pass through the Depths portal so that you’re exiting Humble Plain to wind up at the top of the cliff and in Shepherd’s Meadow. From there, directly head North-East, passing a Belfry to your right, so that you’re pointing directly at a visible waterfall in the distance.
After reaching a gathering of trees, head north -- making sure to follow the trail that takes you through the woods. After funneling tin-between two raised sections, take a sharp turn right. Continuing on the trail will eventually lead you to a second belfry on your left. From that belfry, continue North -- passing over a river and after a few more hills, the Forest labyrinth will be visible.
Humble Plain - Locked Labyrinth: Field
An easy one to find and not all that hard to spot. After resting at or fast-traveling to the Humble Plain Eastern Refuge, head South-West and you’ll quickly spot the labyrinth out in the open fields.
Visorian Plateau - Locked Labyrinth: West
From Humble Plain Eastern Refuge, continue South-West and you'll eventually reach the Visorian Plateau Refuge. Upon arrival, head South-East and atop a hill sits Locked Labyrinth: West.
Homestead Hills - Locked Labyrinth: South
From Visorian Plateau Refuge, head directly South and grapple up the cliff once you get to it. Once on top, turn southwest and make your way to the Belfry in the distance. Use your cuff to scan the environment at the Belfry and nearby in a South-Westerly direction, you'll spot a trail of grapple points. Follow the first few and as soon as you come up against a mob of Troodon, head directly South from that point. Keep moving South for around half a kilometer and eventually you'll spot Tanta's Demesne Refuge. From there, turn South-West again and follow the fields back down to ground level. Another half-kilometer later, the labyrinth can be found somewhat hidden in the cliff's shadow, nestling to the left.
Vistorian Isthmus - Locked Labyrinth: North
Quite possibly one of the more-challenging labyrinths in terms of enemy variety and amount alike, so be sure you're prepared and sufficiently leveled-up before tackling this one, because it's a lengthy trip just to get there. On top of that, this one requires you beating the game and unlocking the Skip ability. After resting or fast-traveling to the Humble Plain Eastern Refuge, head directly North until you see a Guild base and two grapple points. Keep heading up and past the Guild, making sure to keep North up the incline. You’ll soon arrive in The Northern Corridor, which as its name suggests is one of the more narrower and linear sections of the game world.
After a short trek, you’ll reach a valley with an overhead grapple point to get you over the divide. Continue on down this route until you reach a seemingly dead end, as greeted by the ocean and the game world’s figurative edge. Look to the right and you’ll notice a series of small ledges you’ll need to either parkour or warp between. Follow the cliff’s edge and the trail heading up until you reach a trio of platforms you can’t simply hop between. Use Skip to reach all three platforms and continue on -- failing any one of these respawns back at the cliff’s edge. From here you’ll pass through Tranquil Gate and be required to take out a series of of Riven-type enemies. After clearing all waves, exit through the North gate where a Locked Labyrinth and Refuge sit nearby.

