Note: This boss guide contains spoilers for Bloodborne's true ending. If you do not wish to find out what happens in the final sequences of Bloodborne, or if you want to find the true ending on your own, navigate away from this page.
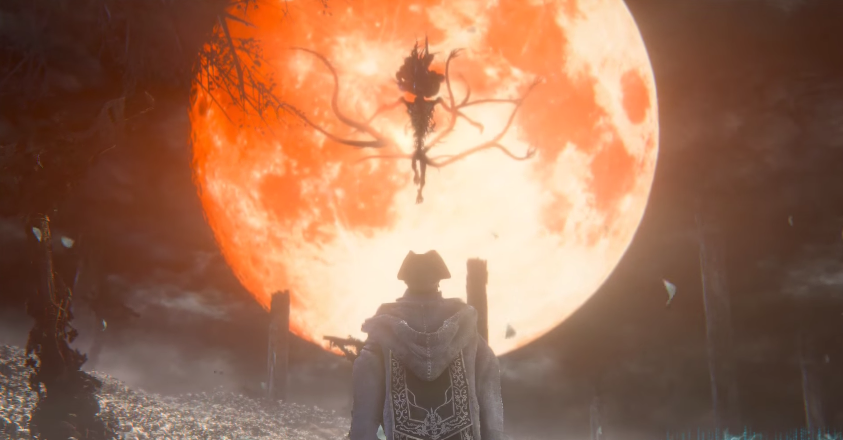
If you know who the Moon Presence is, then some level of congratulations are in order, as you're on the path to Bloodborne's true ending. You collected three of the four One-Third of Umbilical Chord pieces, consumed them and refused Gehran's final ultimatum before sending him to a timely demise. You've done nearly all of the mandatory things necessary to complete the main campaign, and all that stand between you and victory is one of the trickiest bosses in the entire game. Sure, the slow-moving Moon Presence might seem like a simple boss at first, but a couple of bizarre tricks turn this seemingly simple encounter into a potentially frustrating affair. Luckily, we're here to help you in this final push towards greatness, as obnoxious as the Moon Presence might be.
Even though this fight can be relatively easy, you're going to want to make sure you have a healthy supply of Blood Vials. Considering this battle begins immediately after the fight against Gehrman, The First Hunter ends, it might be worth your time to die on purpose in order to respawn and replenish your supply. Then again, if you're the type of person who wants to make things much harder for themselves, I certainly can't hold that against you. With the exception of one move, beating the Moon Presence amounts to simply dodging a series of three attacks and attacking it from behind. Using the Old Hunter Bone, which is one of Bloodborne's most valuable items, will allow you to get to this Great One's back far quicker, thus providing you with even more time to do damage. Bear in mind that if you have been hit with an attack at any point, you'll want to make sure that you heal yourself, and the situation the Moon Presence puts you in with its trump card is quite sticky.

At certain points in the battle, the Moon Presence will freeze in place before unleashing a flash of red light. While it might seem brilliant to take this opportunity to run up and attack it, you're actually going to want to do exactly the opposite (ah, isn't From Software brilliant?). Because this attack always takes your health down to a single hit point, being close to the Moon Presence could leave you vulnerable to a follow-up attack, thus ending the entire fight. Because of this, the smartest strategy is to simply run away, let your health drop down to 1 HP, and heal yourself using Blodo Vials. This attack establishes one basic rule for this fight that must be followed at all times for you to remain safe: only attack when your enemy is on the offensive. Sure, you could definitely attack the Moon Presence during this massive energy output, but this should only be attempted by highly skilled, highly reckless, or highly stupid players. Rolls and quick-steps are going to be your best friend here, as getting to the back of an attacking enemy is the only safe way to succeed here.
Other than this one massive attack, the Moon Presence is actually a pretty simple enemy to defeat. As long as you play it smart, don't get too cocky, and use your Blood Vials wisely, it should only take you a few attempts at most to beat Bloodborne's true final boss.