Well, Supermassive Games' latest horror adventure, The Quarry, is out now, and much like their previous games, there's a lot to hunt for. There are clues to the various mysteries in Hackett's Quarry, and tarot cards that provide visions of possible outcomes based on your choices, much like their previous games. However, a new wrinkle has been added when it comes to collectibles this time around: Evidence.
See, major crap is about to go down at Hackett's Quarry, a lot of it involving supernatural terrors of some kind. And one way or another, this will lead to a lot of mayhem, a lot of blood, and more than likely, at least once dead body. So you need to have your counselors gather up whatever evidence they can find in order to convince people of what really went down...or at least enough to convince them that it wasn't their fault. Find enough evidence, and the game's epilogue steers more towards your favor. Fail, and it might be a prison cell. There are ten pieces of evidence to find, one in each chapter, and we're going to help you find them all, because where a good chunk of them are relatively simple to find, some are tucked away or trickier to get to.
So with that said, let's get to cataloguing some evidence already! And as this is a detailed guide, there will be possible spoilers from this point onward, you have been warned.
Chapter 1: Empty Vial
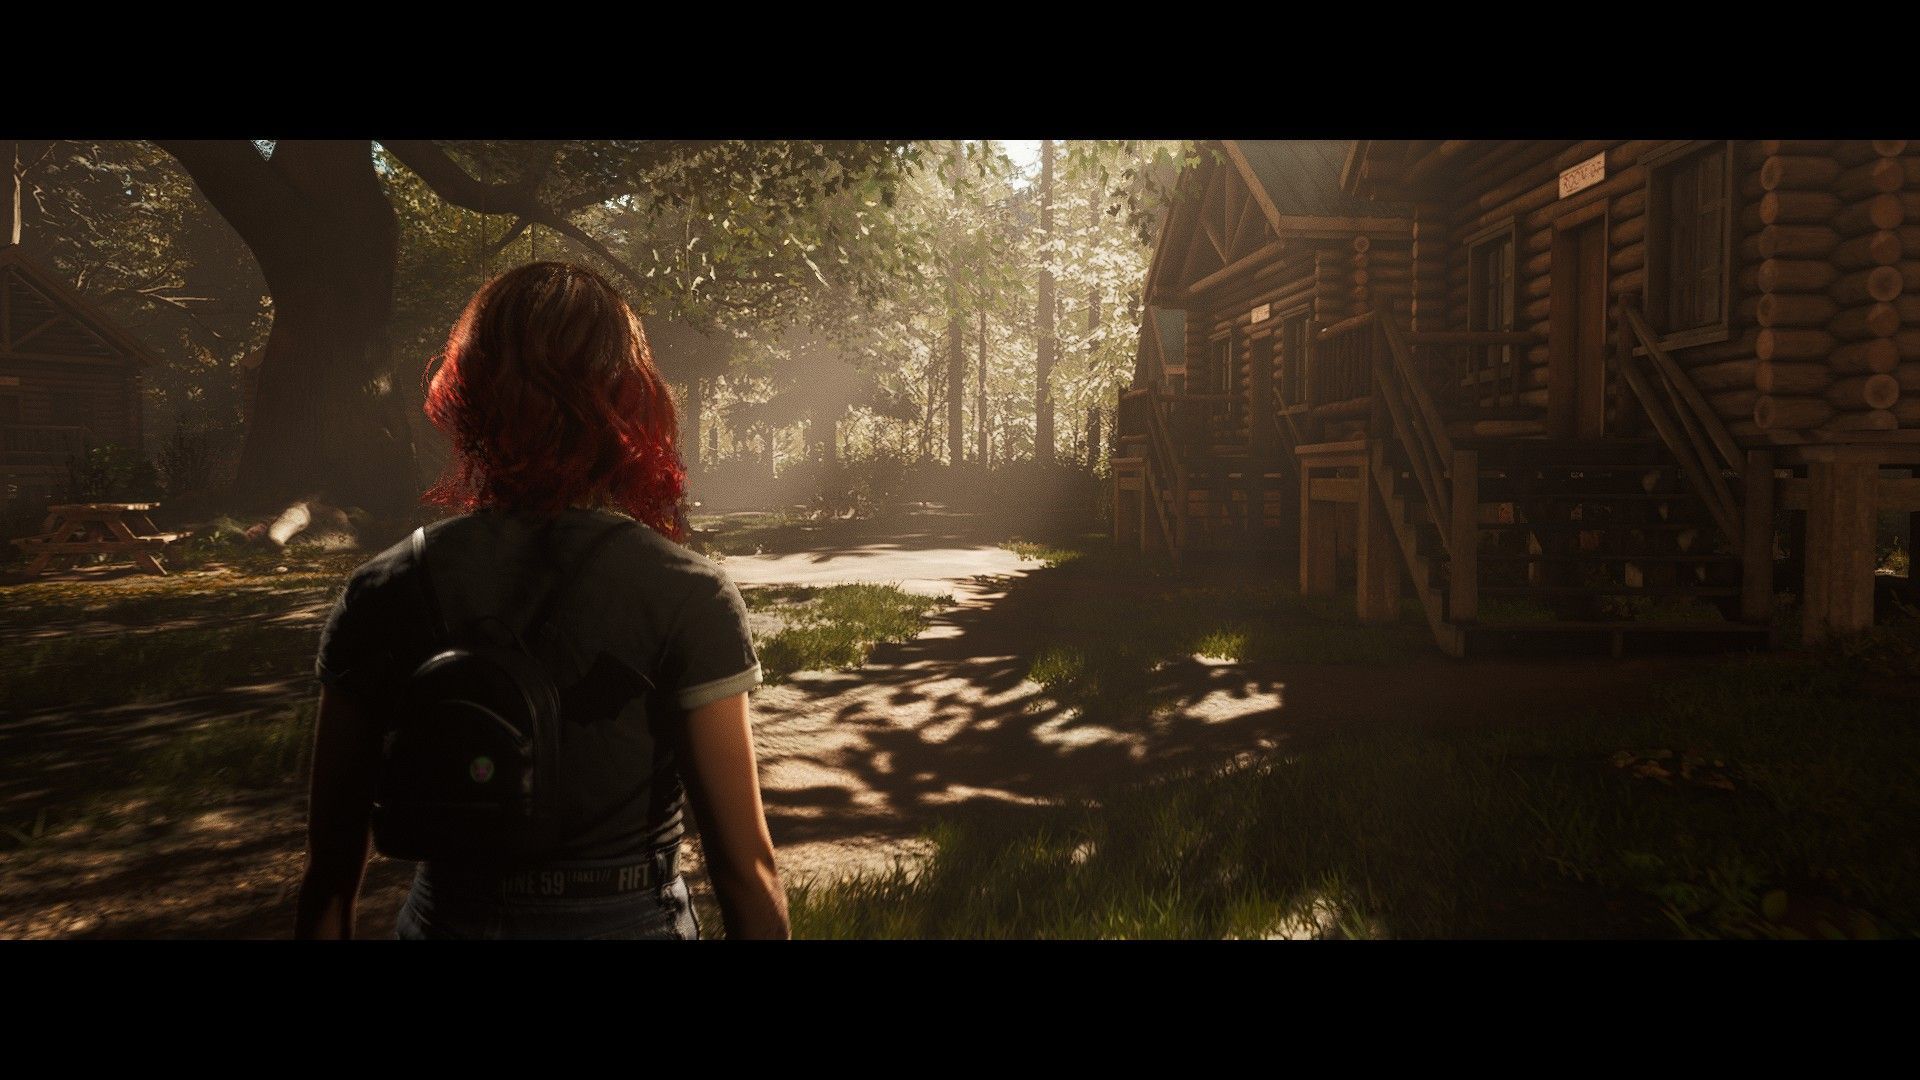
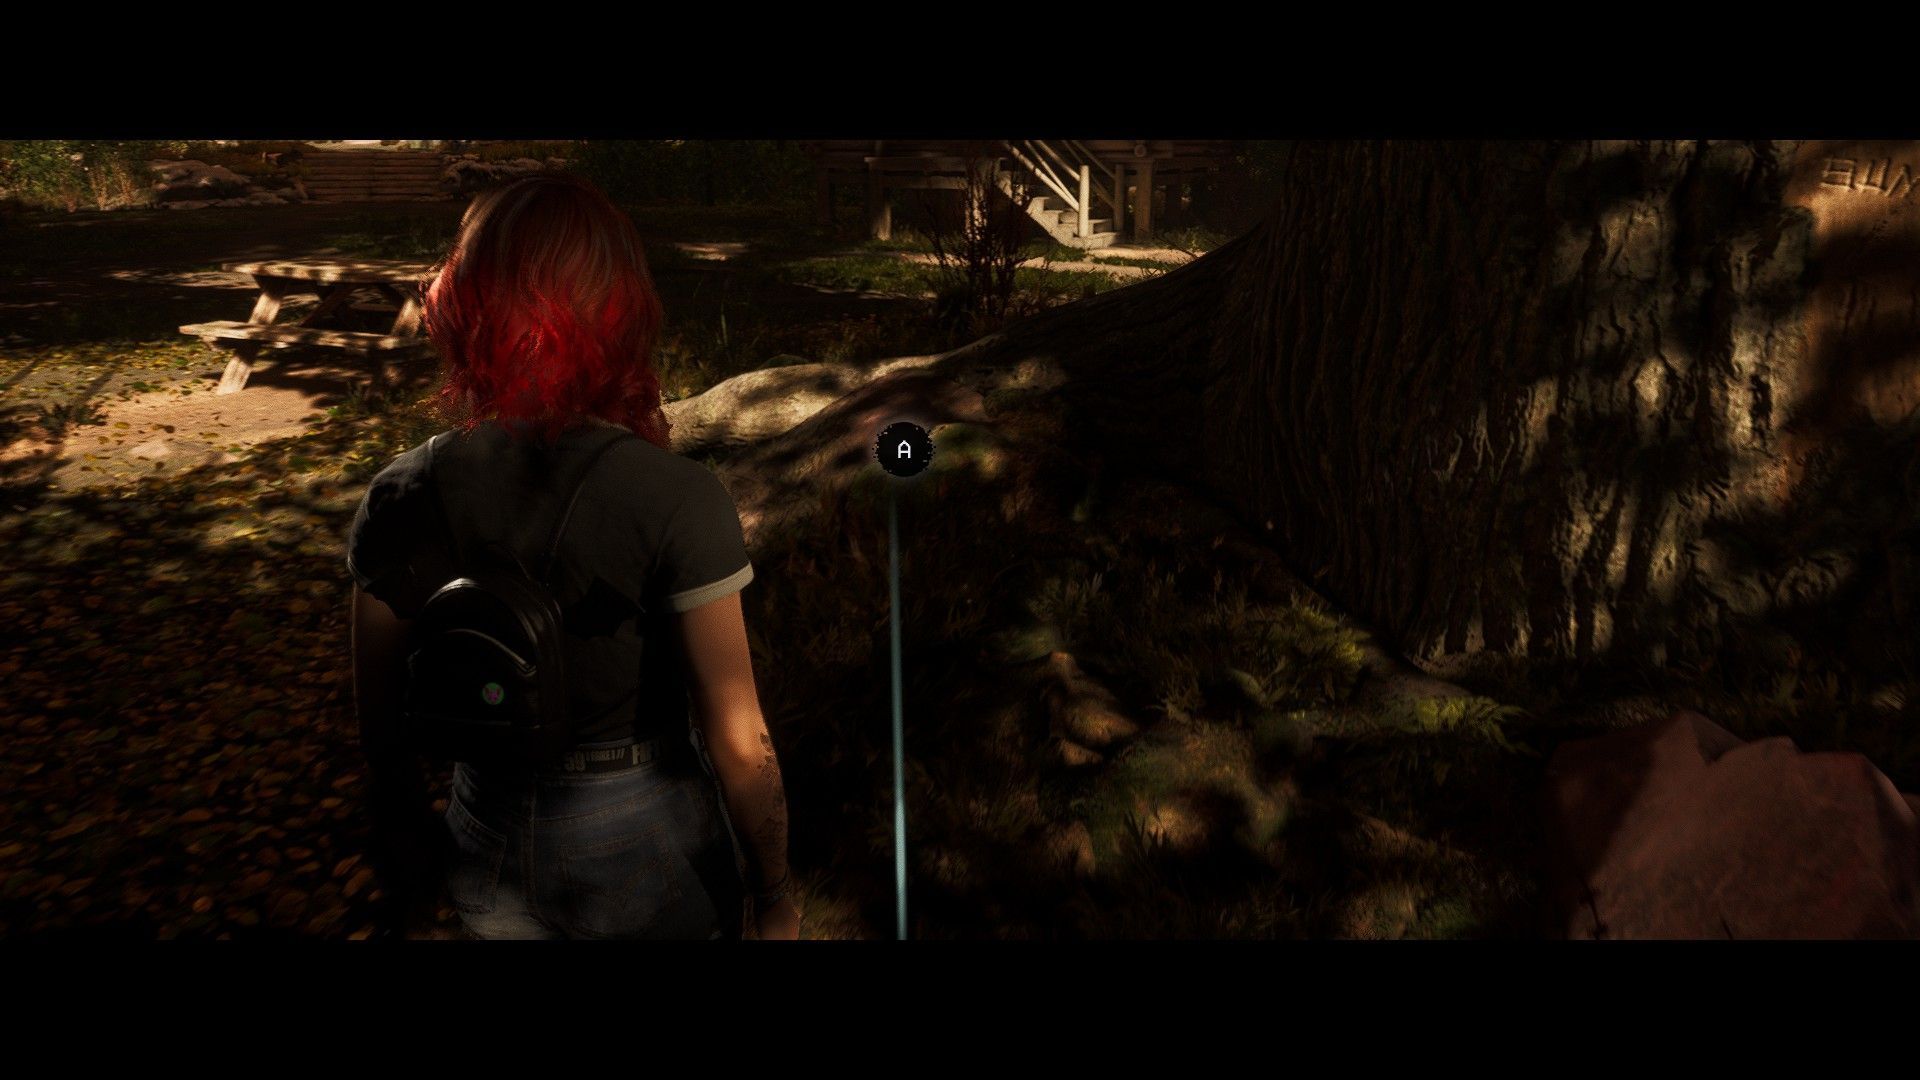
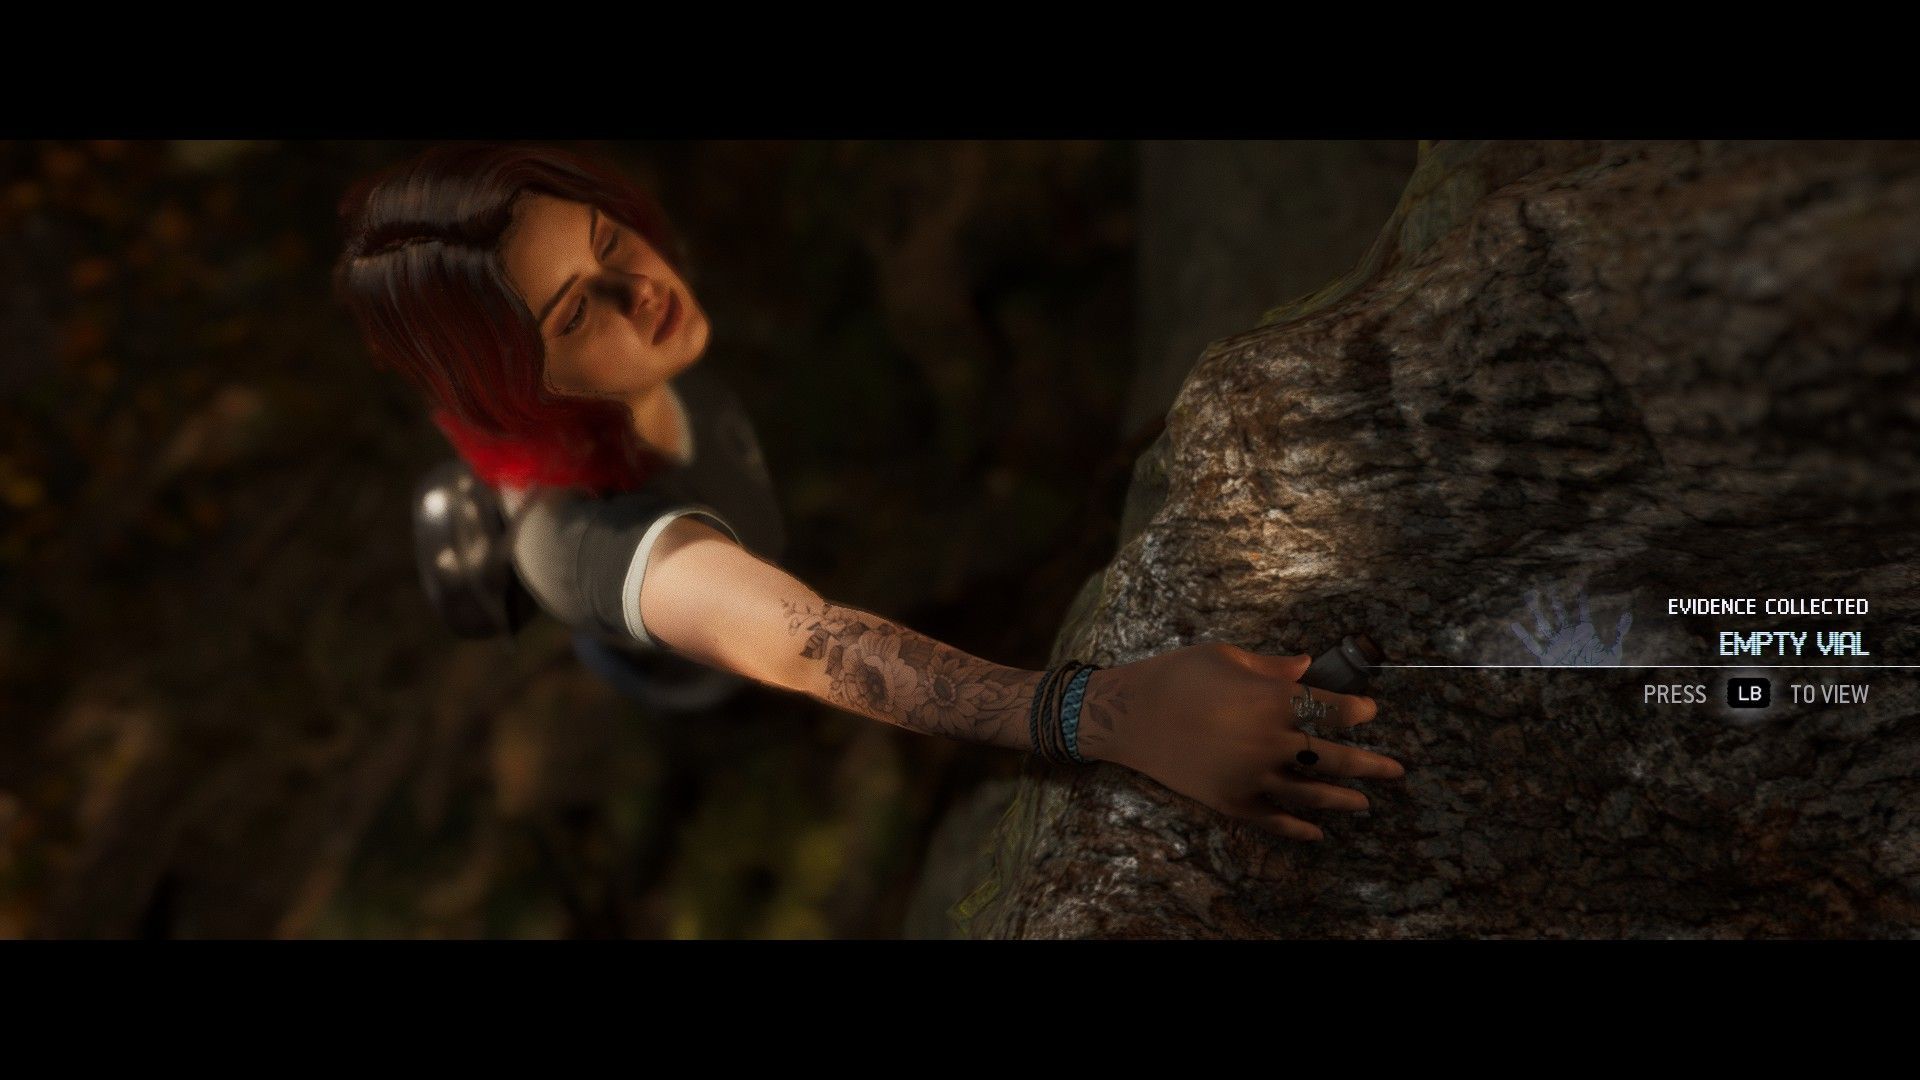
When you get your first chance to control Abigail around the Cabins, head towards the huge tree in the center with the picnic tables by them. You should see a carving in it, and an option to examine it. Do so, and Abi will reach up and grab an empty vial that they find, nabbing you the first bit of evidence. It should be noted that you can examine the same area and come across the vial again while playing as Dylan in Chapter 5, but we haven't confirmed yet if this also counts towards officially finding the evidence as well.
And as long as we're still in the first chapter, make sure when playing as Jacob to select the option to remove the rotor arm as opposed to damaging the fuel line when it comes to sabotaging the car, as that will come into play with another piece of evidence shortly.
Chapter 2: Torn Bags
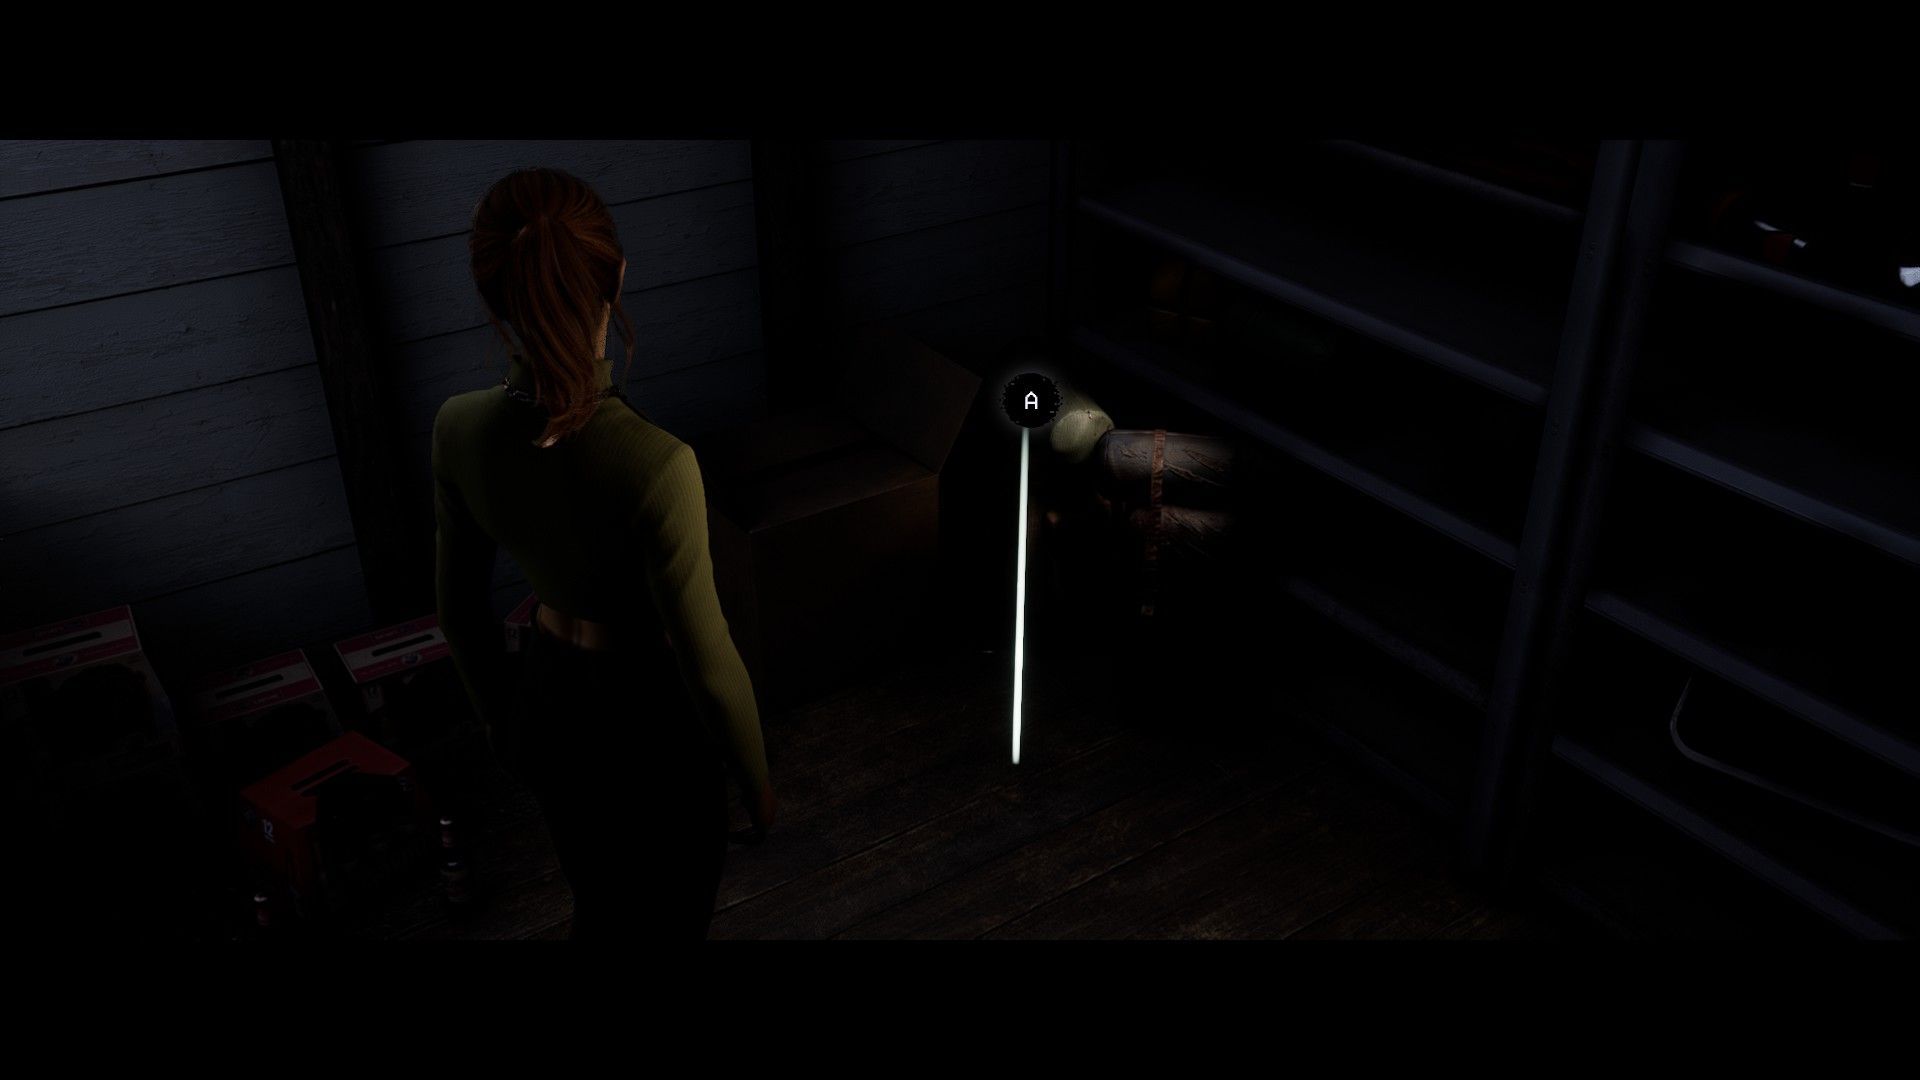
When examining the camp's General store as Emma, you'll eventually make your way to the back room, where the shotgun is first found. Look in the left corner next to the shotgun, and you'll see some hiking bags tucked away in a corner, torn and stained with blood. Interact with them in order to collect the next piece of evidence.
Chapter 3: Bloated Corpse
The evidence in the third and fourth chapters are where you're likely to be tripped up on your first run at collecting the evidence, because as opposed to the other pieces where you merely find them while walking around and interacting with them, whether or not you collect these entirely depend on the choices you've made so far.
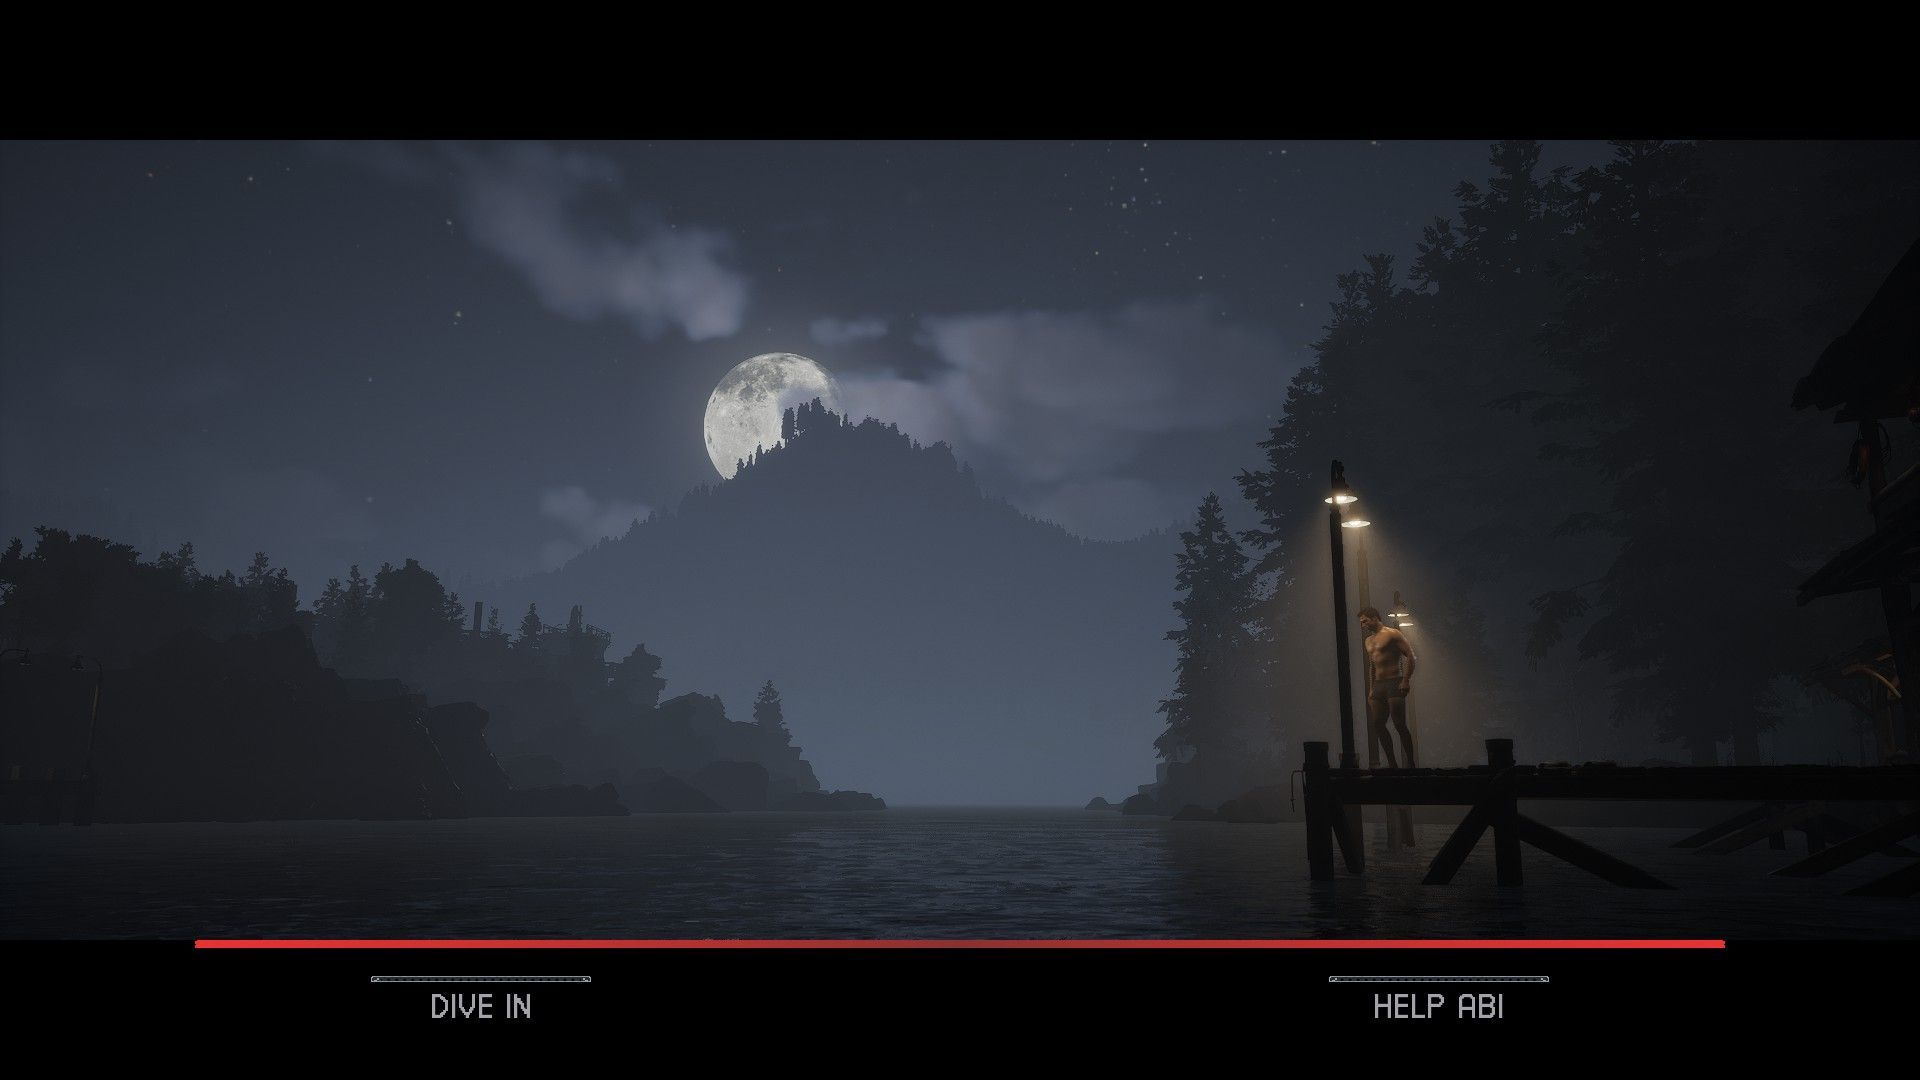
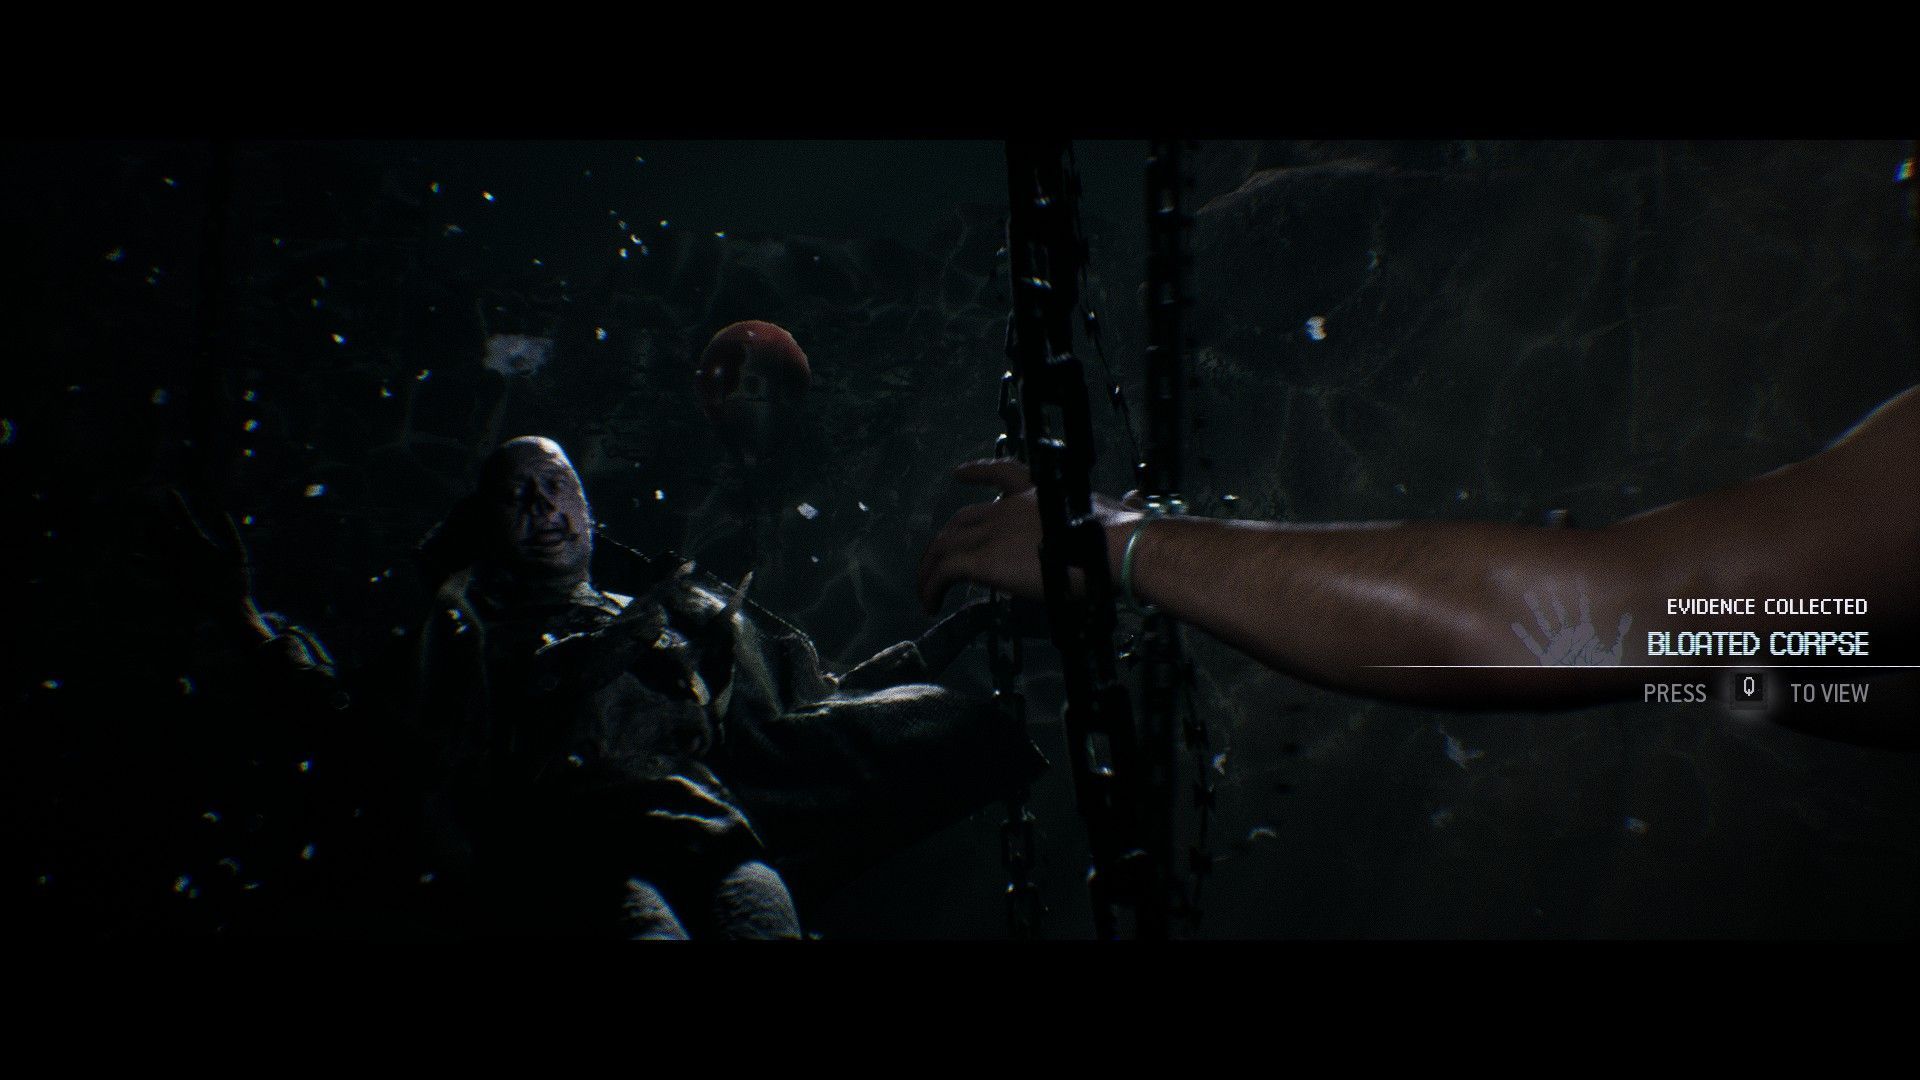
Case in point, Chapter 3's evidence. It's actually shown to you in a cinematic with with Jacob and Emma at the boathouse: A bloated corpse chained at the bottom of the lake. Now you just have to figure out how to get one of the characters into the lake. So remember when we suggested taking the rotor arm as Jacob in Chapter 1? If you did that, then he'll realize that it slipped out while swimming with Emma, after he hears Abi scream.
At this point, you're given a choice to dive in after the rotor arm or go and help Abi. Choose to dive in, and after a short QTE, you're given another option to try and grab the rotor arm, or give up and surface. Choose to grab it, and you'll get a sequence where Jacob comes across the next bit of evidence, the aforementioned corpse, automatically adding it to your collection. Be prepared for another QTE and choice while trying to surface, though...
Chapter 4: Attack Photo
Again, this one is up to the choices you make, though it's a bit simpler. When exploring the island as Emma, you'll eventually make your way to the treehouse, where you'll find an ominous trapdoor with something making noise behind it. You're given the choice between immediately opening it and looking around in the bags left behind. Needless to say, it's probably wiser to choose the bags. Doing so nets Emma a change of clothes and has her find some bear mace and a taser.
Afterwards, now Emma will go and open the trapdoor, and not surprisingly, there's a horrendous creature behind it who tries to attack you. Now you have a choice of how Emma responds to it, either by using the bear mace or the taser. Choose the taser, and the creature will be stunned. This causes an Interrupt option to appear, asking if you want to take a photo. Choose to interrupt, and Emma will use their phone to snap a photo of the beast, automatically netting you the next piece of evidence.
Chapter 5: Claw Marks
Perhaps unsurprisingly, the least incriminating piece of evidence (on its own, anyway) is the easiest one to find. When playing as Dylan, you'll be heading through the cabins to the radio hut. When you get there, look immediately to the left of the door to the radio hut. Boom, there the marks and the part you interact with, collect your evidence.
Chapter 6: Memory Card
While one the trail's walkways as Jacob, you'll come across a triangular intersection. Hang a right, and you'll across a spot on the ground to interact with. Do so, and you'll find a lost camera here with a memory card that Jacob collects as the next bit of evidence (that said, the folks in the epilogue seem to obsess more over the fact as to how a camera got lost than what was actually on it, oddly enough).
Chapter 7: Cease & Desist Letter
Once you finally gain full control of Laura after being damaged by Max, you'll be able to explore the police station even further. Once you go past the jail cells and into the main room with the desk, stick to the left and after you head up a small flight of stairs, look in the corner across from the doors on your left (where the room containing Travis' computer is located). You'll fins a...fax machine? Scanner? Eh, whatever the machine, interact with it to grab the cease and desist letter on top of it, securing the next piece of evidence.
Chapter 8: Scarred Flesh
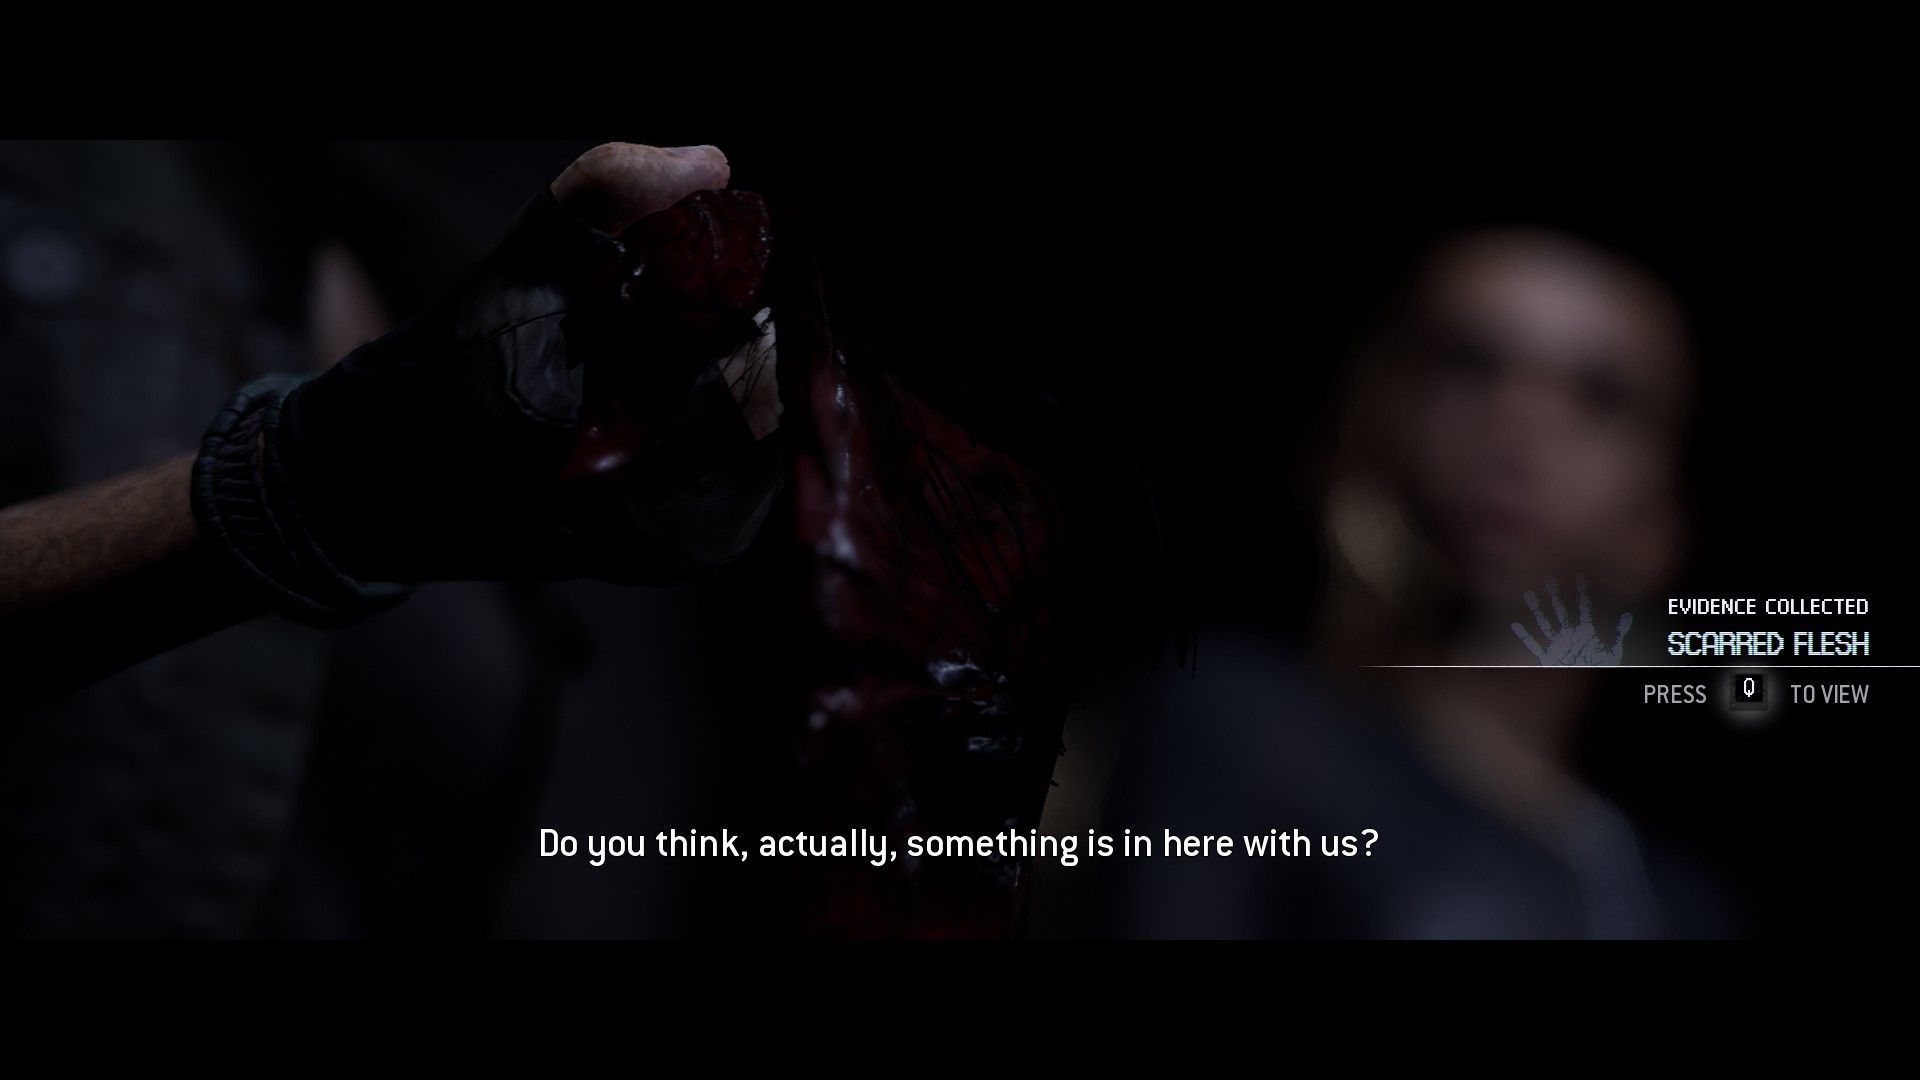
While walking through the mines as Laura, you'll be heading up some steps and scaffolding, with one platform on the way up containing a giant stone column in the middle of it. Head just past the walkway to the next part and near the other side, you'll find a spot on the floor to interact with. There you can grab the scarred flesh, landing you the eighth piece of evidence.
Chapter 9: Kaylee's Letter
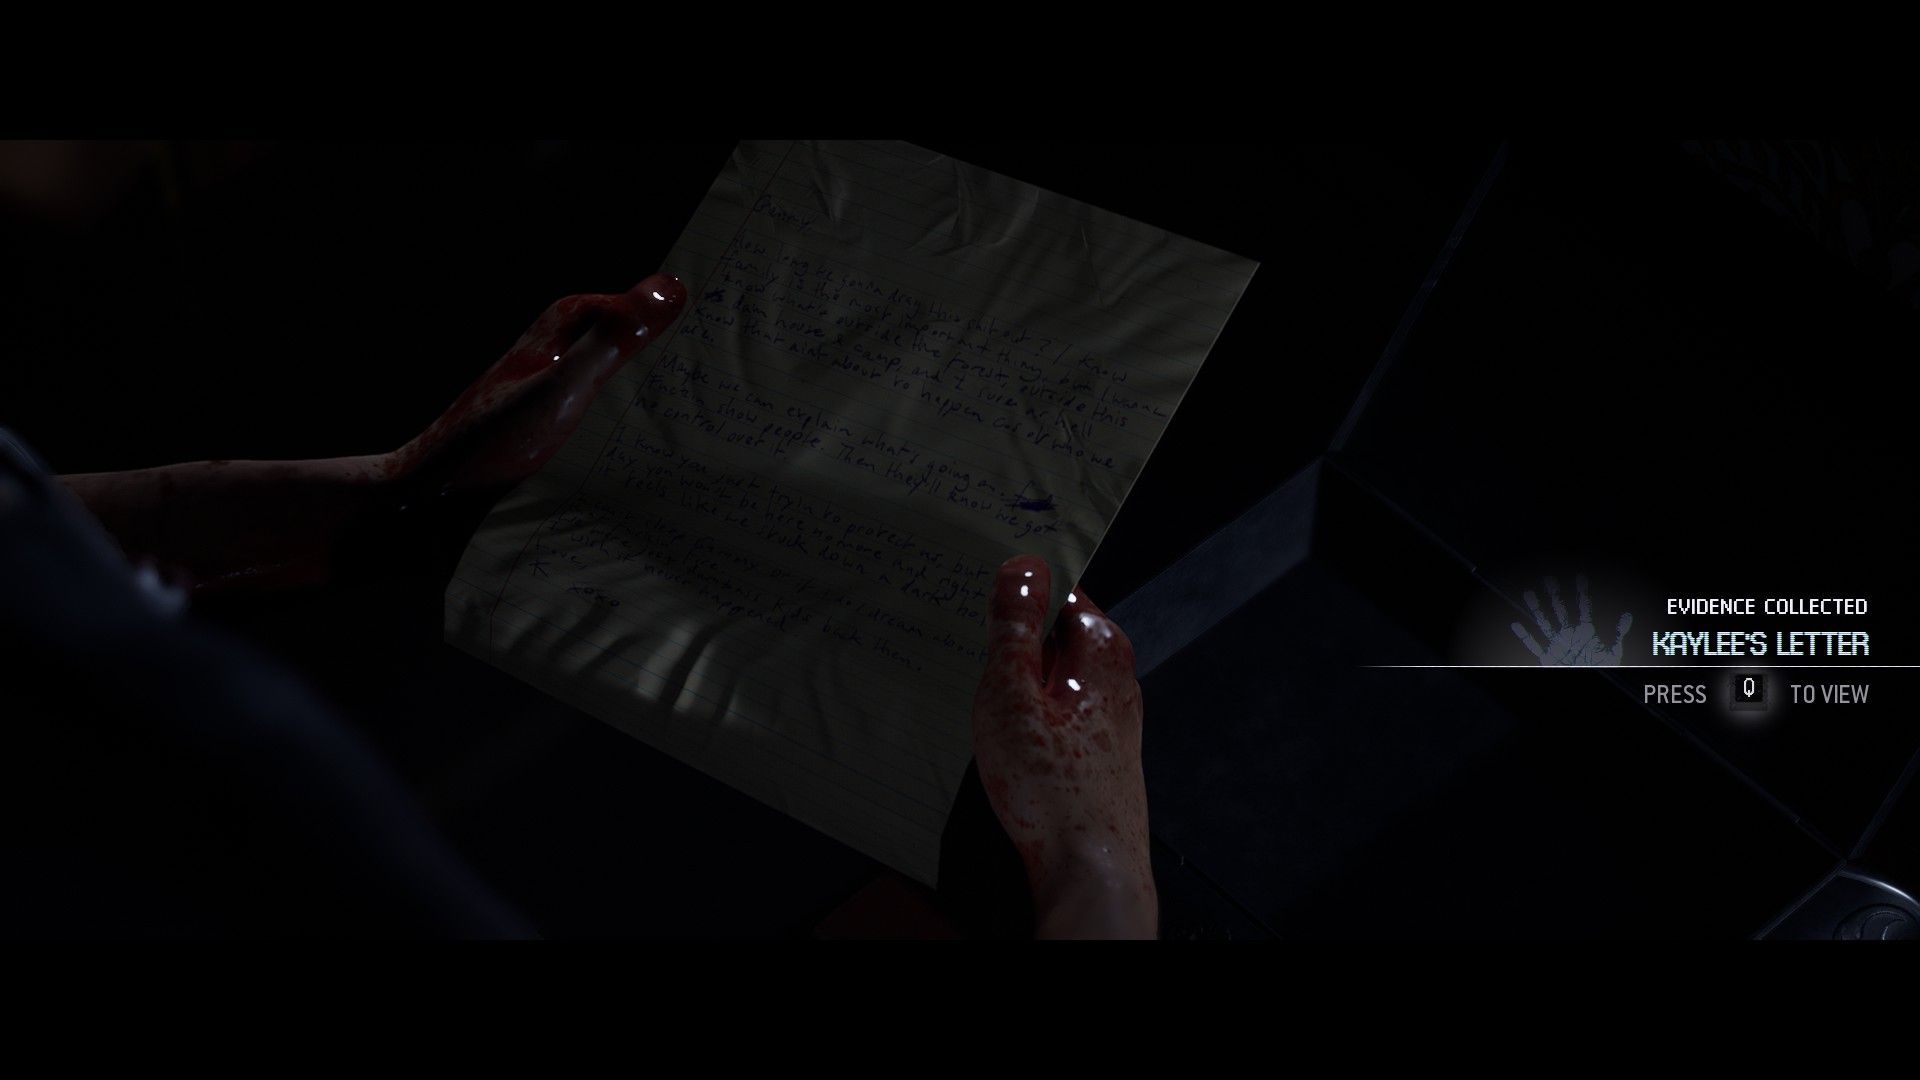
After hopefully surviving a tense situation and exiting the dumbwaiter in the Hackett's mansion as Ryan, turn right and walk to the side of the room across from the dumbwaiter. In a little corner on the chest by a mirror, you should find a spot to interact with (this is where darkness also really begins to obscure some of the locations, so be thorough) that reveals a box Ryan can open. Inside is a letter from Kaylee Hackett, getting you the penultimate piece of evidence.
Chapter 10: Trail Cam Footage
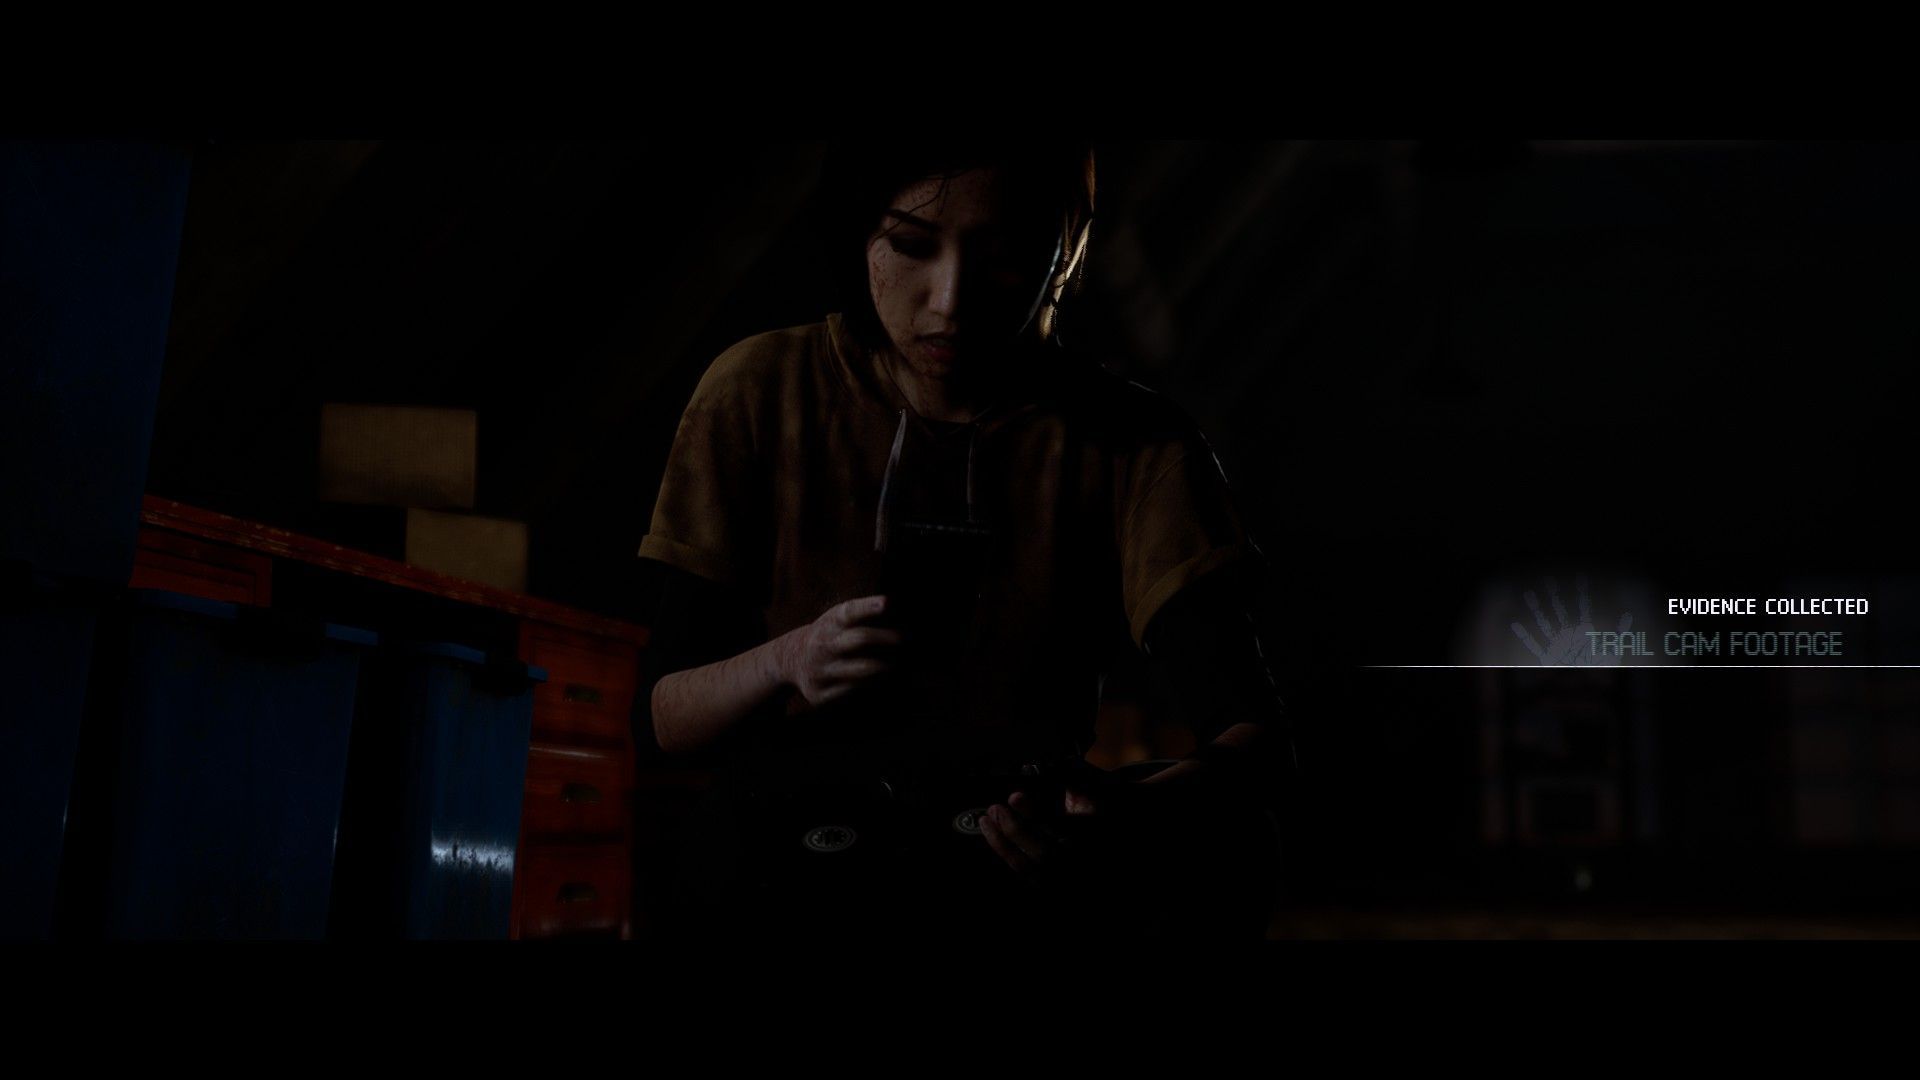
Finally, when you enter the cabin and gain control of Kaitlyn (or possibly Dylan, it might depend on who can survive the incident in the scrapyard), immediately take the first set of stairs you come across on your right. Walk past the portrait (which gives you the option of preparing for the attack and advancing things) and past the top of the other flight of stairs, and into the room just past it. You should find yourself in what appears to be an arts and crafts room. Look around, and you should see another staircase leading up. Ascend to the attic from them, where you can find a bin right by a desk up there. Inspect it, and boom, the final piece of evidence is in the bag!
Two last things of note, though: First, if you just want an ending where the kids get off the hook, then you don't need every piece of evidence. This writer's own first run found them getting one of the good epilogues with only eight pieces of evidence. And second, no, as far as we can can tell, there's isn't any sort of ending where all of the Hacketts can like, as at least Kaylee has to die in a moment out of your control in order to advance the plot, which means one dead body, and thus the end for evidence regardless. But congrats, you now know where to find all of the evidence in The Quarry! Now to just find a way to keep the counselors alive so that you have someone who can use it...

