The recent release of Dragon Quest XI S for the Nintendo Switch has sparked even more life in last year's phenomenal JRPG. It not only includes a massive main story, but there's an obscene number of side quests to partake in. This will no doubt extend your play time to over a hundred hours as you'll be helping numerous individuals in the world get their lives back in order.
These are side quests twenty-seven through forty-seven that take place after the world changing event. You'll know it when you see it as things aren't so great in Erdrea as everyone is fighting for their lives.

|
|

|

|
Worth its Salt
|
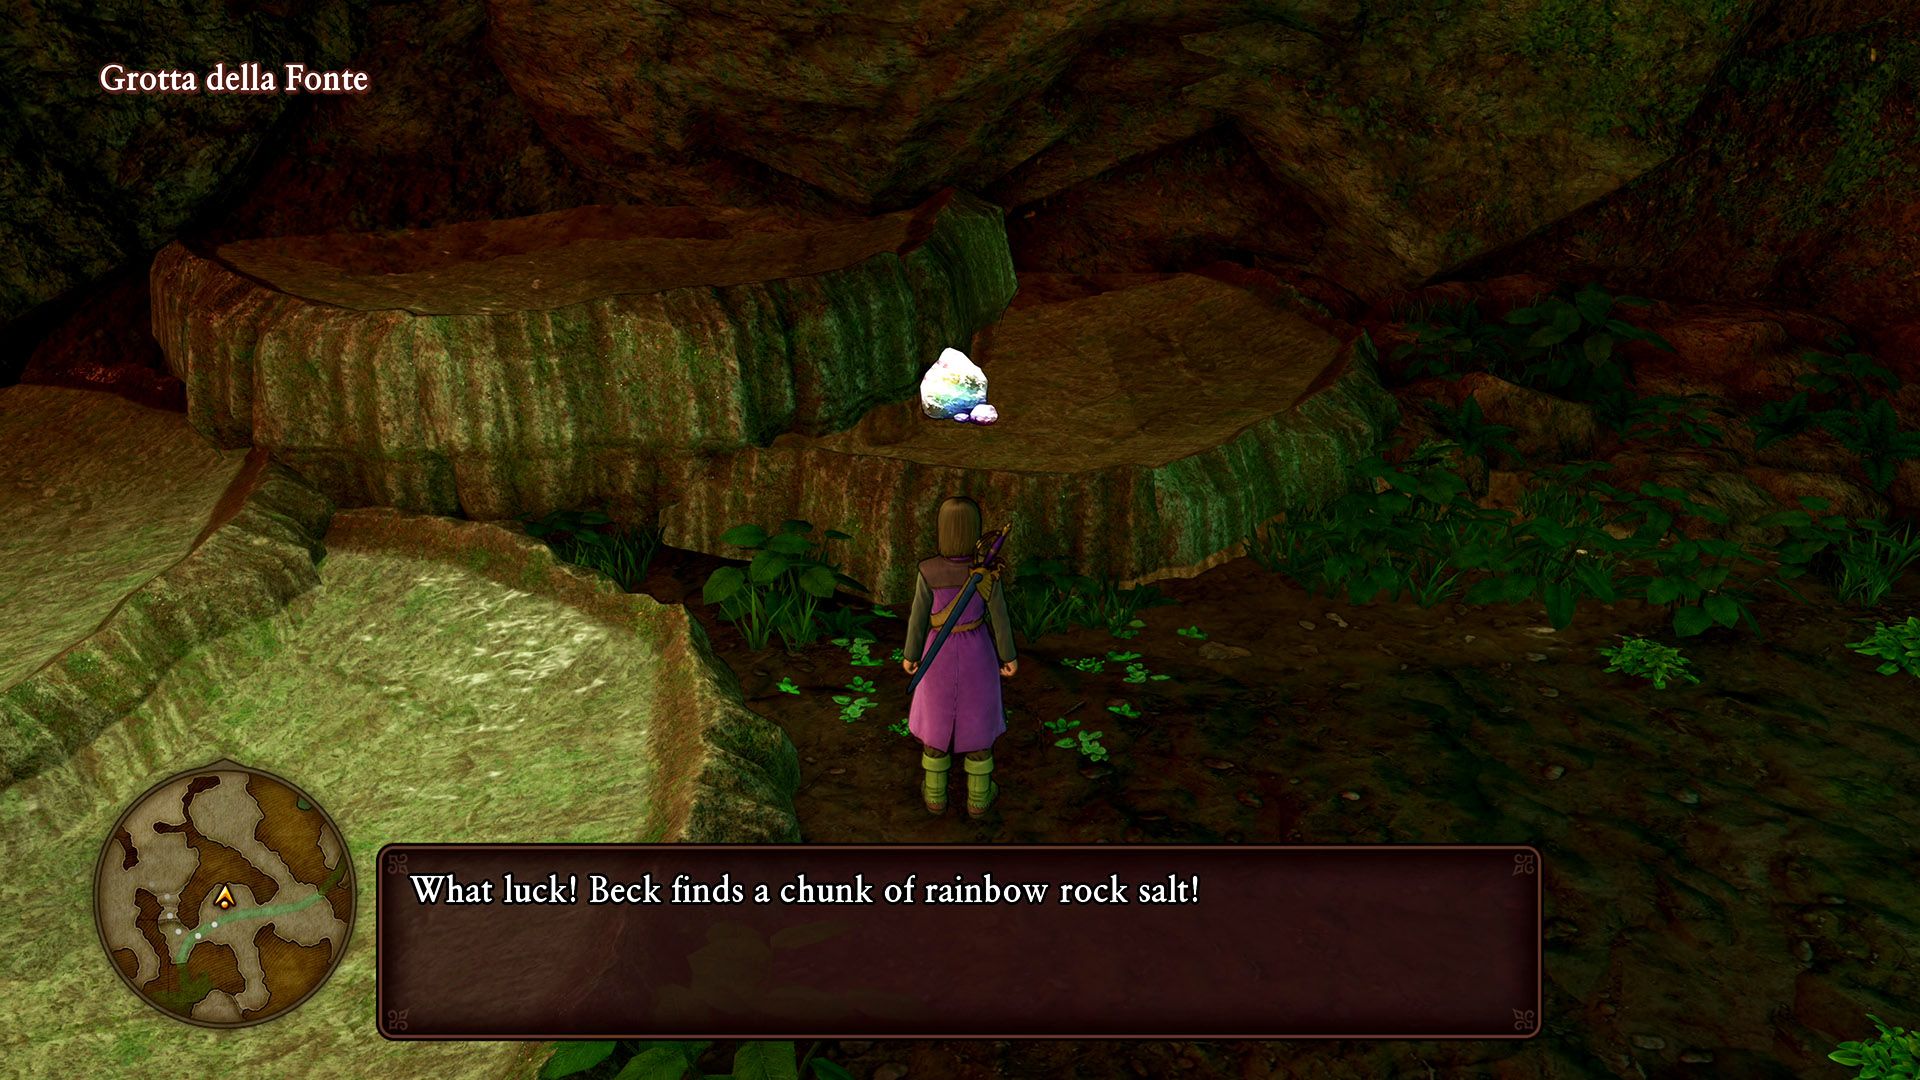
One of the first side quests after the major story event, this has you finding rainbow rock salt in Grotta della Fonte. Because your fast travel spots have been removed, head to Laguna di Gondolia and enter through the waterfall. Just around the corner from the campire and next to the stream going through the middle of the dungeon, you will find the rock salt. Simply bring it back to the travelling chef and collect your ore. |
A Right Riddle
|
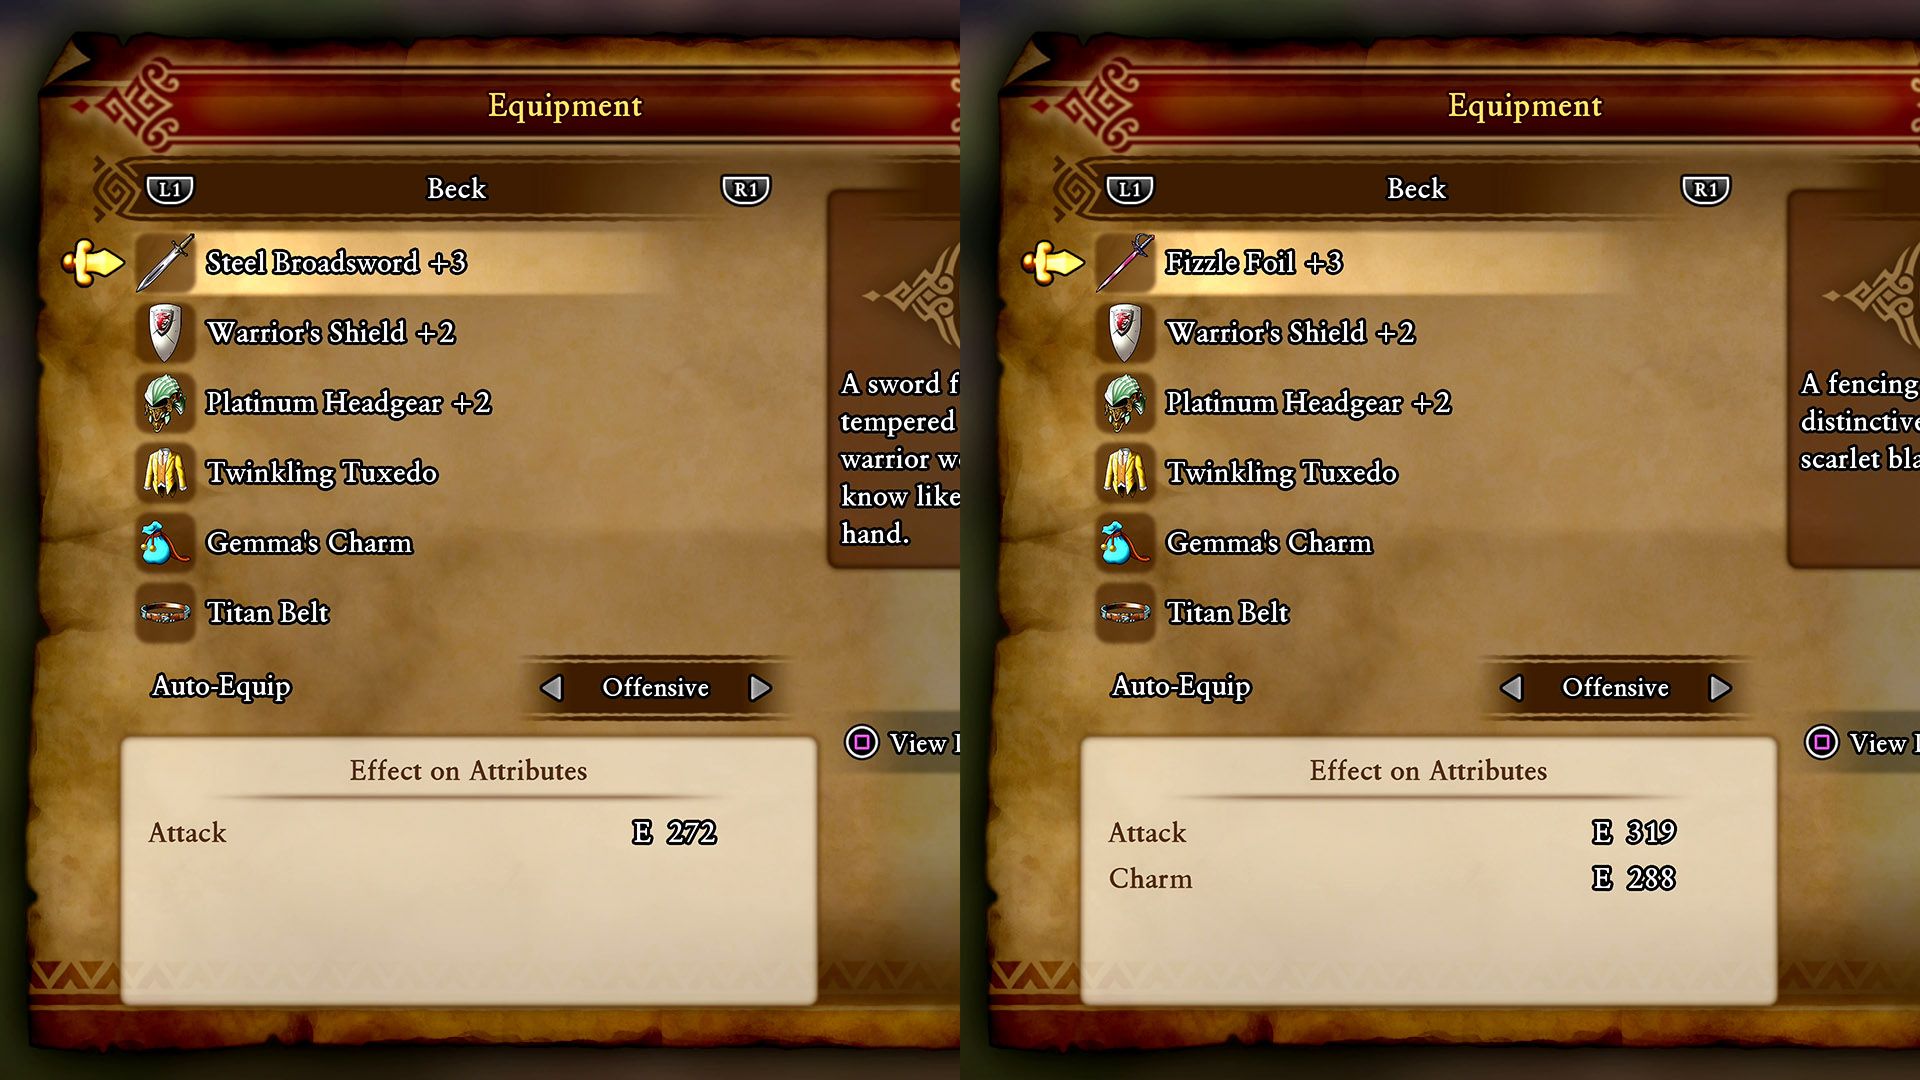
This is a fun one. Decipher the riddle this little squirt says, and equip the right equipment. For the first of two riddles, you will need to find a sword that resembles that of a thievery. Well, “Steel” (steal) Broadsword does the trick. The next sword is something that frustrates flagging. The solution: Fizzle Foil sword. And there you have it. You have conquered Conchella’s riddles duo. |
The Measure of a Man
|
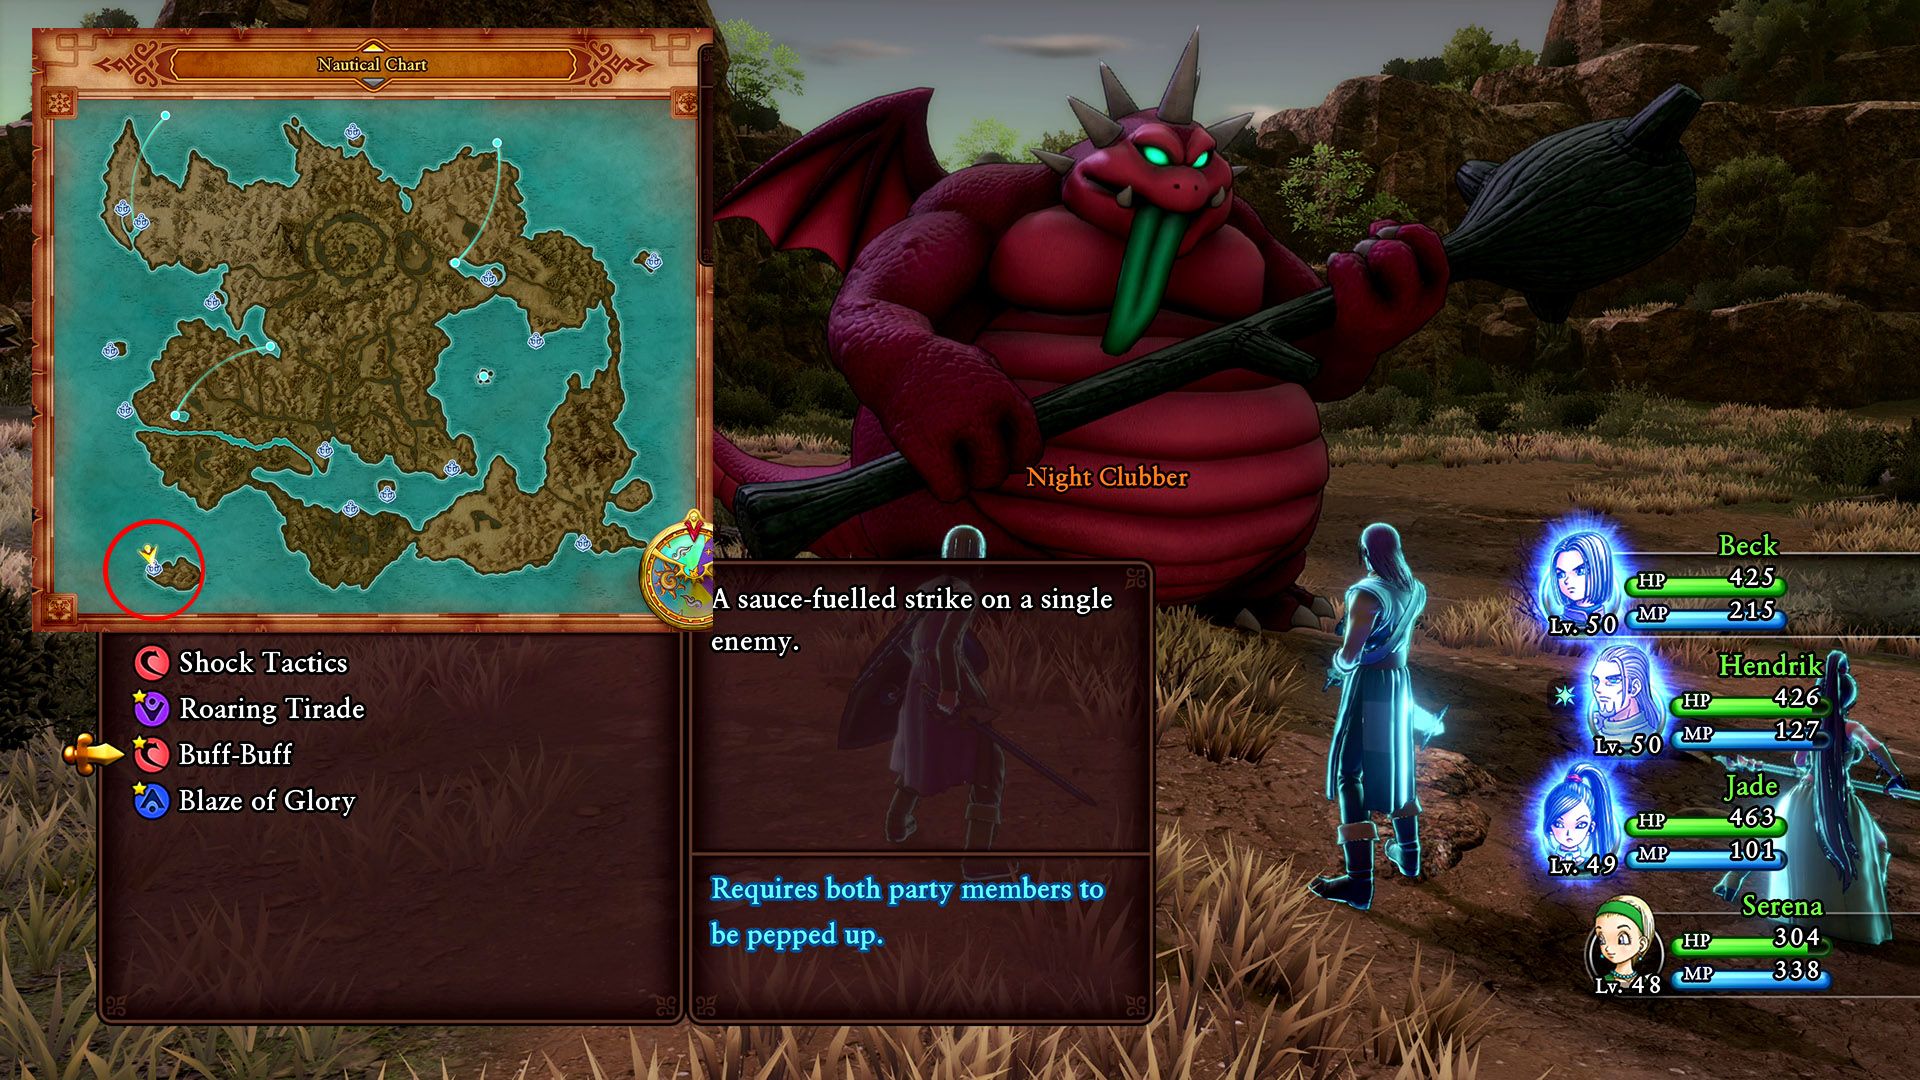
Time to kill off a big Night Clubber with Jade’s Buff-Buff skill. Jade should already have her qualifications, but you’ll need the Hero’s Greatsword skill, Unbridled Blade, which is two spots up on the board and locked until you unlock the four skills around it. After you get this, head on over to the small island southwest, you’ll find a group of pink dragons at the end of the island. Just get one down to red health and use Jade and the Hero’s pep power Buff-Buff to finish it off. Presto. The Tear is yours. |
Understanding Angri-La
|
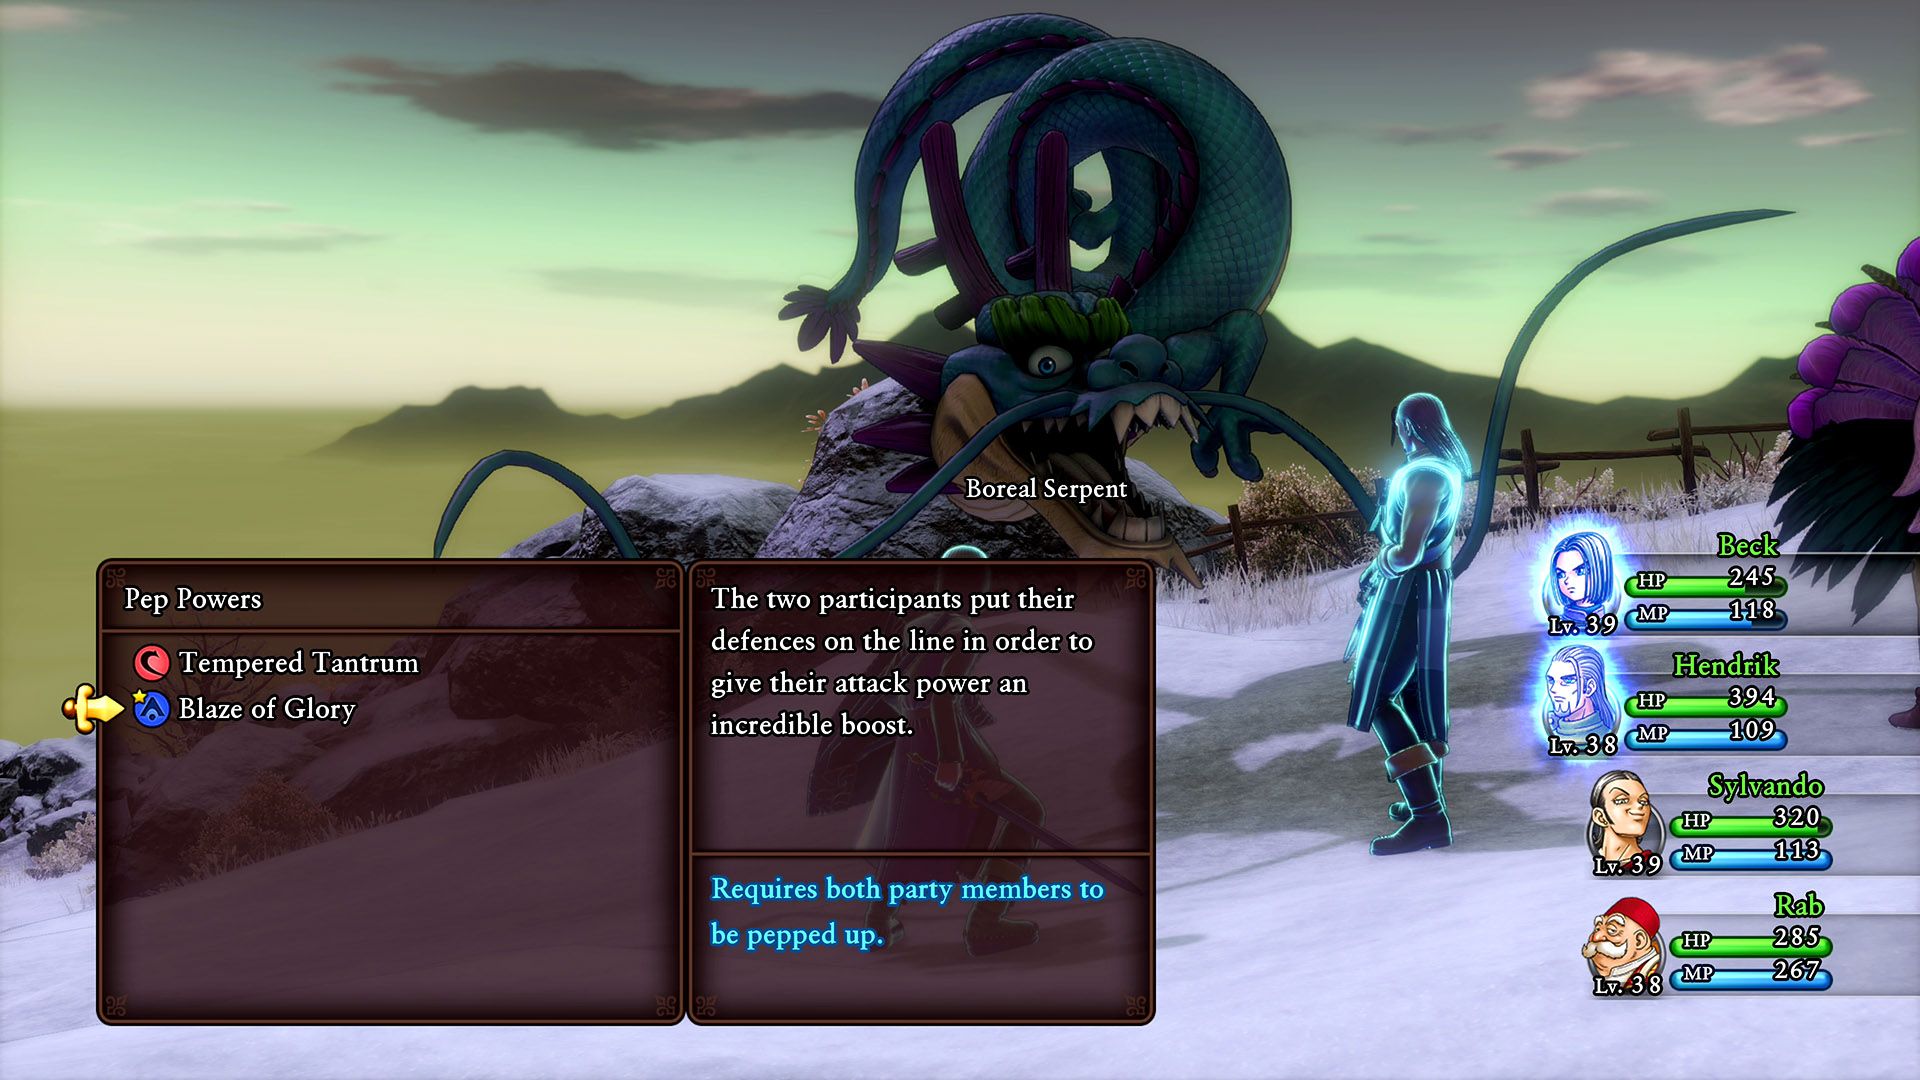
Another Pep Power quest right after the last one. This one requires the Hero and Hendrik combining forces for Blaze of Glory. Head just outside of Angri-La and head west and down the slope to find flying dragons, which are the Boreal Serpents. Attack one and cast the Pep. Finish it off and return to the monk back in Angri-La. |
When Knight Falls
|
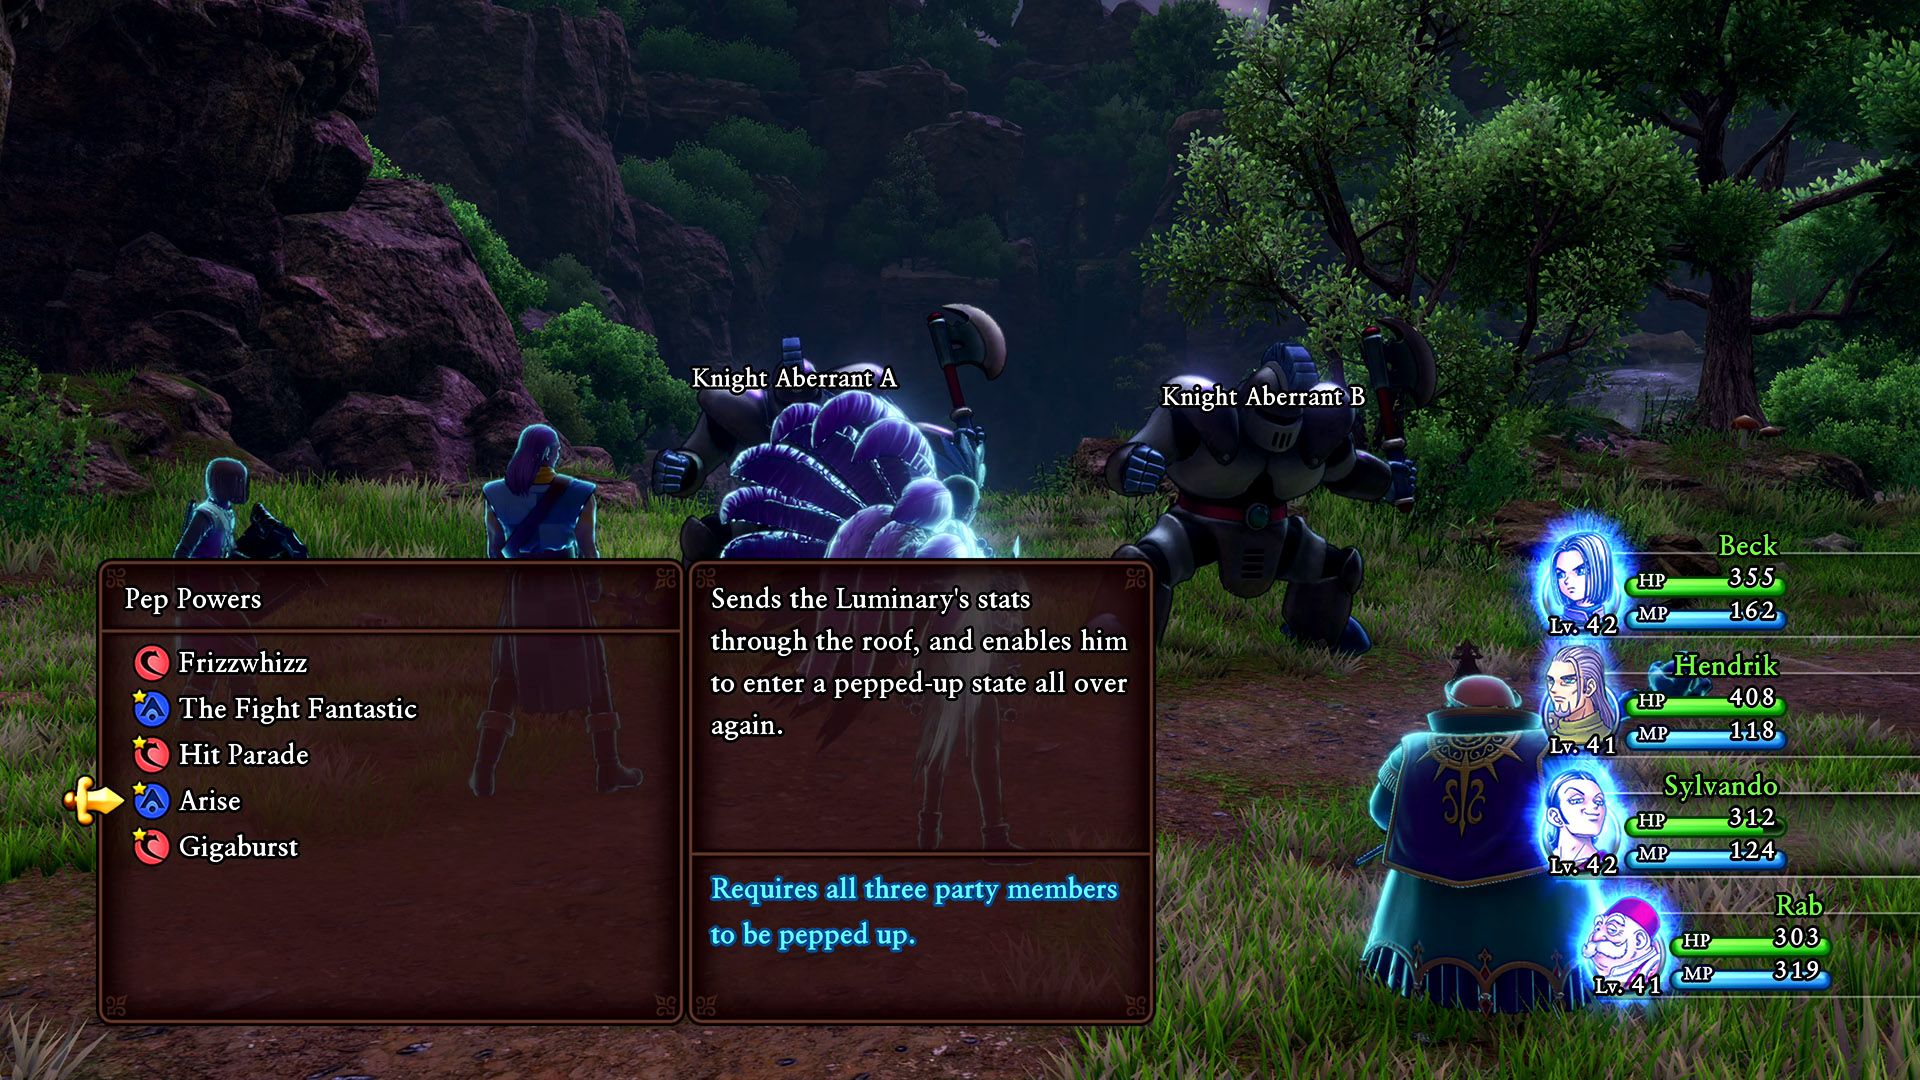
The pep power quests continue. This time you’ll need the Hero, Sylvando and Hendrik to cast Arise. Head over to the Eerie Eyrie and you’ll find two giant Mohawk-touting, axe-wielding knights roaming about outside the cave near the entrance. This will boost the hero to be able to easily dispatch of the two knights. Just finish off the knights and return to the older man to get your shield. |
One Last Request
|
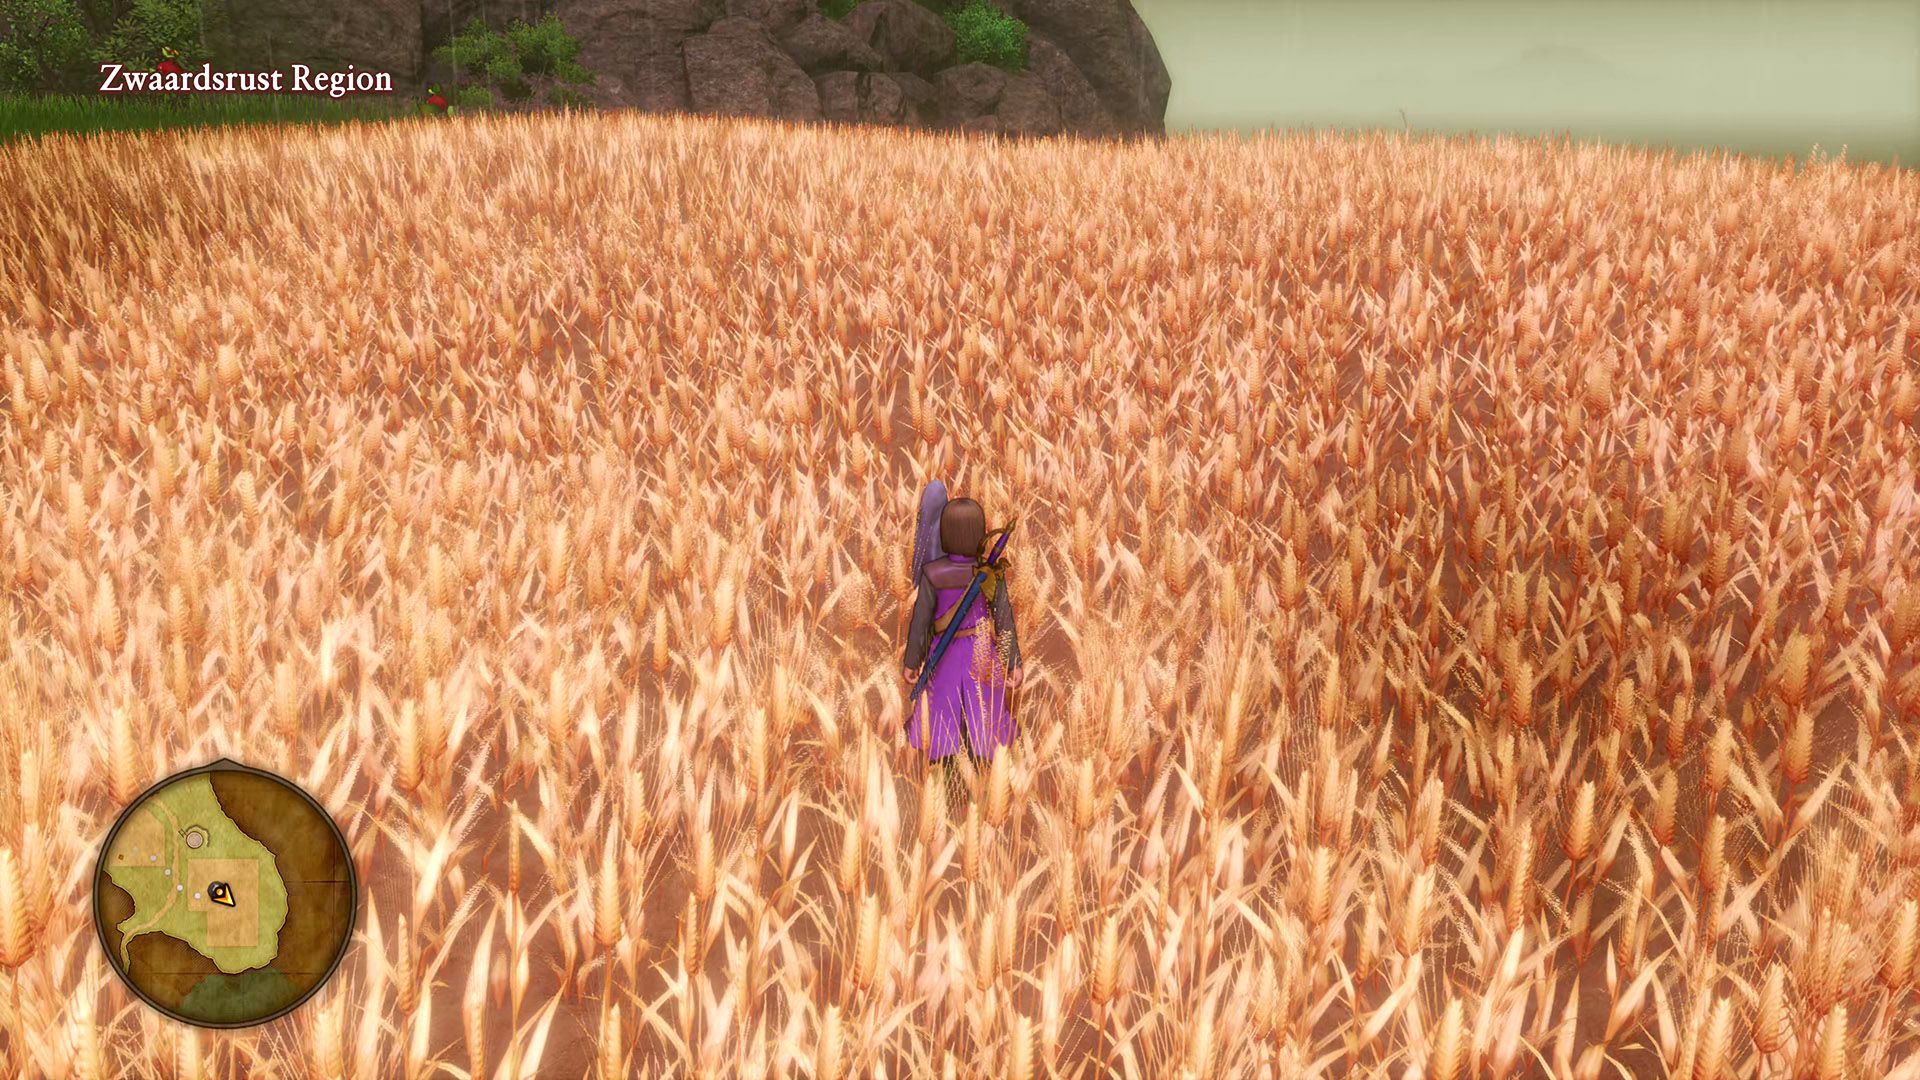
A g-g-g-ghost! This young little ghost girl wants you to find the treasure by l’Academie’s “most prolific medal-hunter”: Maxie van Bloem. The treasure is on her grave, which is located in the Zwaardsrust Region. Head down to the Warrior’s Rest Inn and head all the way to the east. Maxie’s grave is in the middle of the wheat field, which will reveal her greatest treasure is the breathtaking view she was buried next to. |
A Delayed Diploma
|
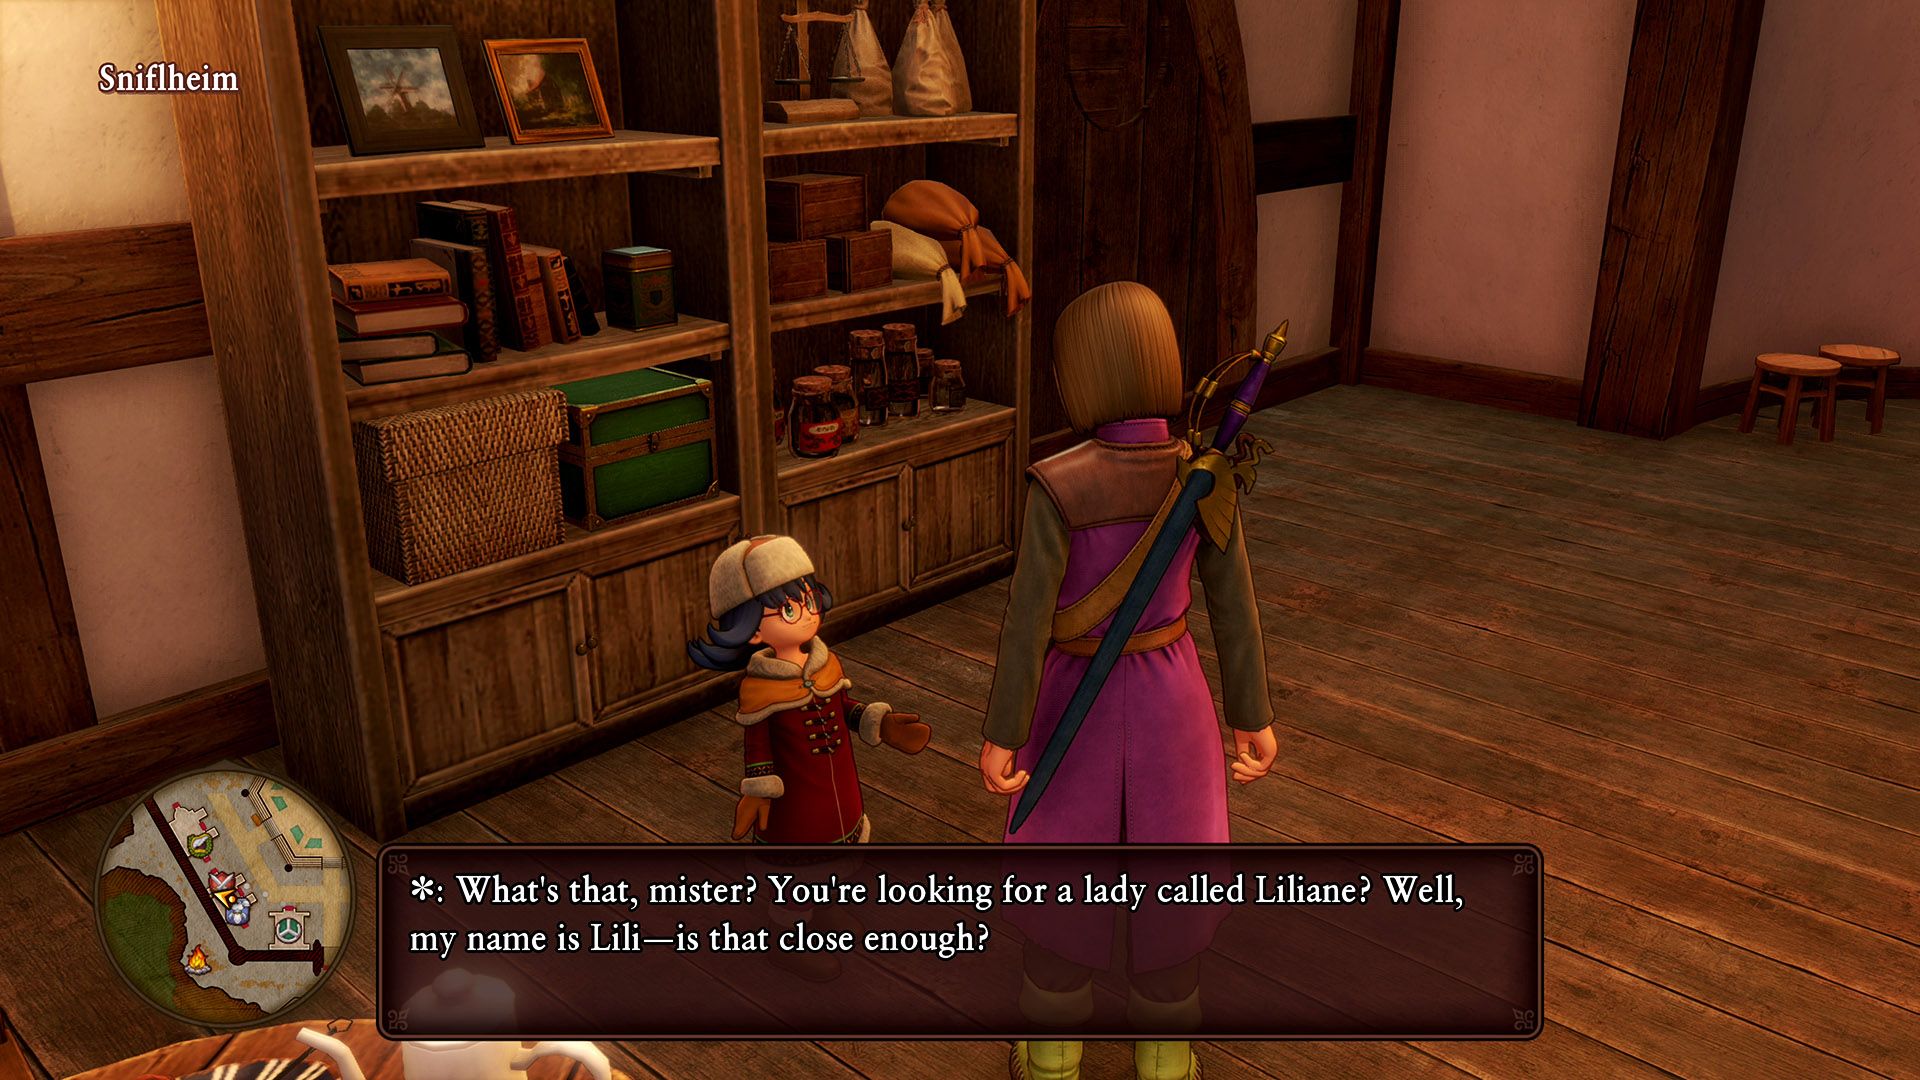
Time to give out a diploma to someone across the world. Mme Augustine wants you to deliver one that’s well overdue to someone in Sniflheim. The problem is that Liliane has passed away since she earned the diploma. So you will instead have to find her little granddaughter on the second floor of the weapon/armor house. Lili will accept the diploma in her stead, so it’s time to go back to l’Academie to break the unfortunate news. |
Madame Labouche’s Life Lesson
|
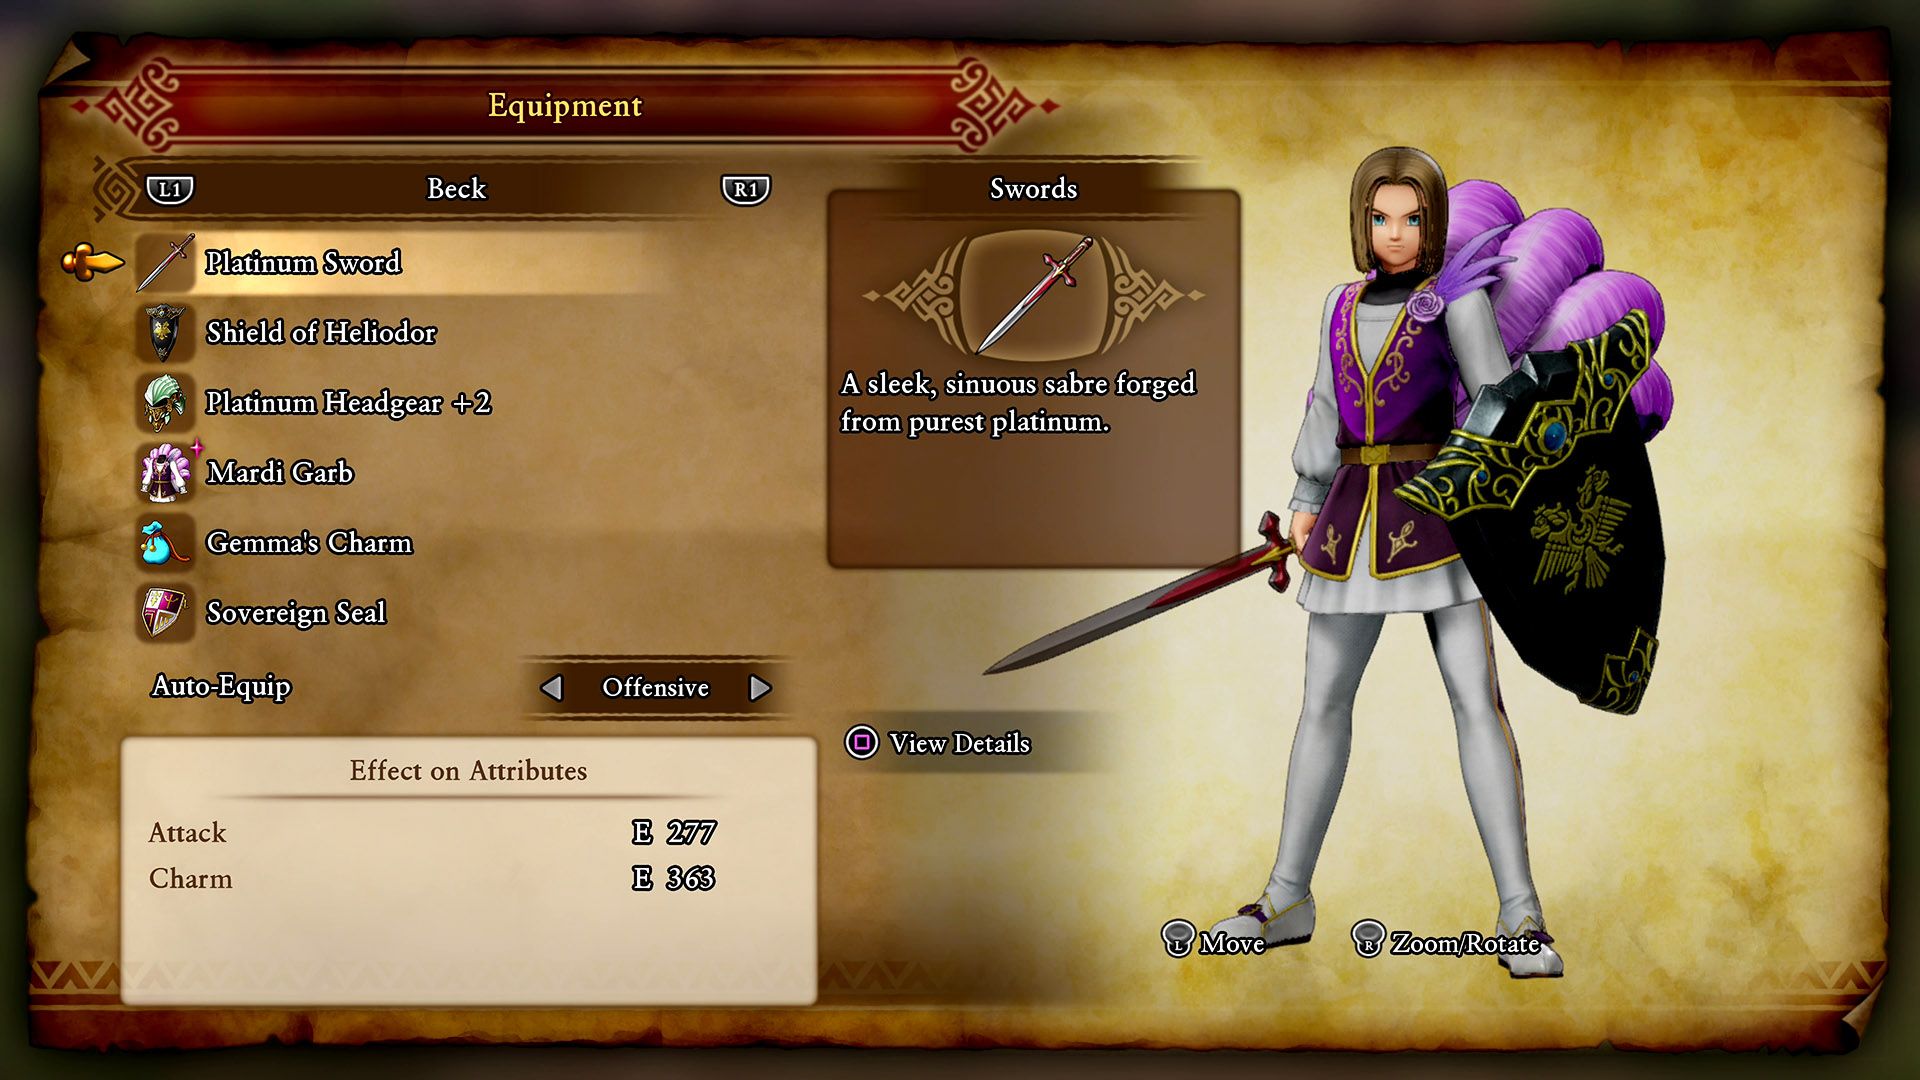
Time to be fabulous! This quest is a little hard to discern from the beginning, but all you need to do is equip your hero equipment that contains the most Charm possible. We did this at 363 charm, so you need at least more than 300. Make sure you complete, or partially into Sylvando’s return quest as the Mardi Garb will help with this quest significantly. |
A Fragrant Fille
|
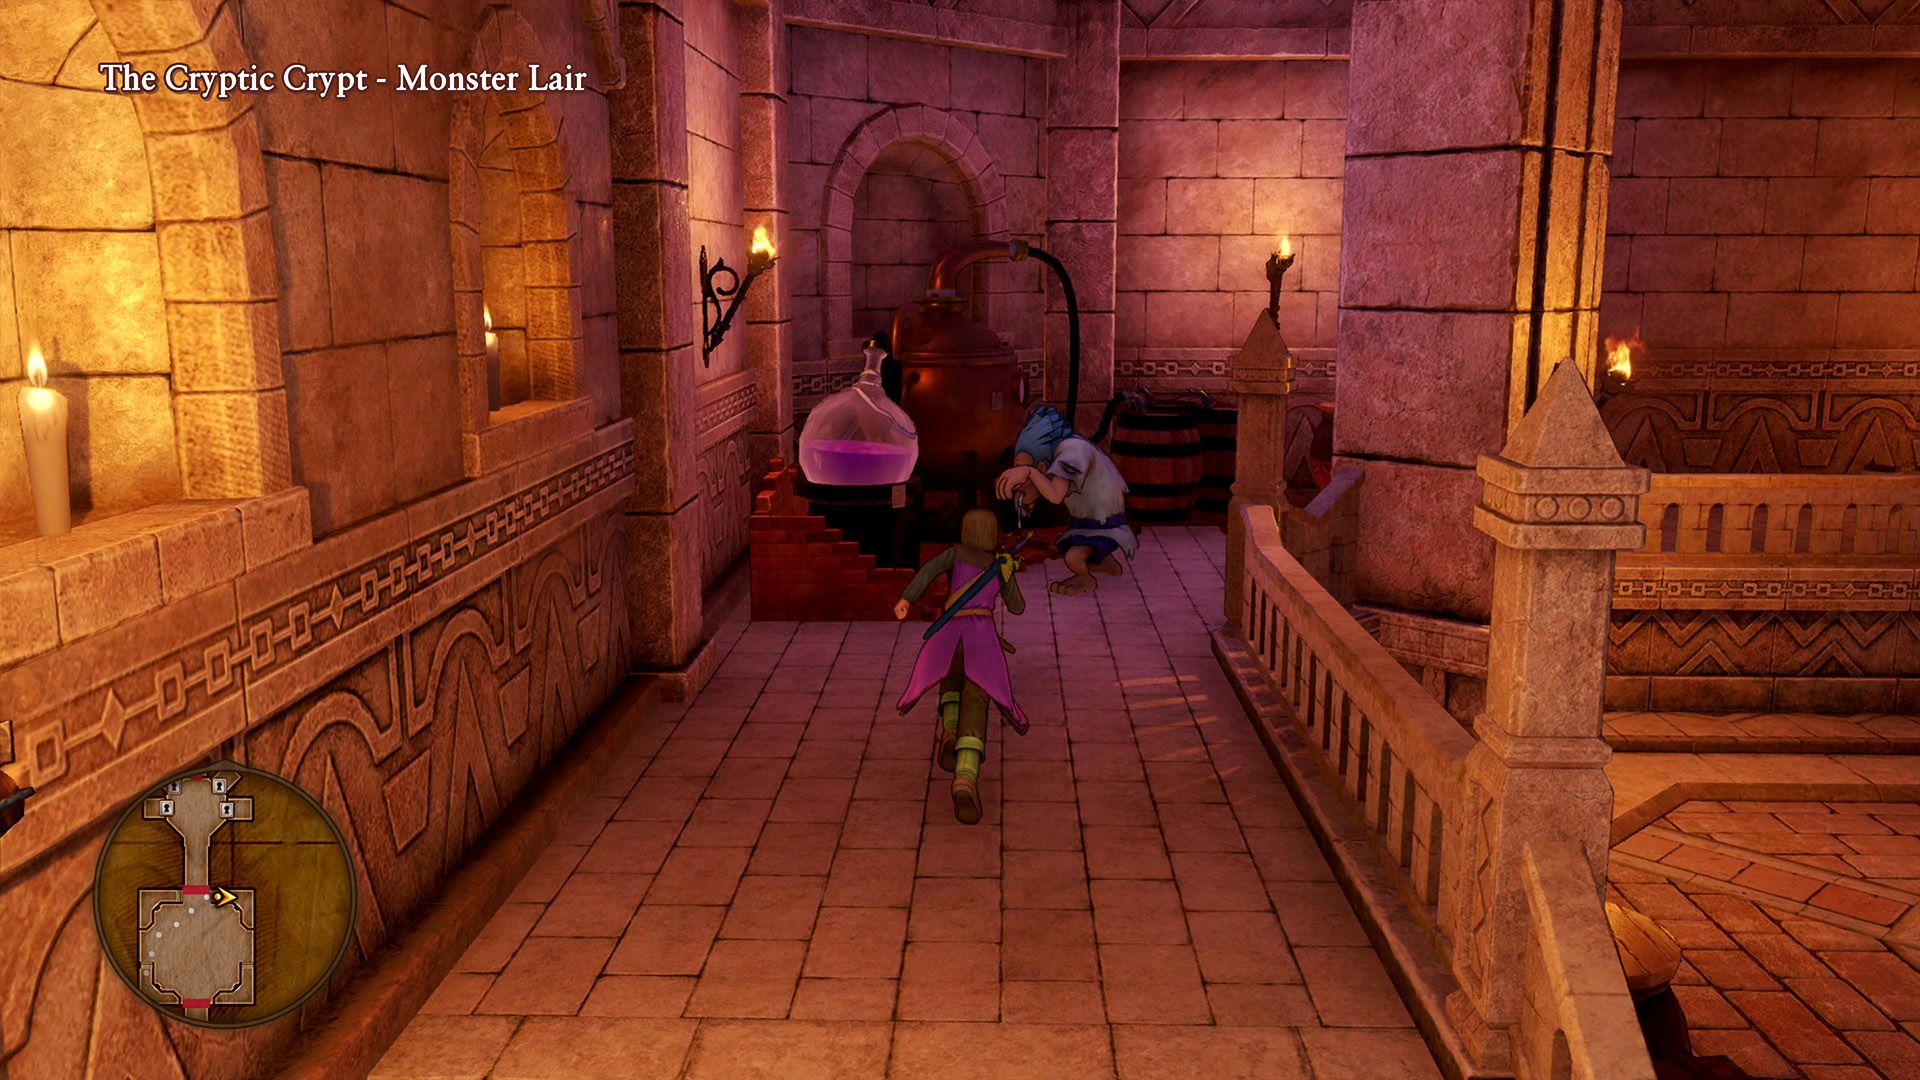
This is a comical quest. The young(?) zombie schoolgirl in front of the headmaster’s office will give you a task to track down her father so he can make perfume for her. His location is in The Cryptic Crypt outside of Hotto Steppe. Her entire family can be found her, horribly insulted when you ask if they’re Malodorine’s father. Her father’s location is in the room where you faced the boss very early on in the campaign, right next to the chemistry set, perfecting the perfume. |
Some Like it Hotto
|
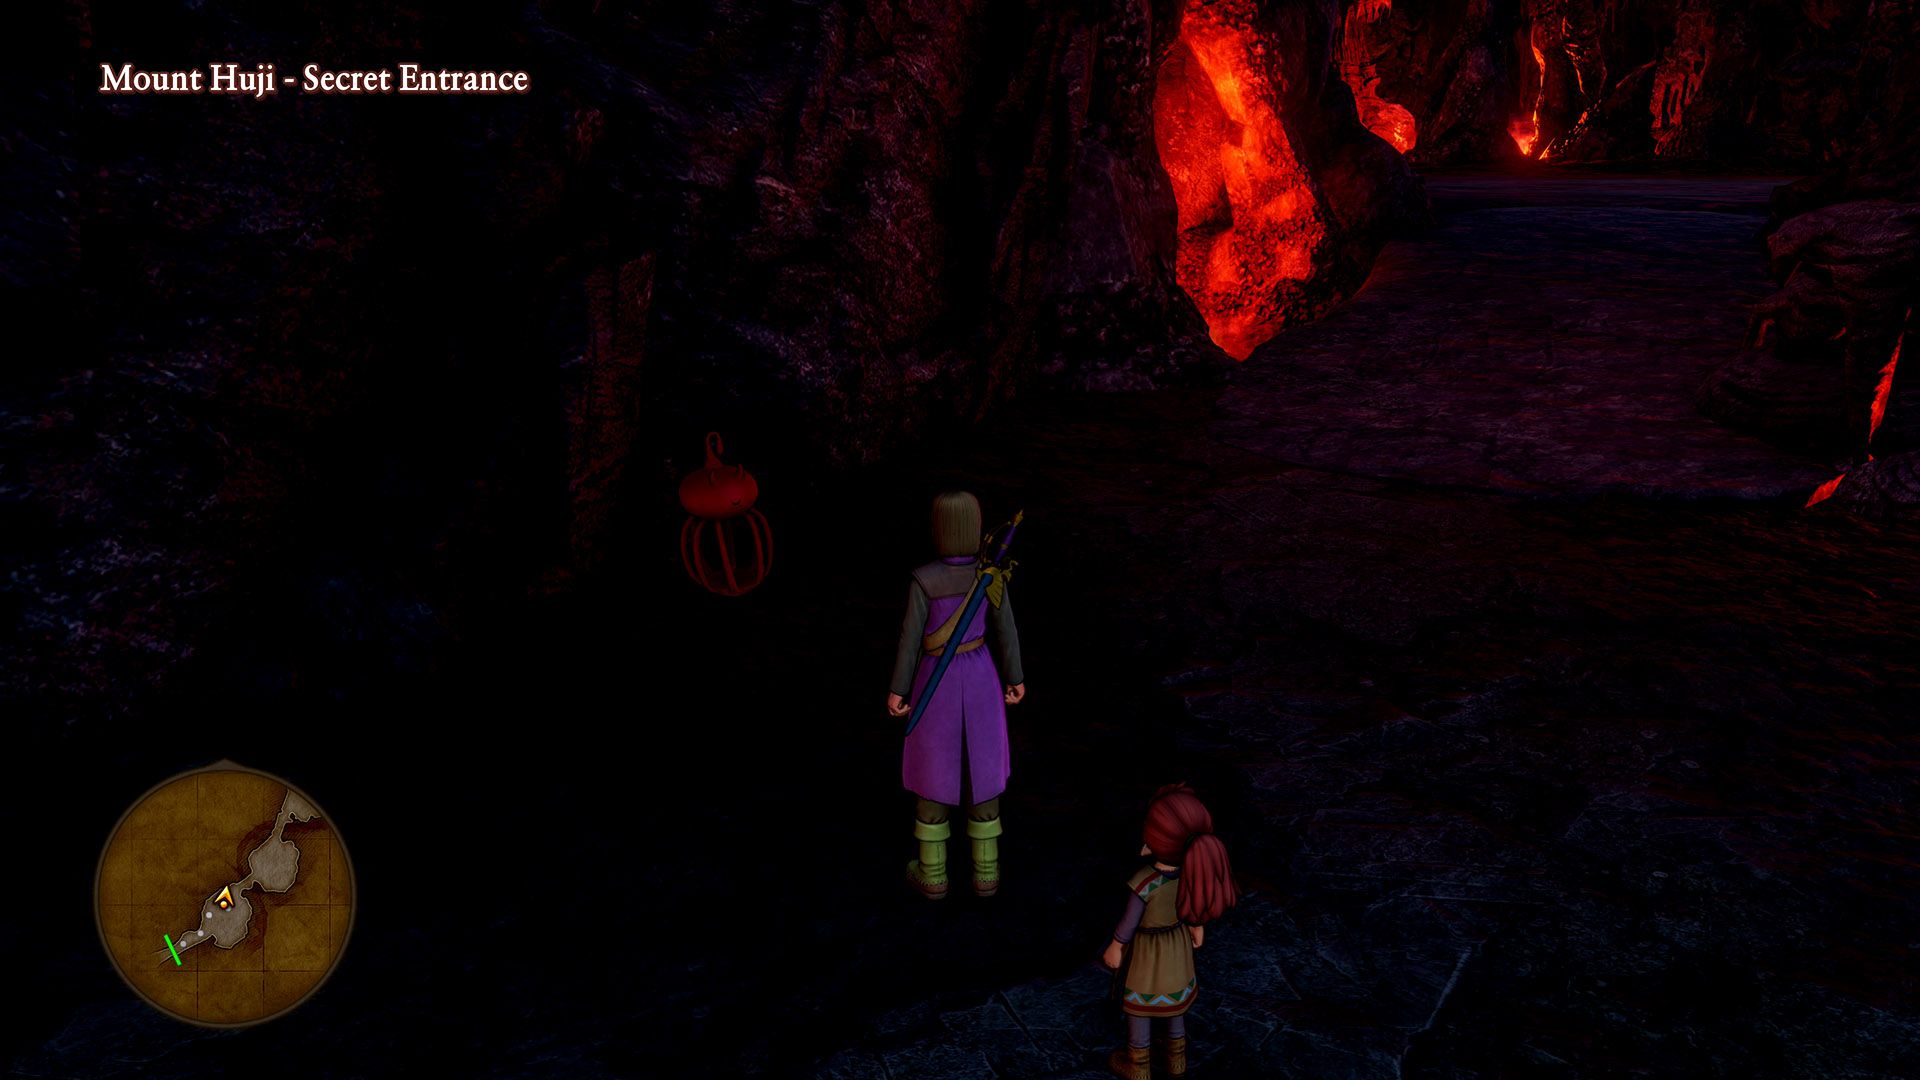
A little bit of play on words here. This is an easy quest, especially if you’re already doing the quest in Hotto involving the Priestess. Head into the mountain, be it through the secret entrance or the standard one, and find a lantern. Just defeat one and they’ll give you the fiery brimstone that needs to be returned to the woman outside of the bathhouse. |
A Rose Where No Rose Grows
|
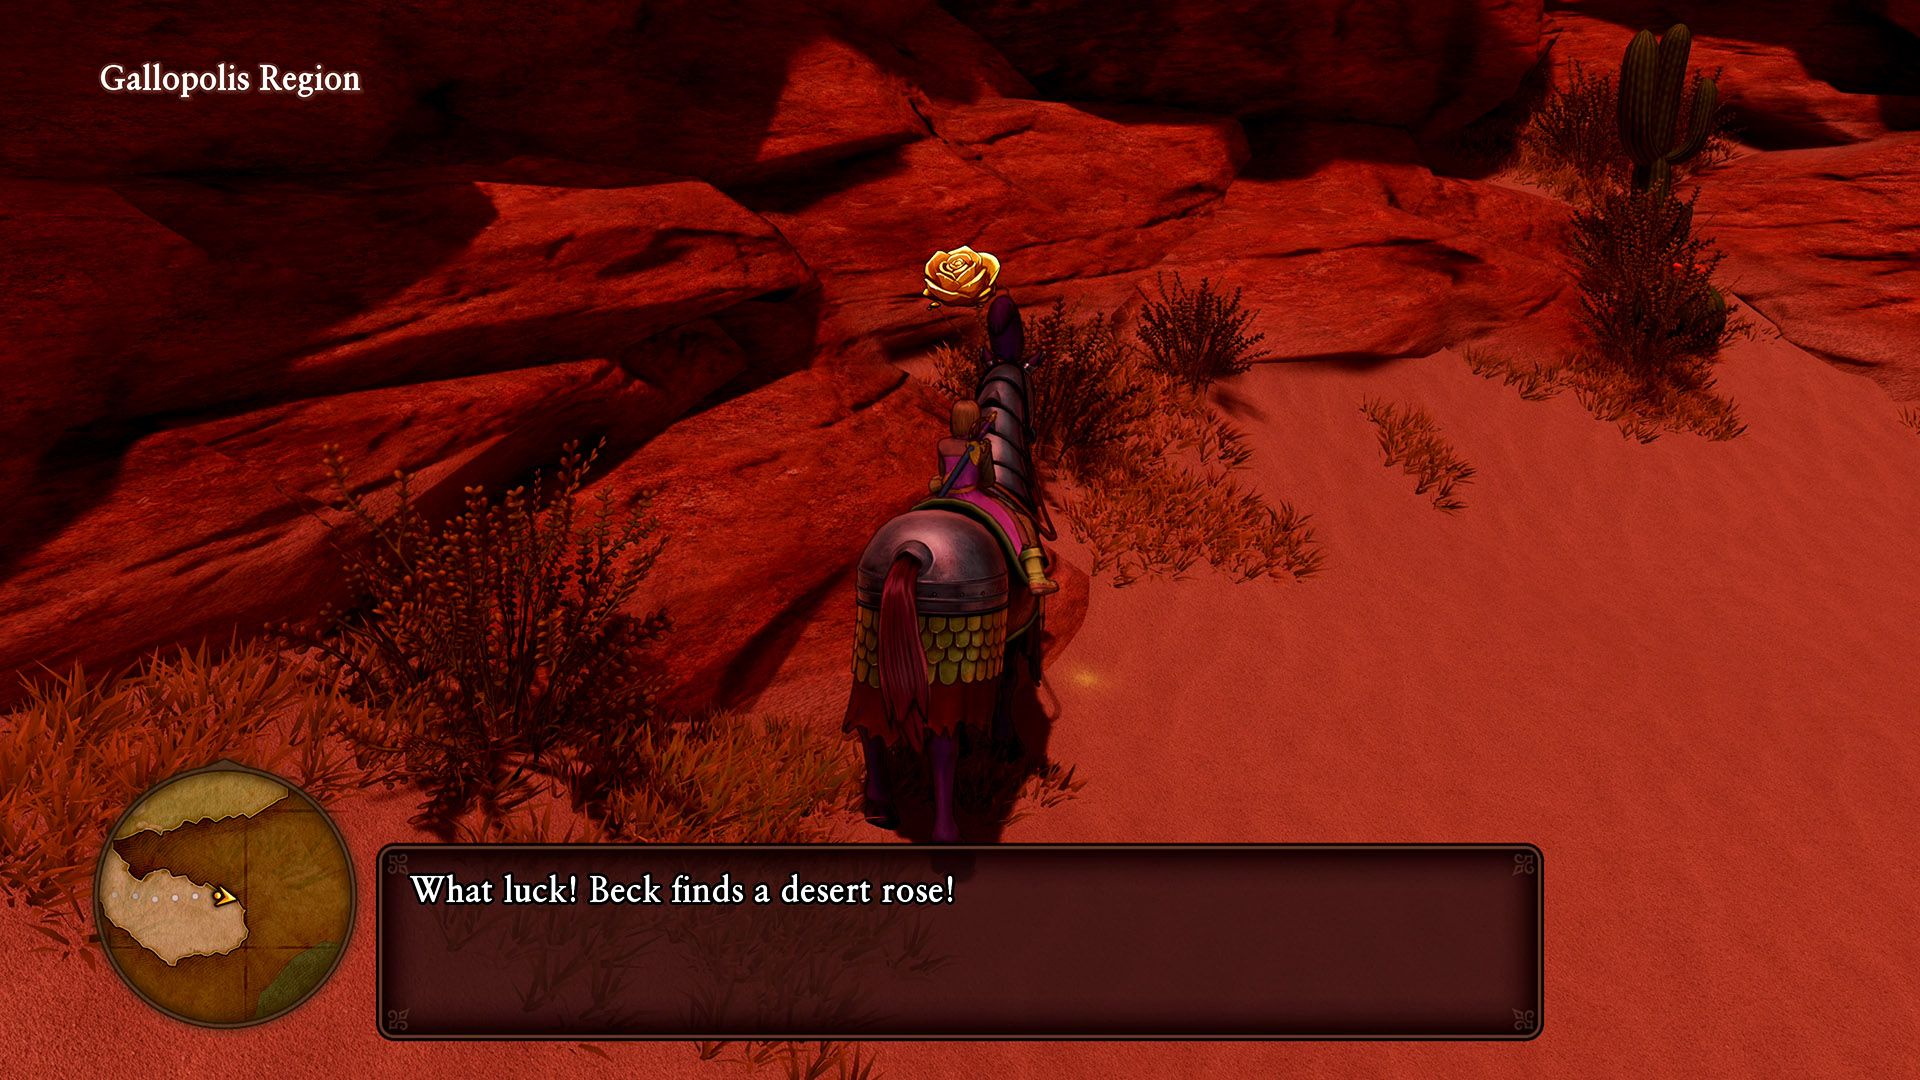
You’ll probably find a lot of Happy Hats through your journey, especially if you do our leveling technique, but this is a pretty simple quest to get done. When you accept this in Gondolia, head on over to the Gallopolis Region and head southwest. There will be a ton of giant lizards who submerge themselves into the sand with only a cactus to indicate their existence. Try to avoid them as they hit hard, unless of course you’re doing this much later in the story. Regardless, the desert rose is all the way to the end of the path on the left. |
The Search for the Sage’s Stone
|
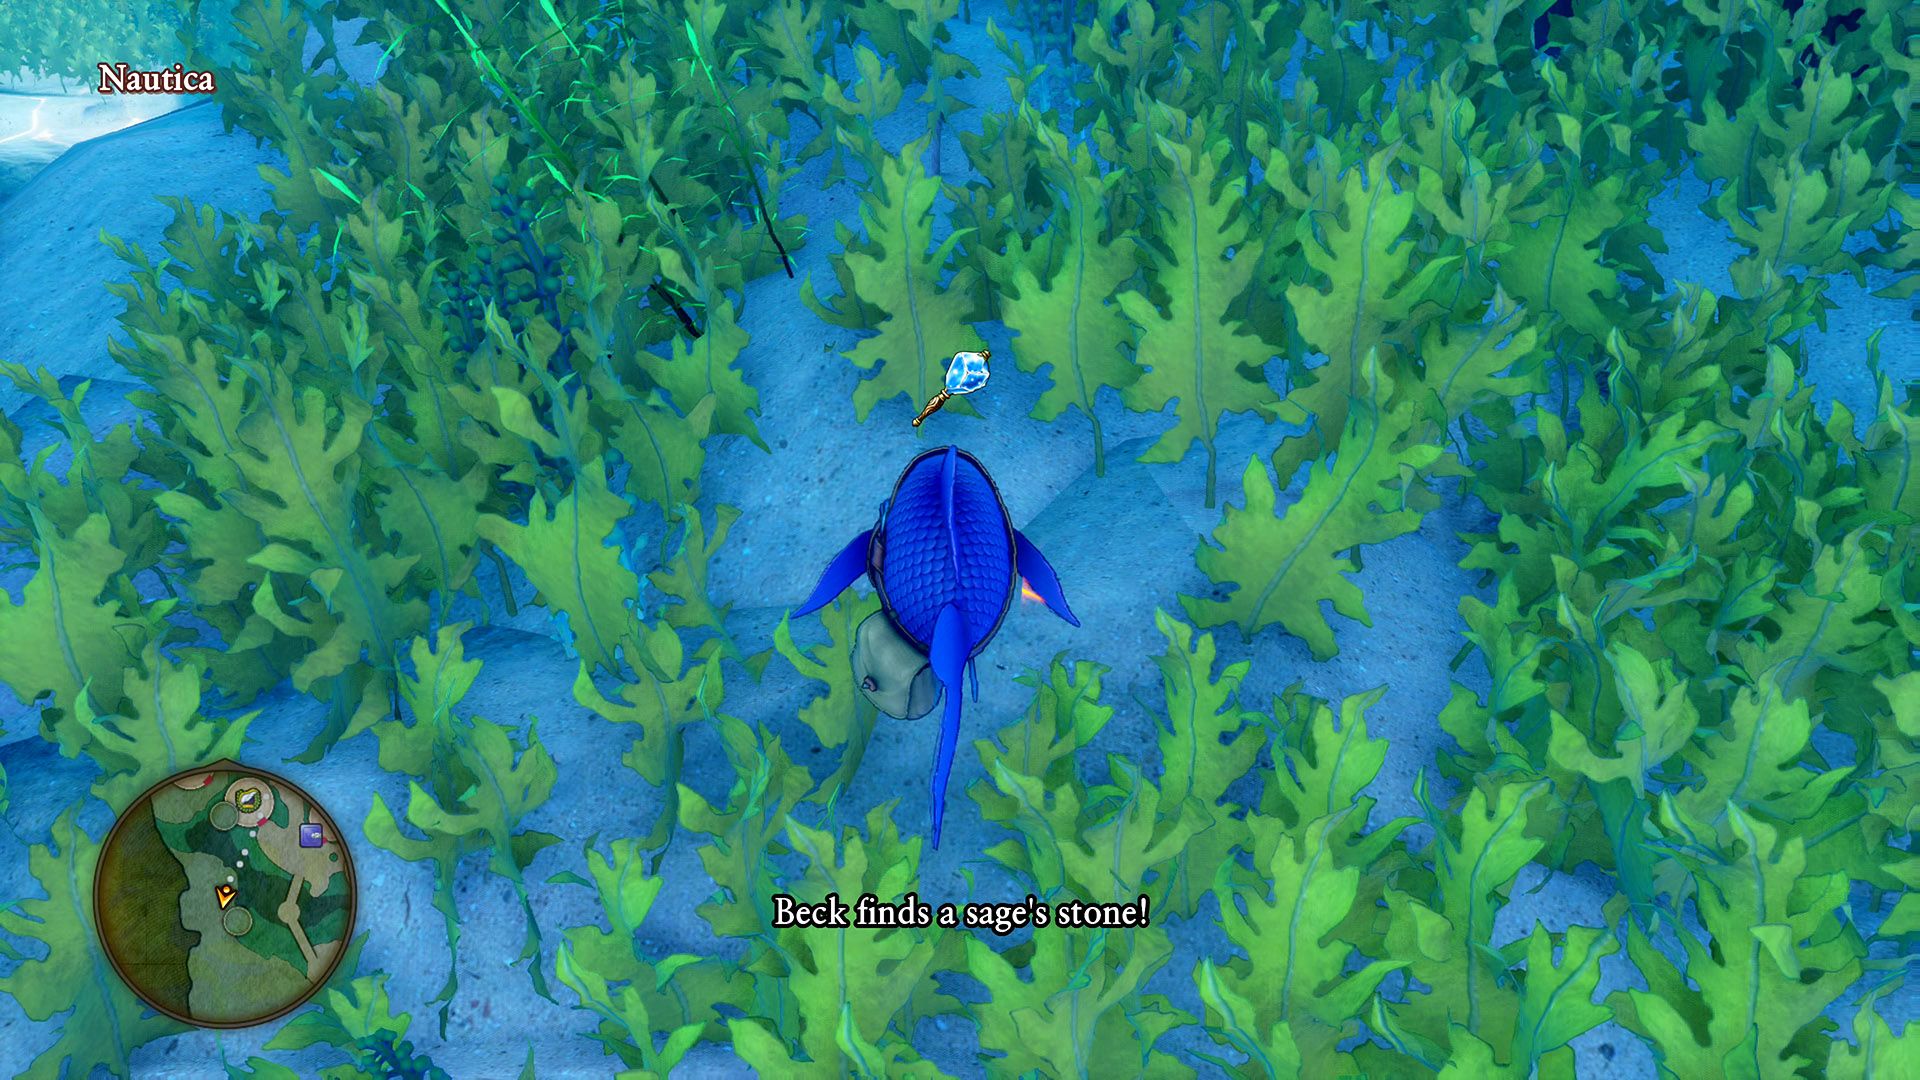
This elderly man is in search of the Sage’s Stone. You can technically find two in the game, but the second one is much later on. Head down to Nautica and ask the queen to turn you into a cute like fish. Ascend yourself high enough where, just south of the item hut, you can reach the cliffs above. The sage’s stone is conveniently found in the seaweed. Return to the elderly man to collect your reward, which is very useful for forging pretty good equipment. |
Soothing Seaweed
|
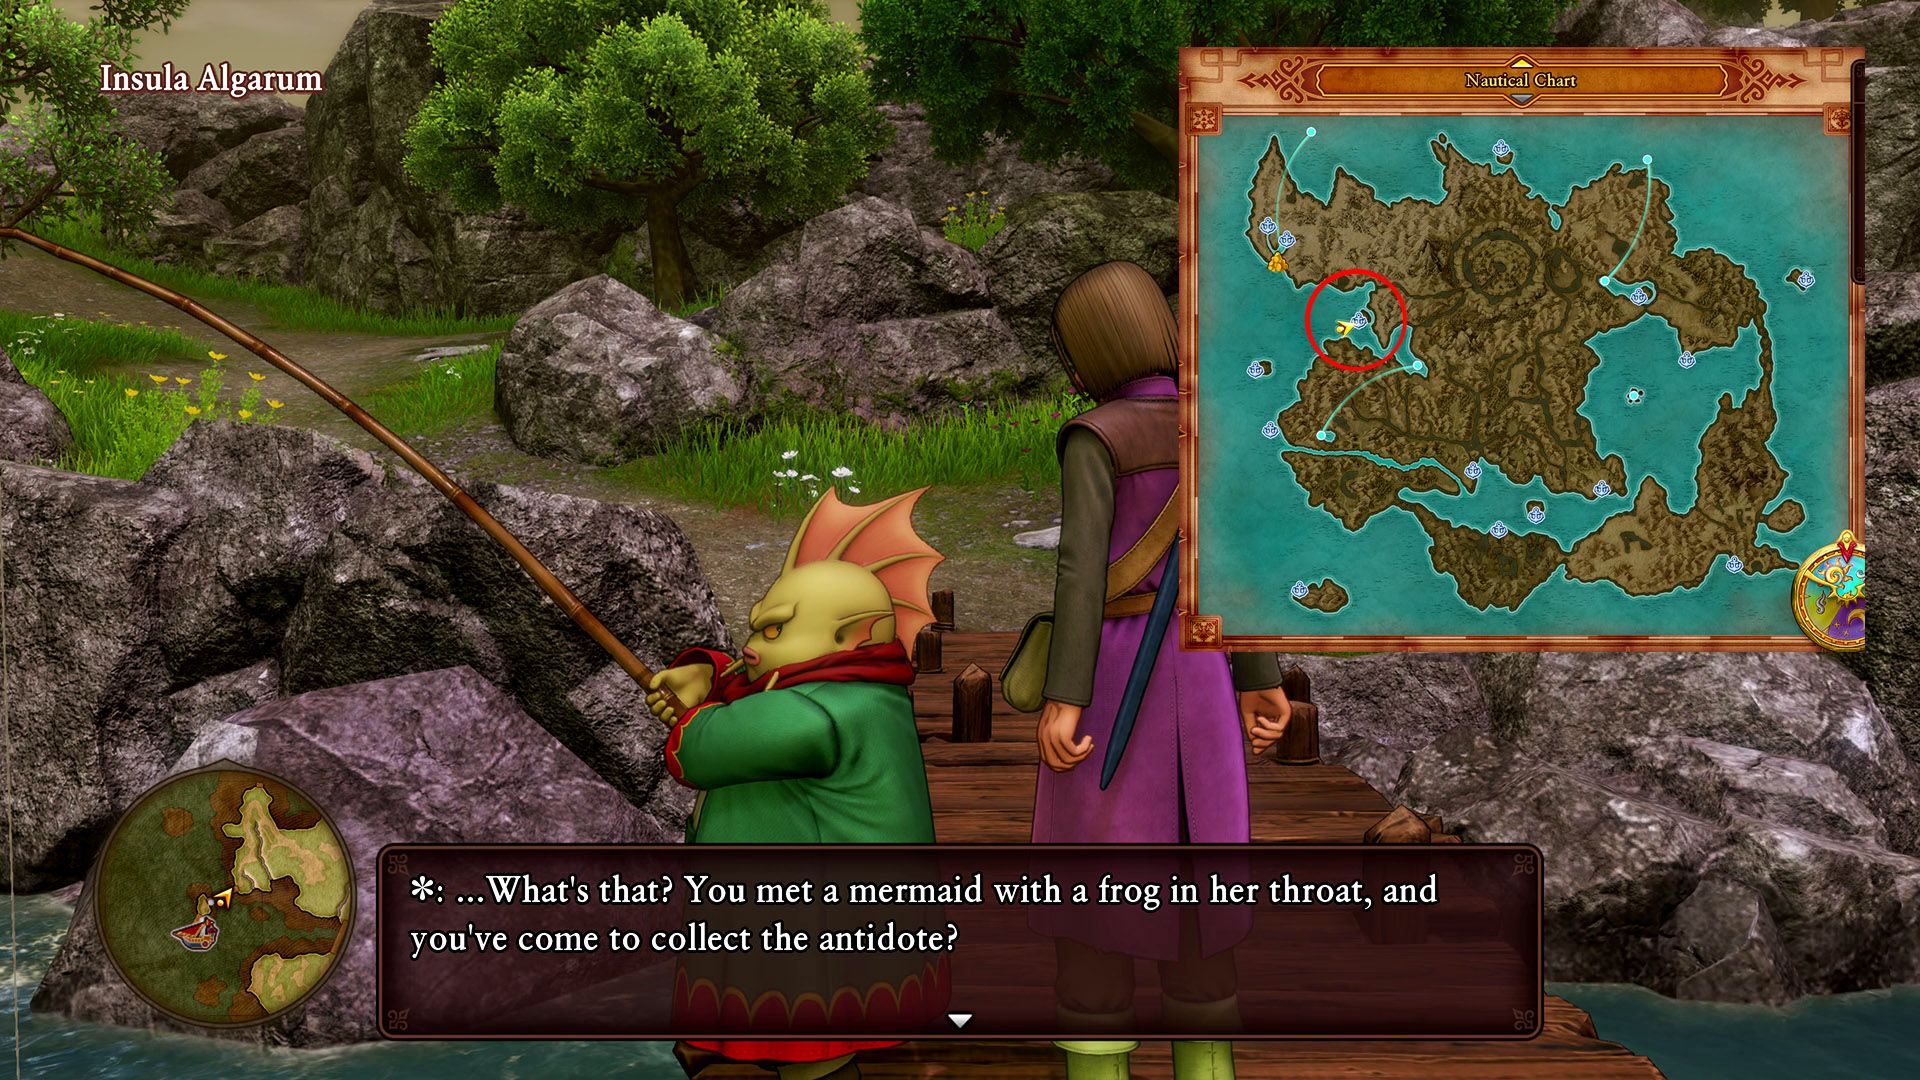
Another search and recovery mission. Fast travel to the wreckage you first met pink haired mermaid, and head northeast. On the island that goes inland a bit, you’ll immediately find a fishman… fishing. You will receive the piece of dulcet dulse from him. Head back to Lonalulu and give the boy the item so you can restore the mermaid’s lovely voice. |
My Kingdom for Kanaloamari
|
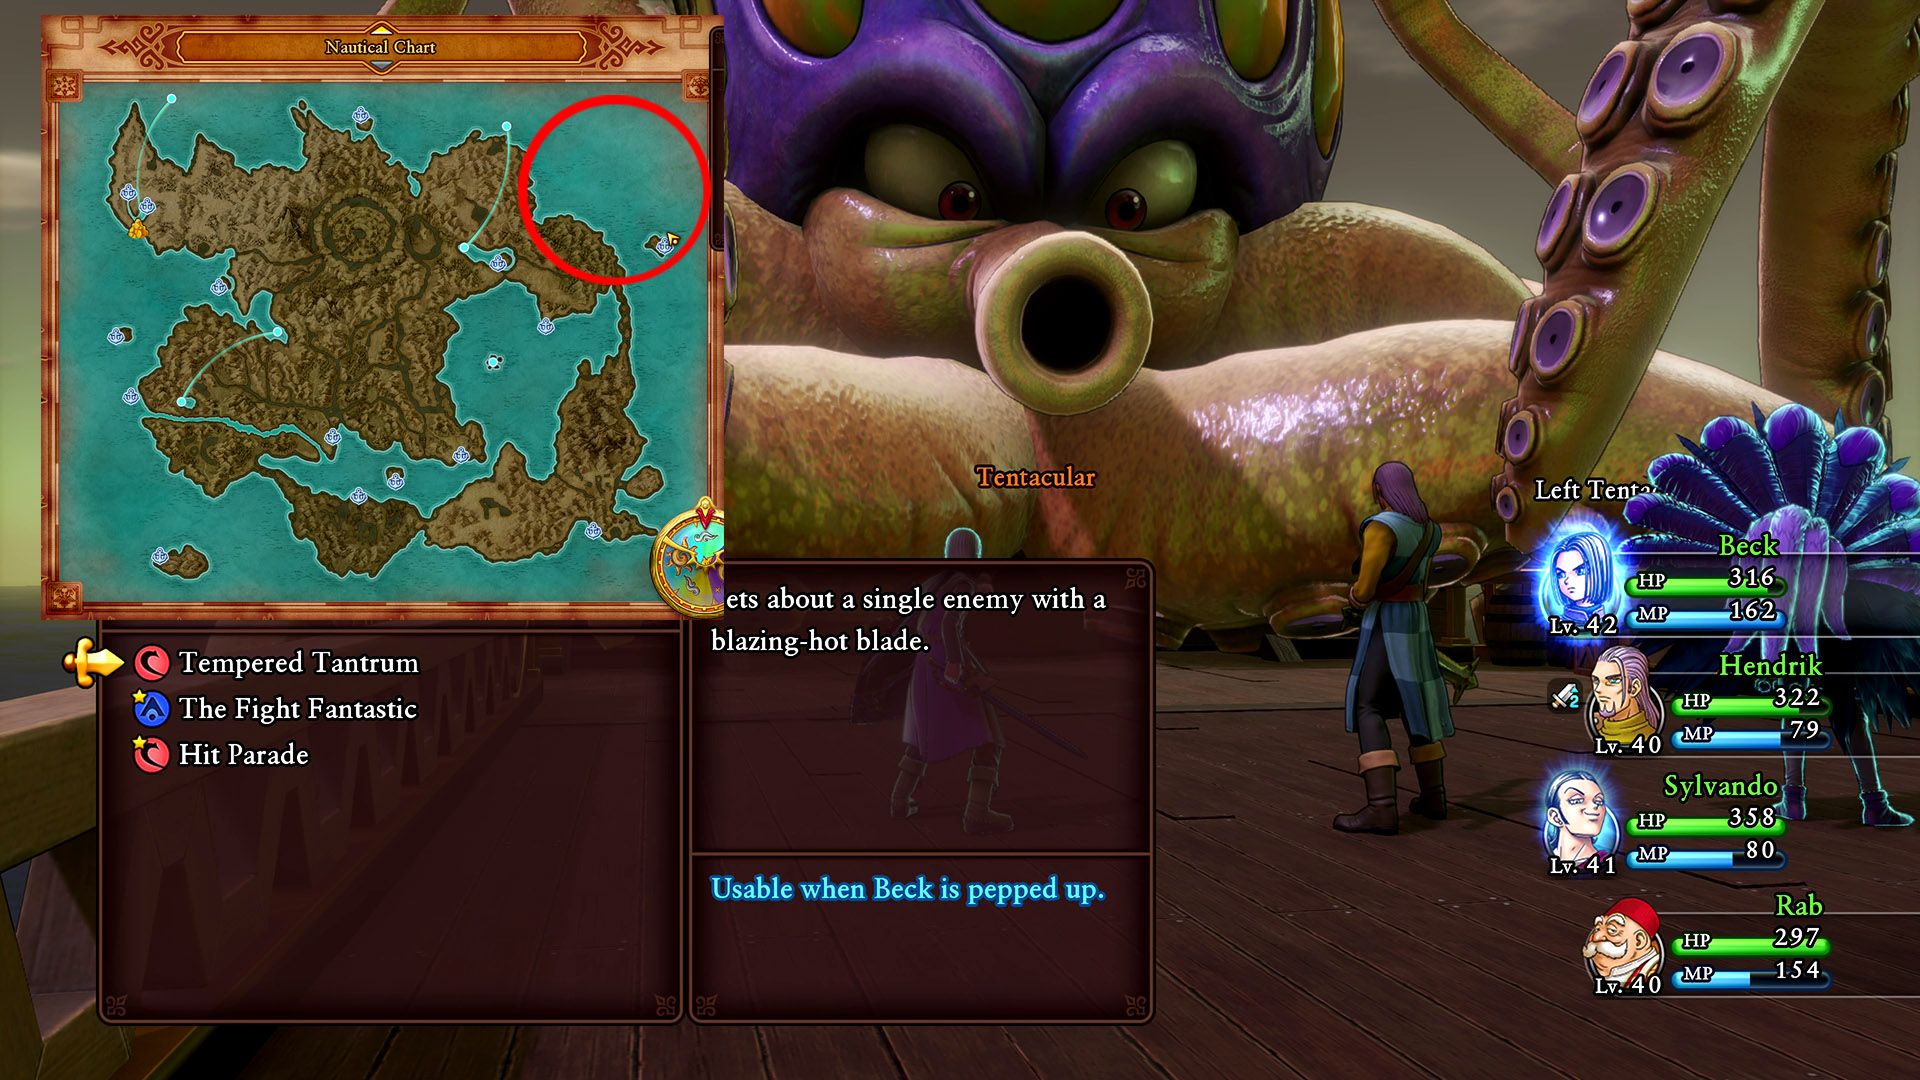
Remember that giant squid you fought when you first arrived in Lonalulu? Well you’re going to have to fight it again, but this time it should be much easier. It’s located near the island in the northeast of the map, but it can be found in the area from there until the north most island if you’re having trouble finding it. You will need to finish it off with Tempered Tantrum, which is the Hero and Sylvando. Take back the delicious serving of Kanaloamari and pick up your boomerang. |
A Little Bit of Lantern
|
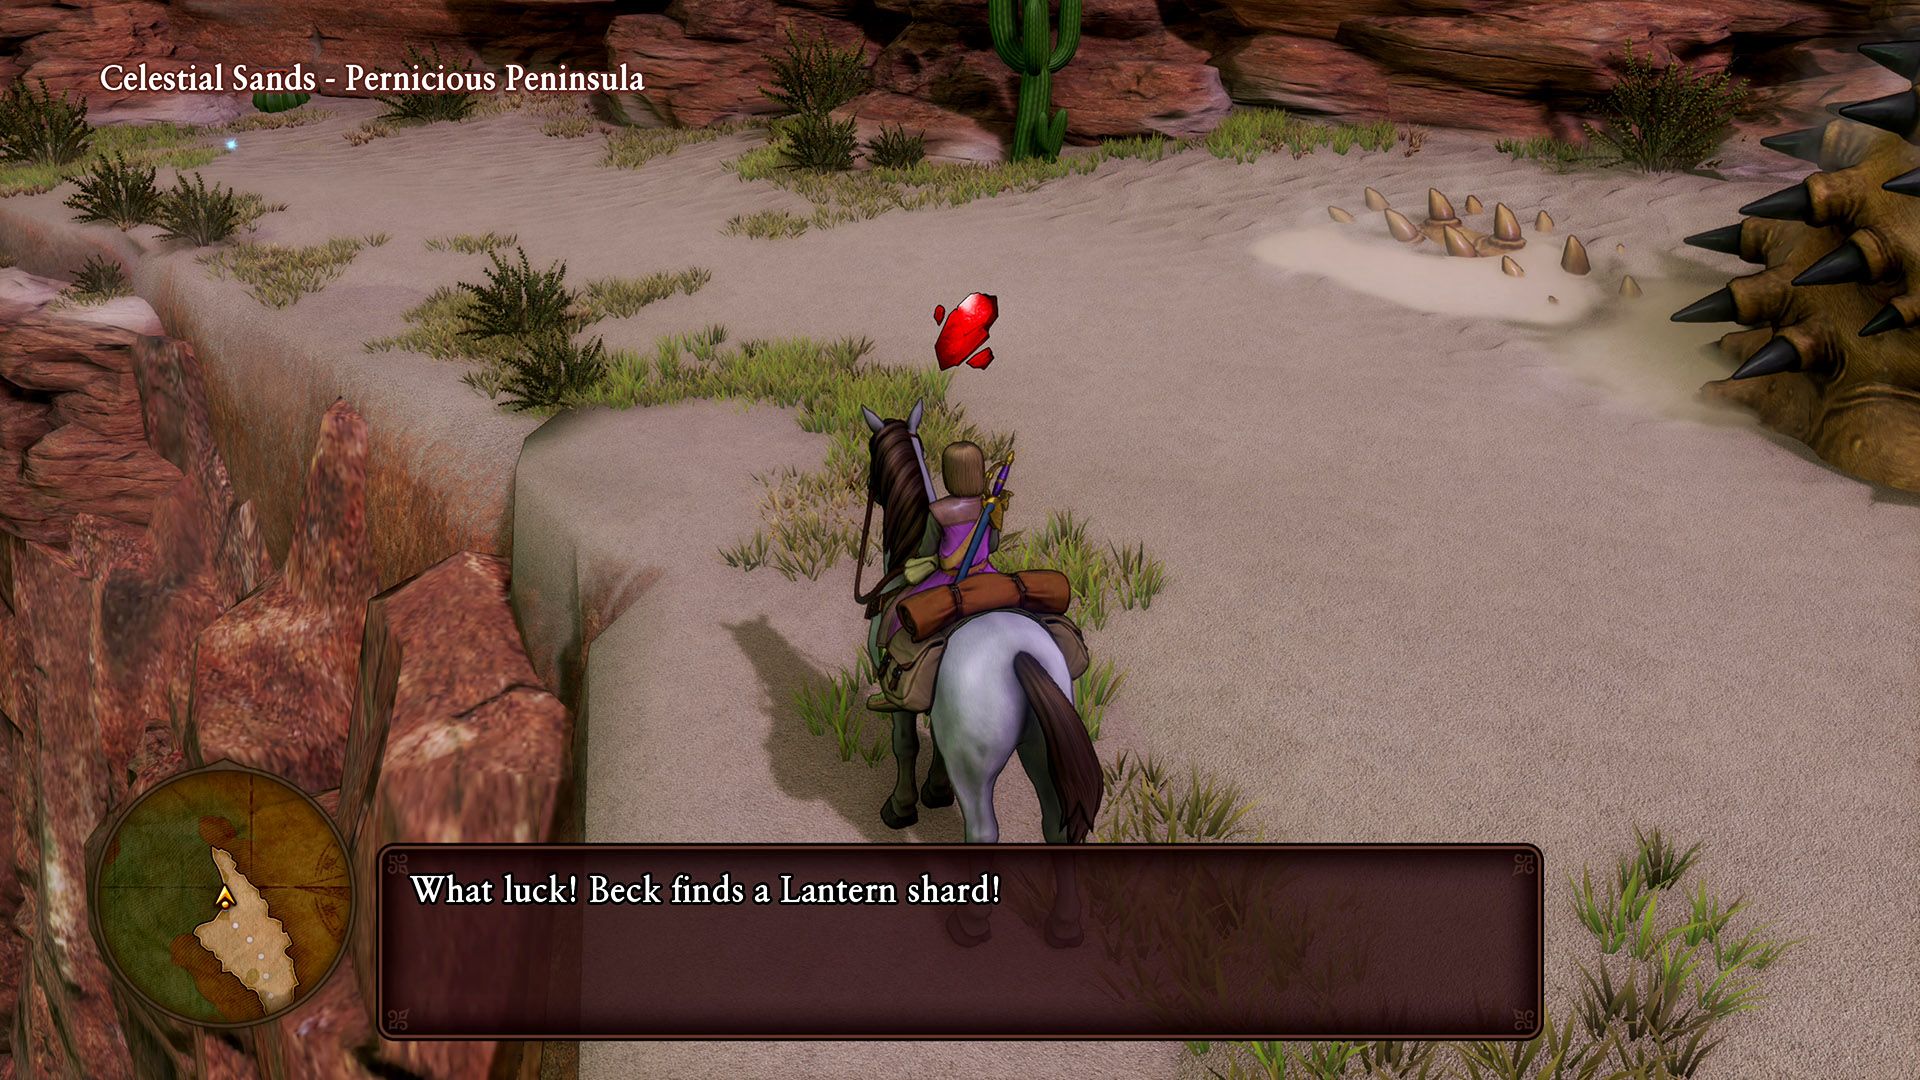
Remember that cowardly scholar who wouldn’t get close to the lantern? Well now you’re getting him a piece of it that fell in the desert. Head over to the most north point (The Pernicious Peninsula) where you faced the scorpion-esque boss with the prince way back when. The lantern shard should be right next tone of the cactus traps. |
A Ballad of Bravery
|
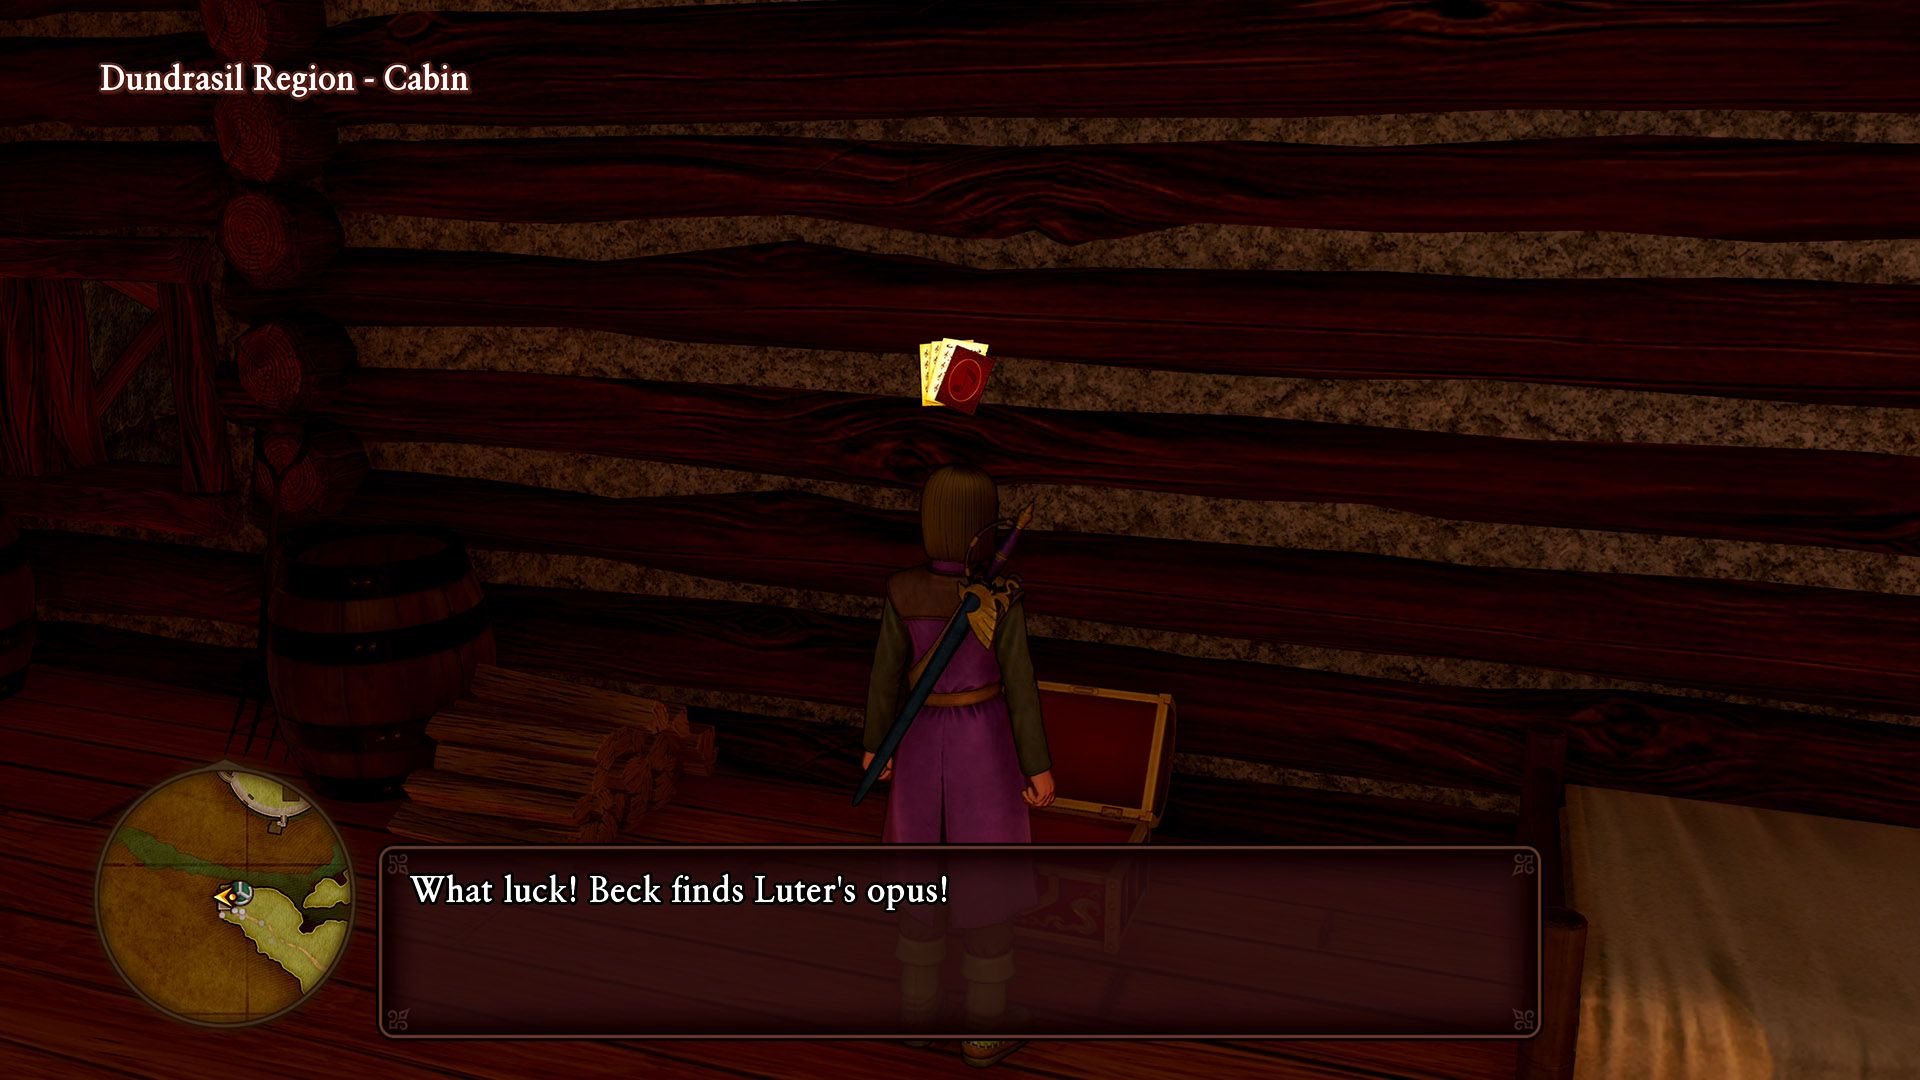
Time to find Luter’s sheet of music he somehow misplaced. Its location? Remember the little hut in the Dundrasil Region you and Jade wound up in after falling off the cliff? Well it’s in there. A new treasure chest has magically appeared that contains the opus. Go back to the musician to get your recipe and maybe forge some scholarly equipment. |
Richie’s Rock-Hard Roulette Challenge
|
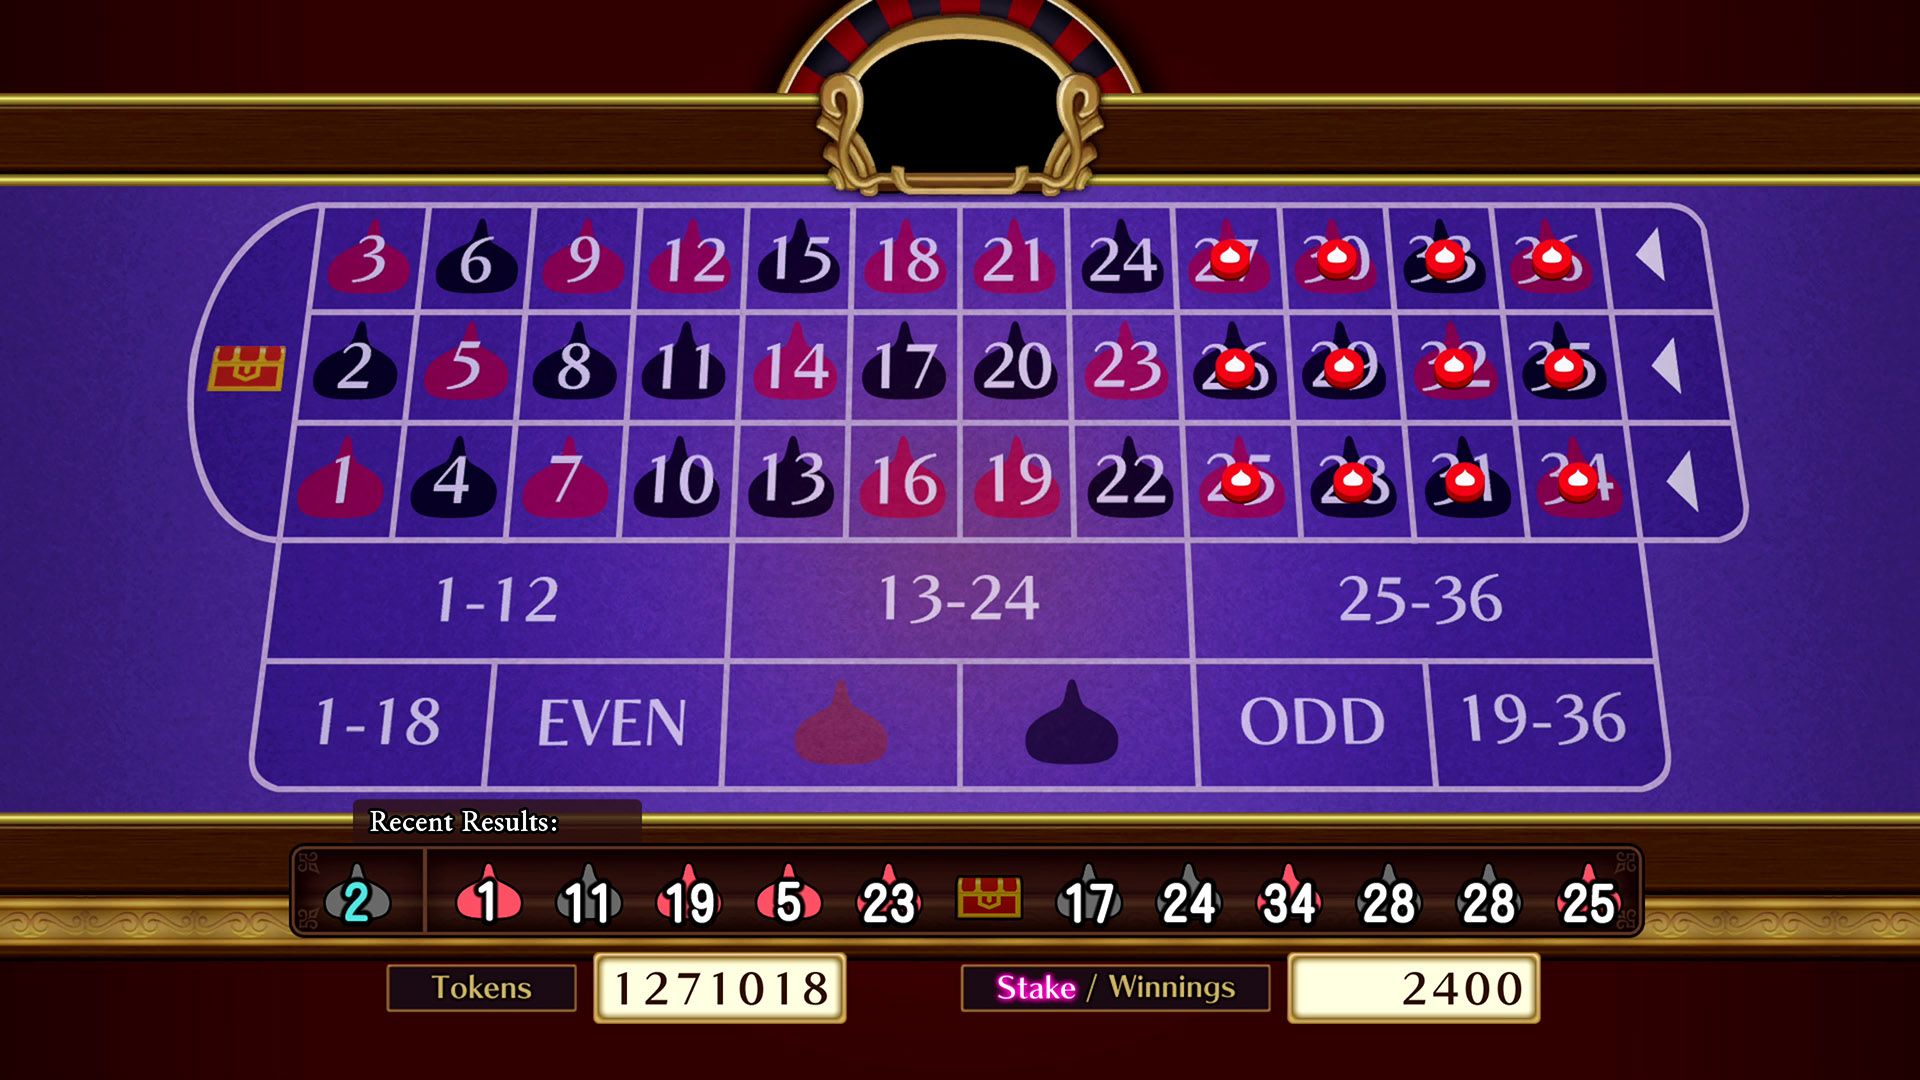
This one can be tricky to find, only because you will need to talk to the blue haired girl just outside the casino to initiate the quest. She will tell you that a jerk by the name of Richie bought the last statue of the MMA fighter Vince. You have to convince Richie to sell the statue, and she will even give you her 3000 gold she saved up (I wish you could decline this). Go up to the VIP area and find Richie. He puts you on a quest to get jackpot in roulette. This can be time consuming, but I would suggest racking up a little bit of tokens to start betting, and just bet one coin on a third of the numbers. It has to be individual numbers; you can’t get the jackpot on anything else. Eventually you’ll hit the jackpot, which will net you a million tokens, and Richie will give the statue to the little girl. |
Marking a Momentous Occasion
|
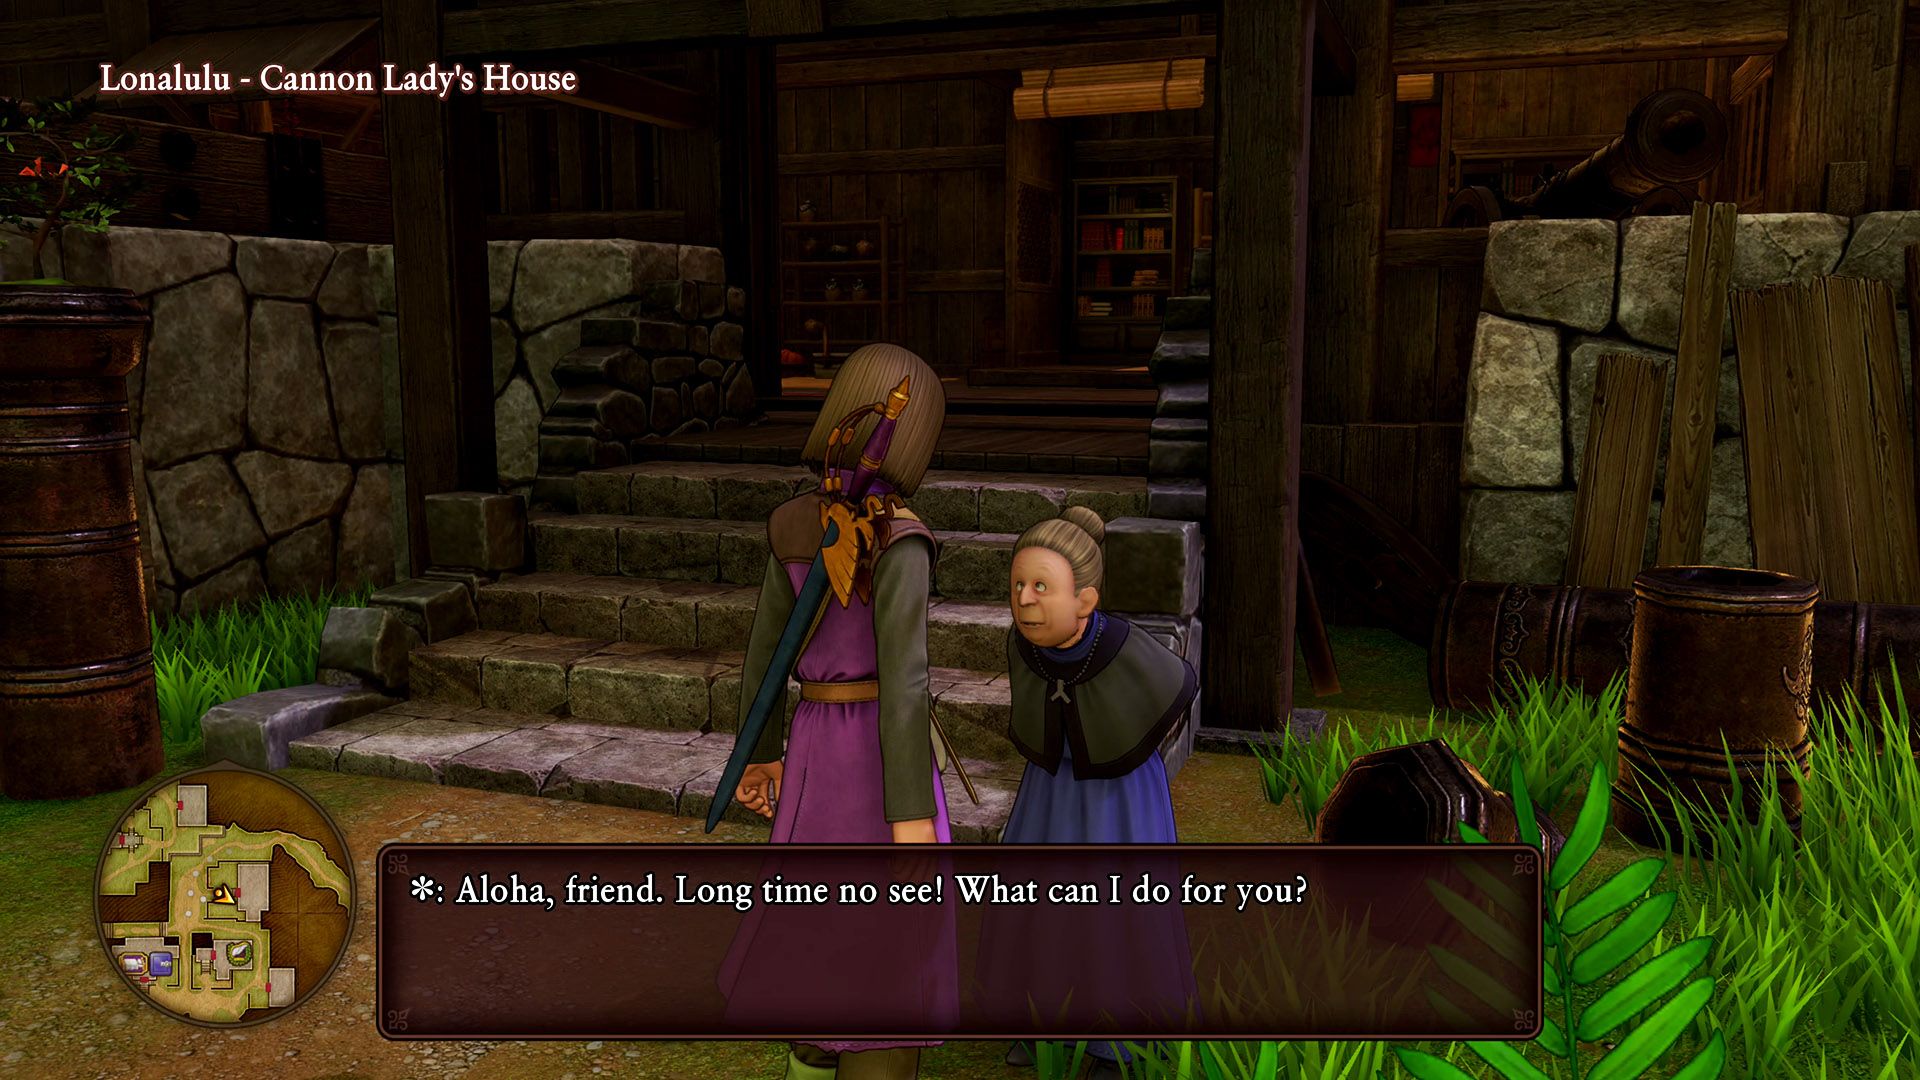
You’ll need to talk to the queen in Nautica who can change you into a little fishy to access this quest. Talk to the turtle in the little hut above the bank, and he’ll want something very specific. This happens to be a cannon. If you talked to the cannon lady before taking on the giant squid early on in the story, you’ll know she’s the one you want to talk to. Head to Lonalulu, and she’ll be now locatedin the house directly north of the item shop. |
Justice in Brined
|
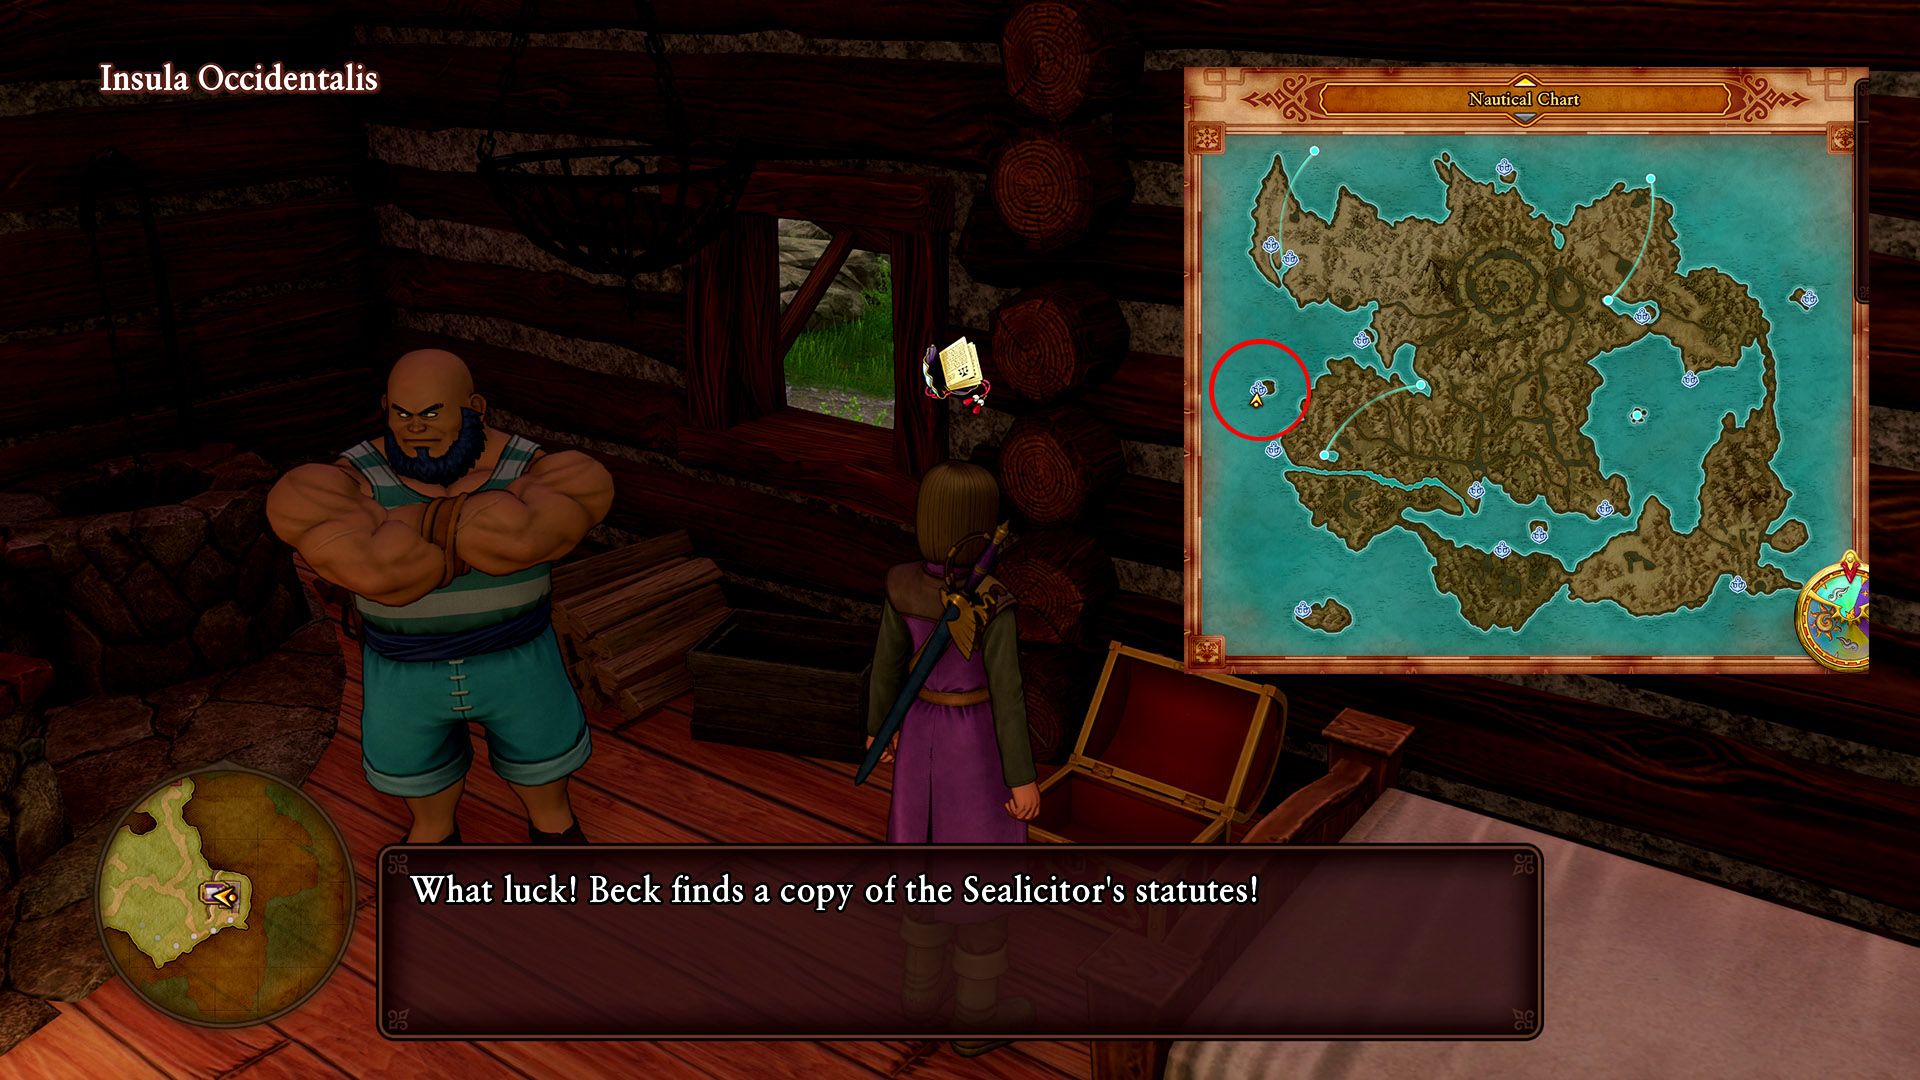
Even in the sea, there are those who commit crimes and need to go through due process. This young mermaid wants you to find the legal documentation to help defend her friend. Head to the cove where you first met the pink haired mermaid, and then head immediately north to the little island nearby. In the little cabin here you will find a large man who happened upon some documentation. Open the chest right next to him to find the Sealicitor’s Statutes. Head back to help the little mermaid help her friend out of a jam. |
A Dish Served Cold
|
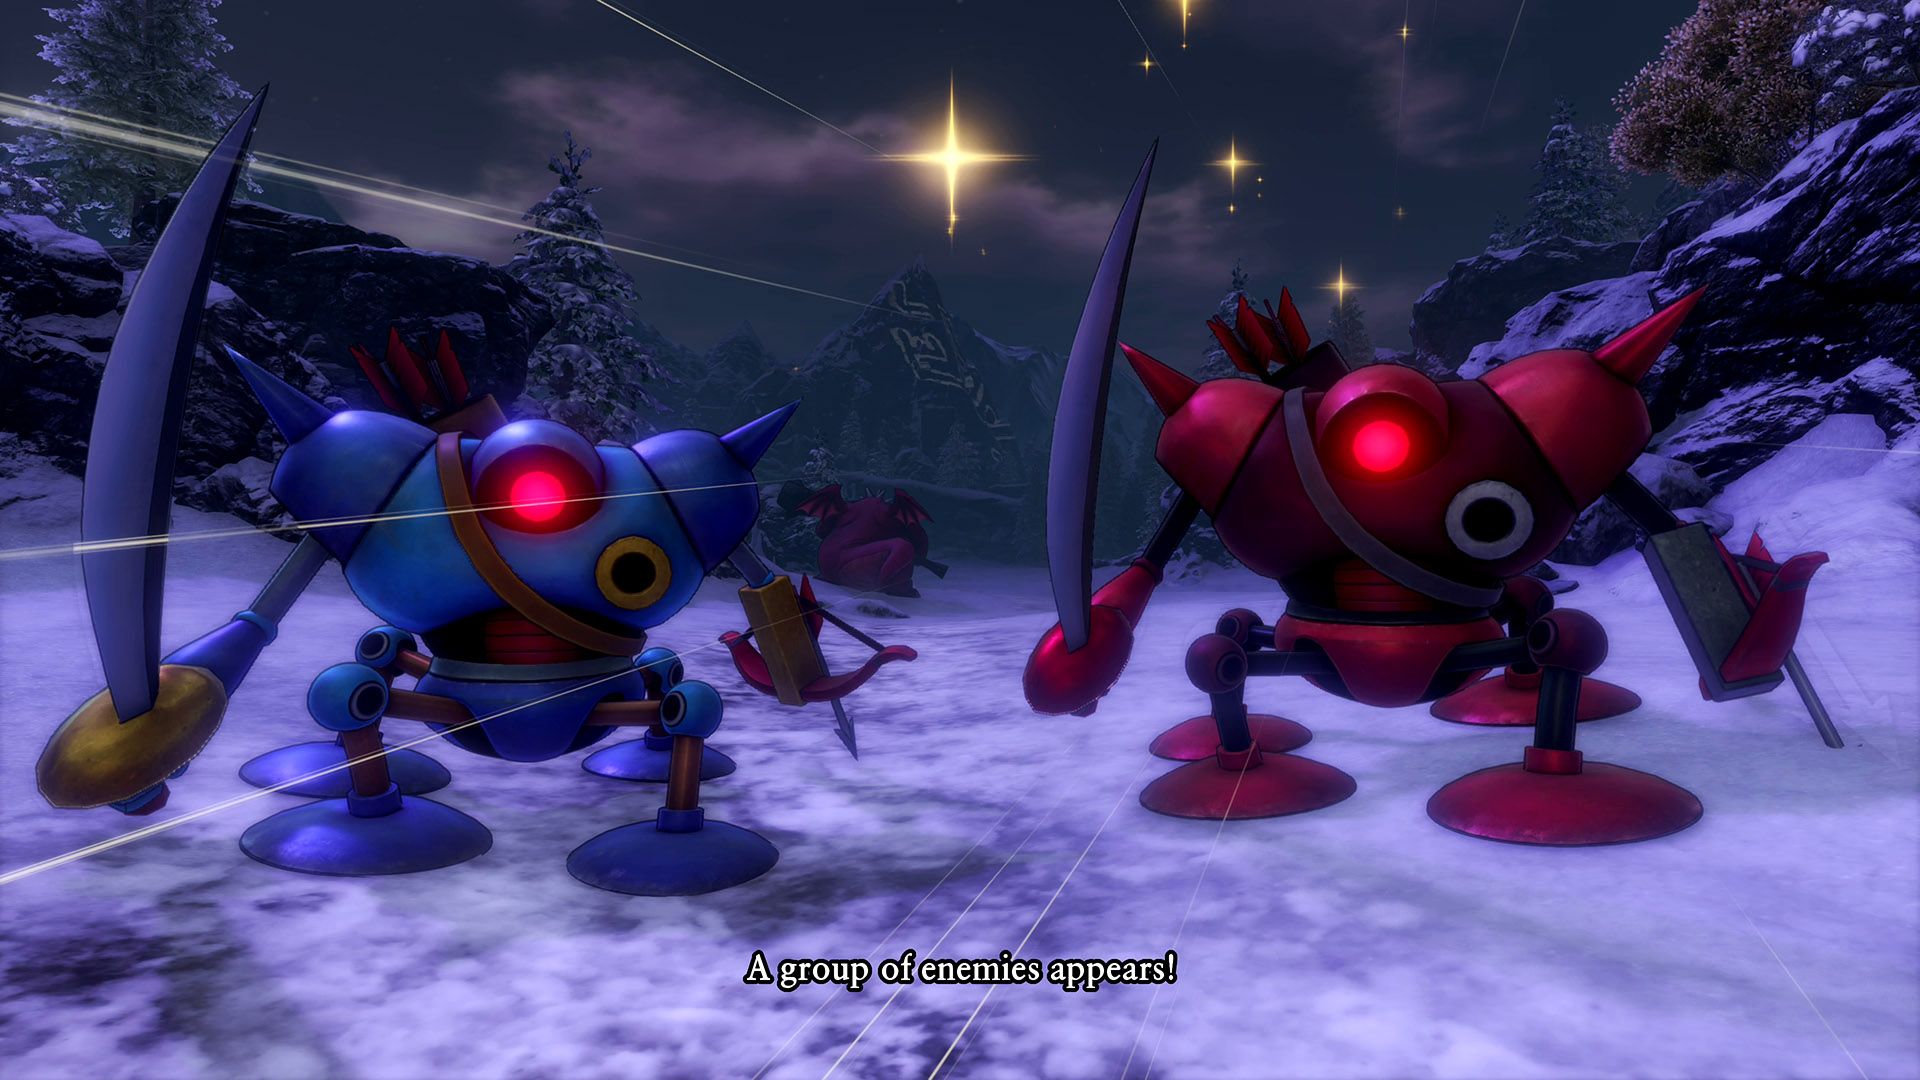
Even knights have trouble taking down an enemy. There are mechanical killing machines near the Frozen Fjord and there’s a rare one that slaughtered his brother. You need to avenge his sibling, so head to the southern most part of Snaerfelt and battle the blue machines. Eventually you’ll run into a battle where there’s a golden red one in the battle. Just kill it bring back the item it drops to relieve the knight of any concern. |
A Long-Lost Literary Love
|
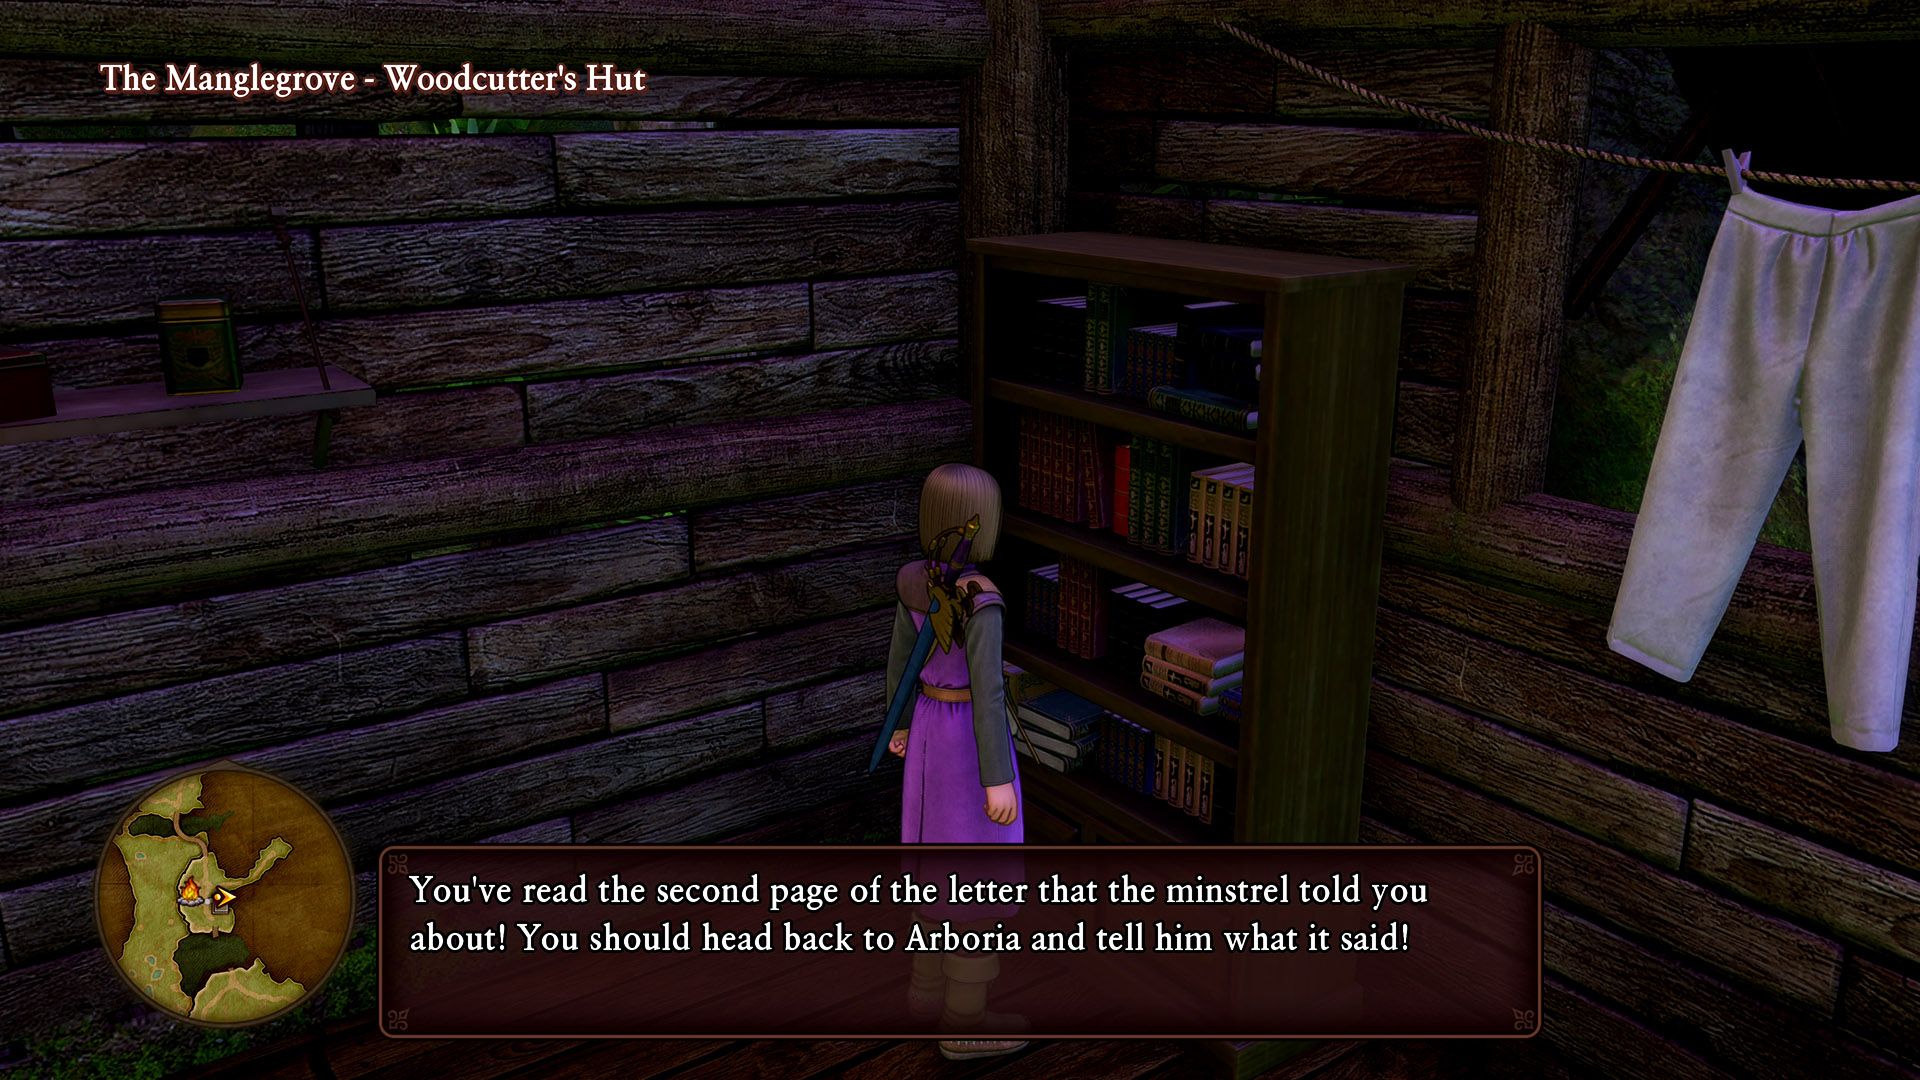
Technically the final quest of the game, at least until you realize there’s even more. Regardless, this traveling musician you see everywhere wants you to look for a specific letter located in a book somewhere in Gallopolis. Headdown there and check with the butler in the house closest to the palace’s staircase going down to the west. He will tell you that someone in Manglegrove had taken it, so head over to the hut you met the bridge builder and check his house. The letter can be found in a book on the shelf. Return to the musician and congrats, you’re now done with all side quests… for now. |

