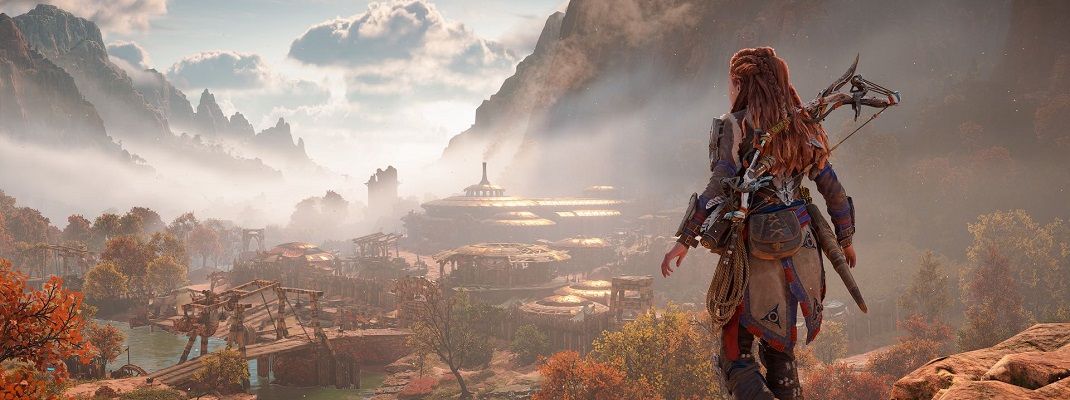
Welcome back to our Relic Ruins and Ornaments guide. In this part, we'll take you through the final four Relic Ruins you'll need to hit to collect the Ornaments. It's all capped off with a final side quest to find the ninth Ornament.
SPOILER ALERT! Do not go past this point until you've collected Gaia's subordinate functions. Some of these ruins take place in areas from later in the game.
Still here? Here are the ruins Part 2 is covering:
- Runner's Wild
- The Stillsands
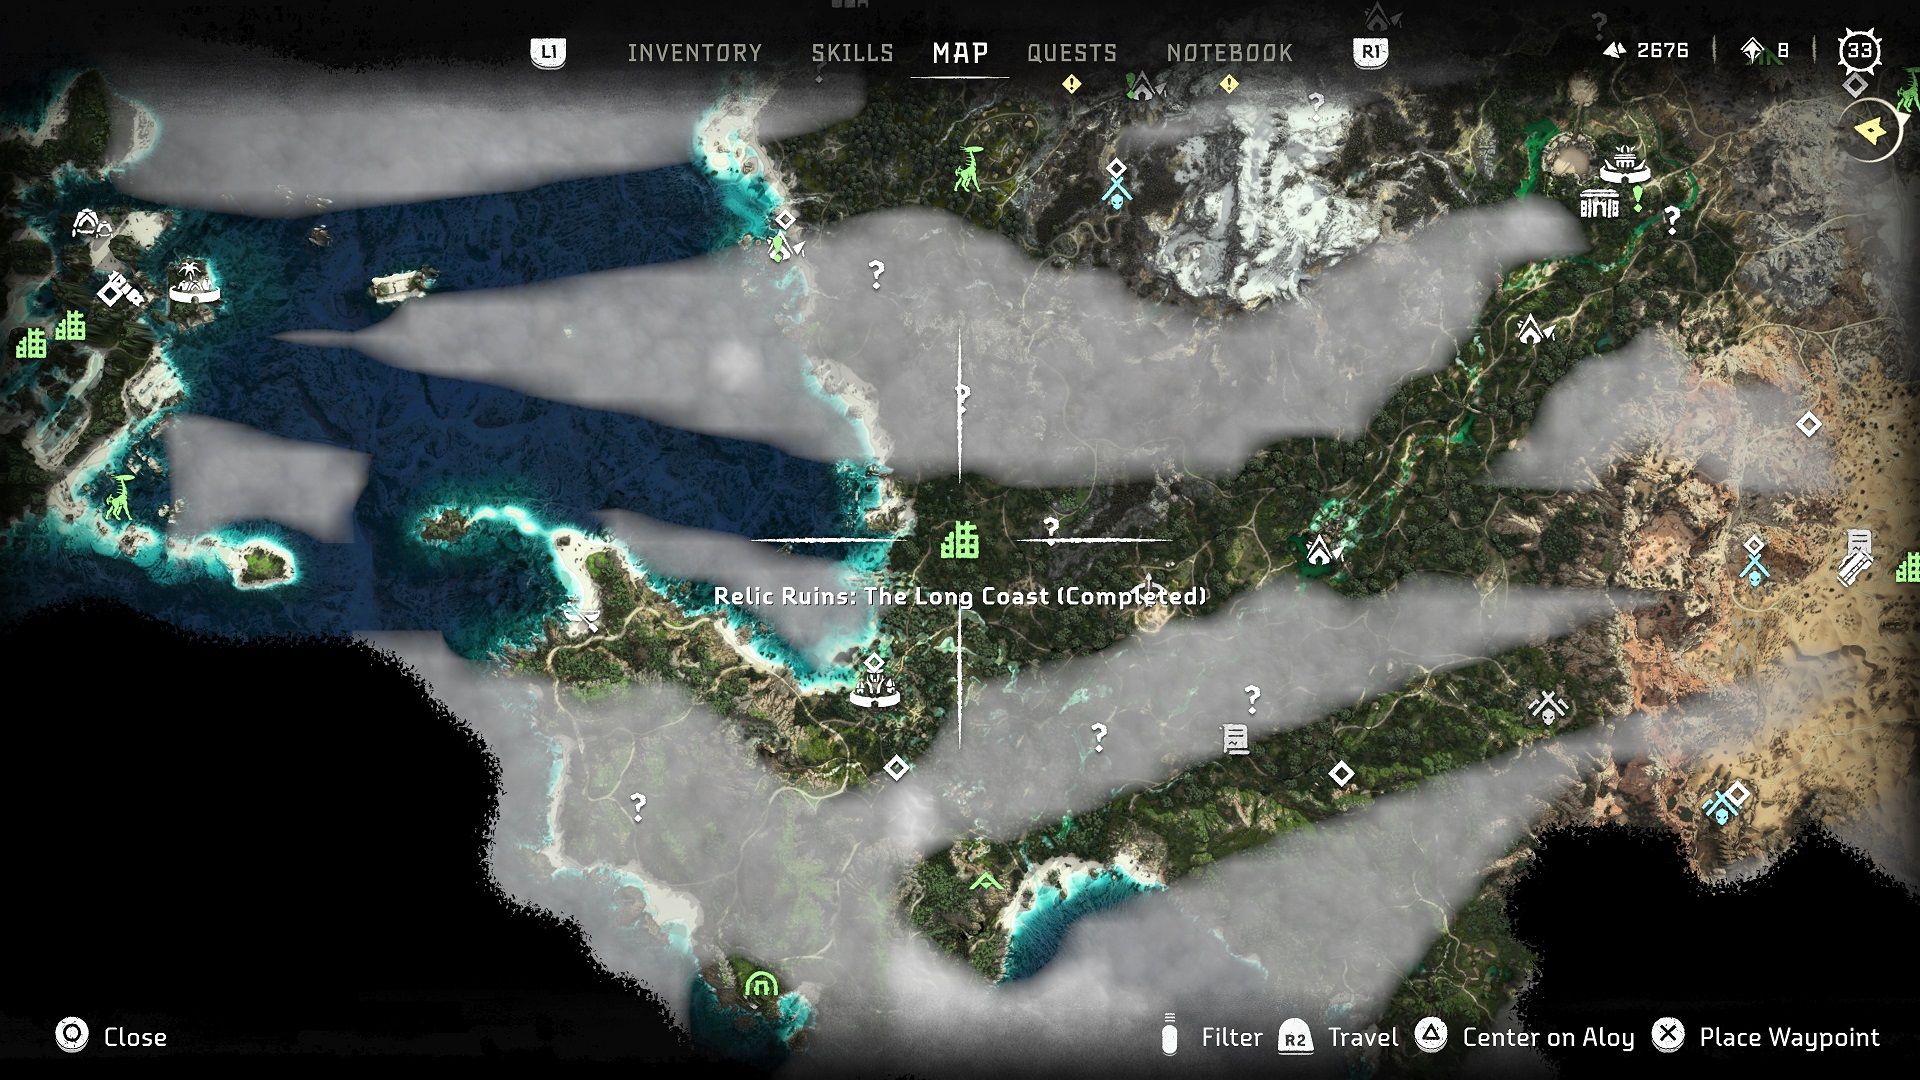
- The Long Coast
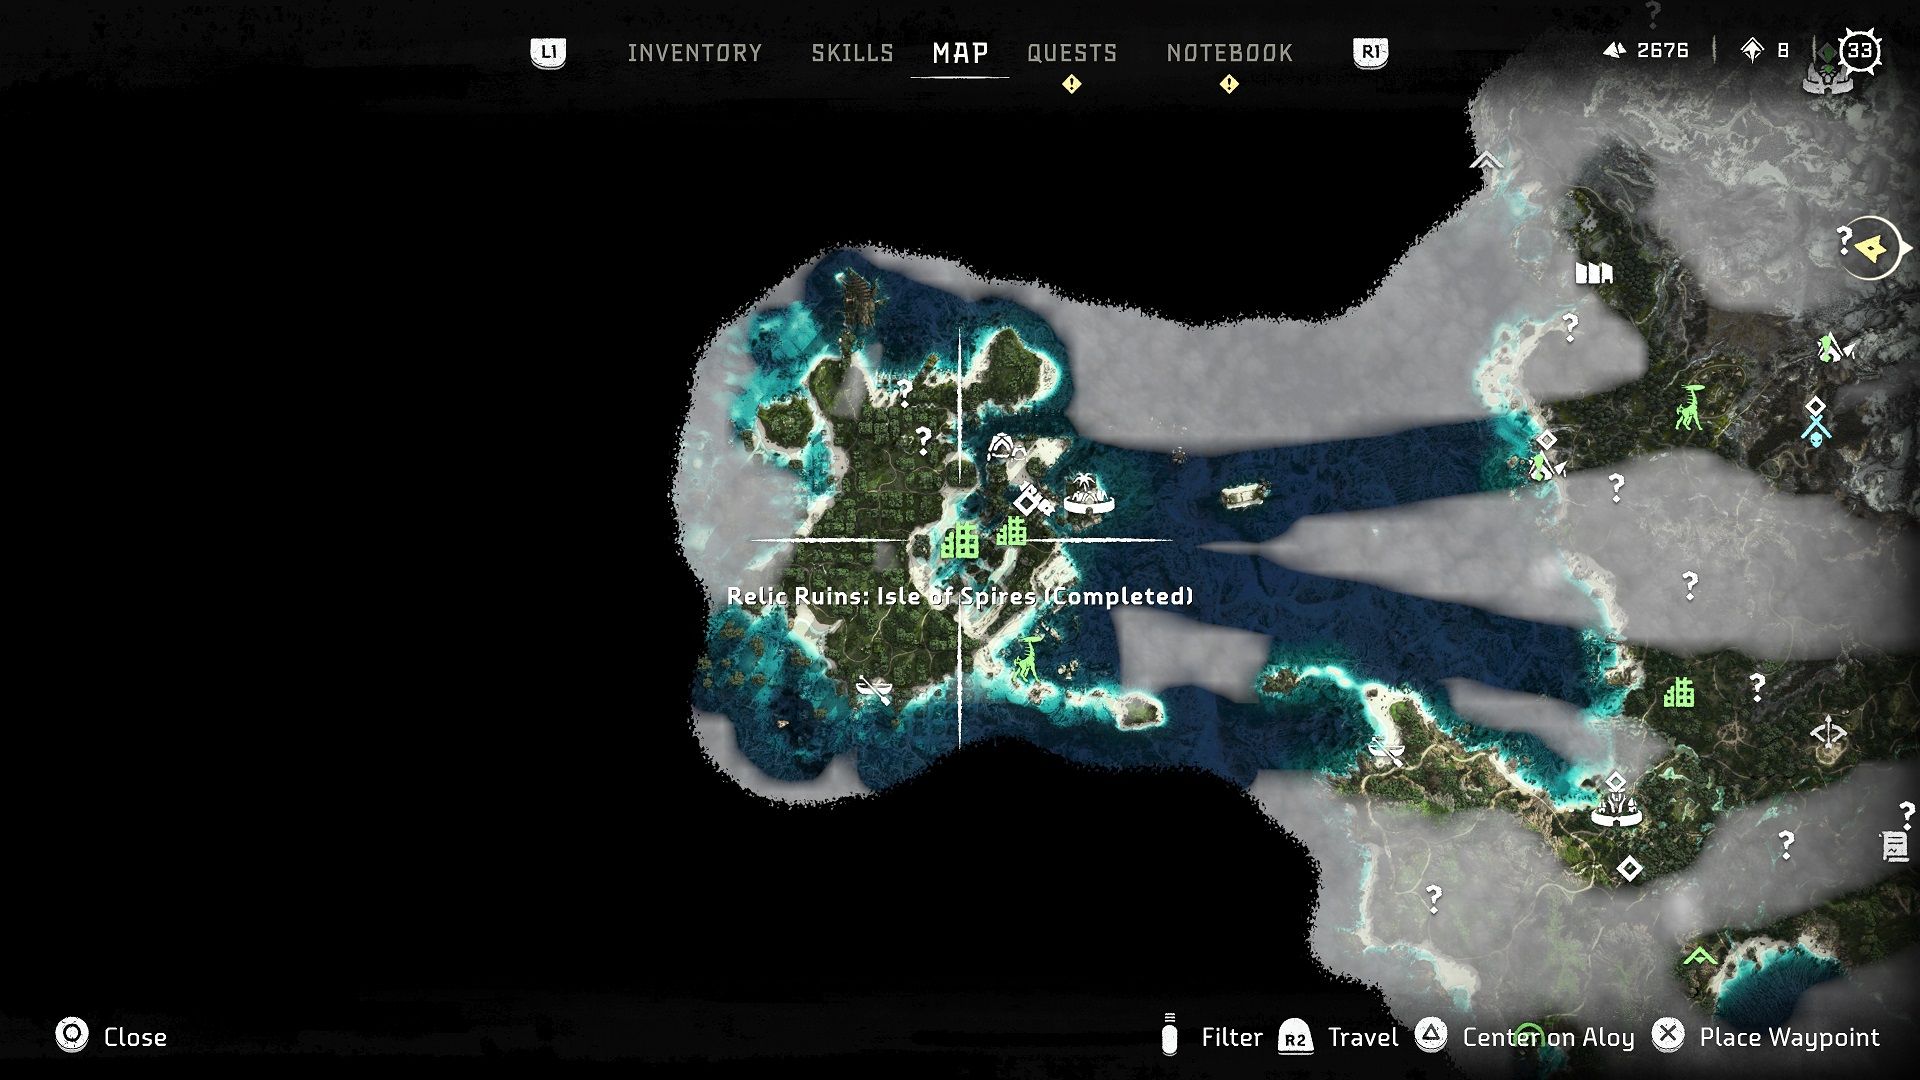
- Isle of Spears
- Nights of Lights (Side Quest)
Part 1 covers the first for Relic Ruins. Be sure to check that out if you're looking to complete those ruins.
Runner’s Wild
What you need: Key Module, Pullcaster, Ignitor
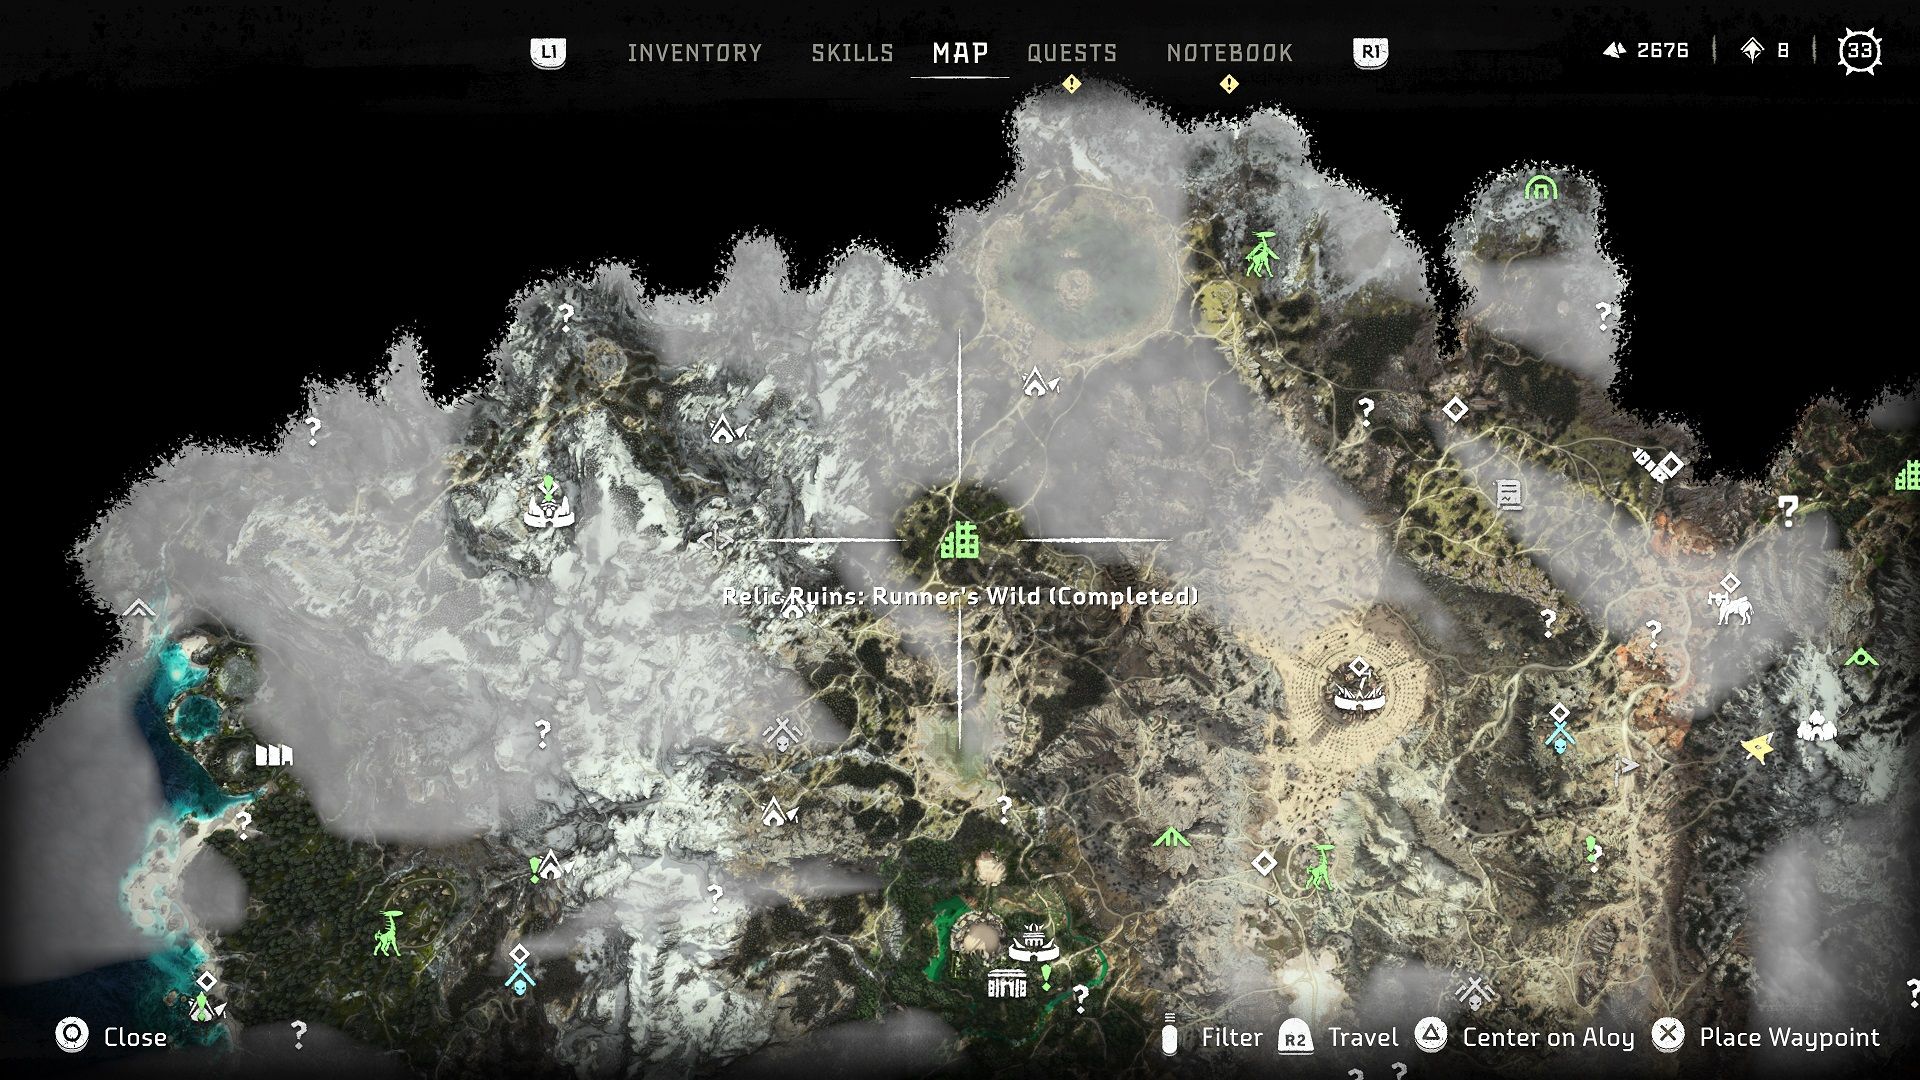
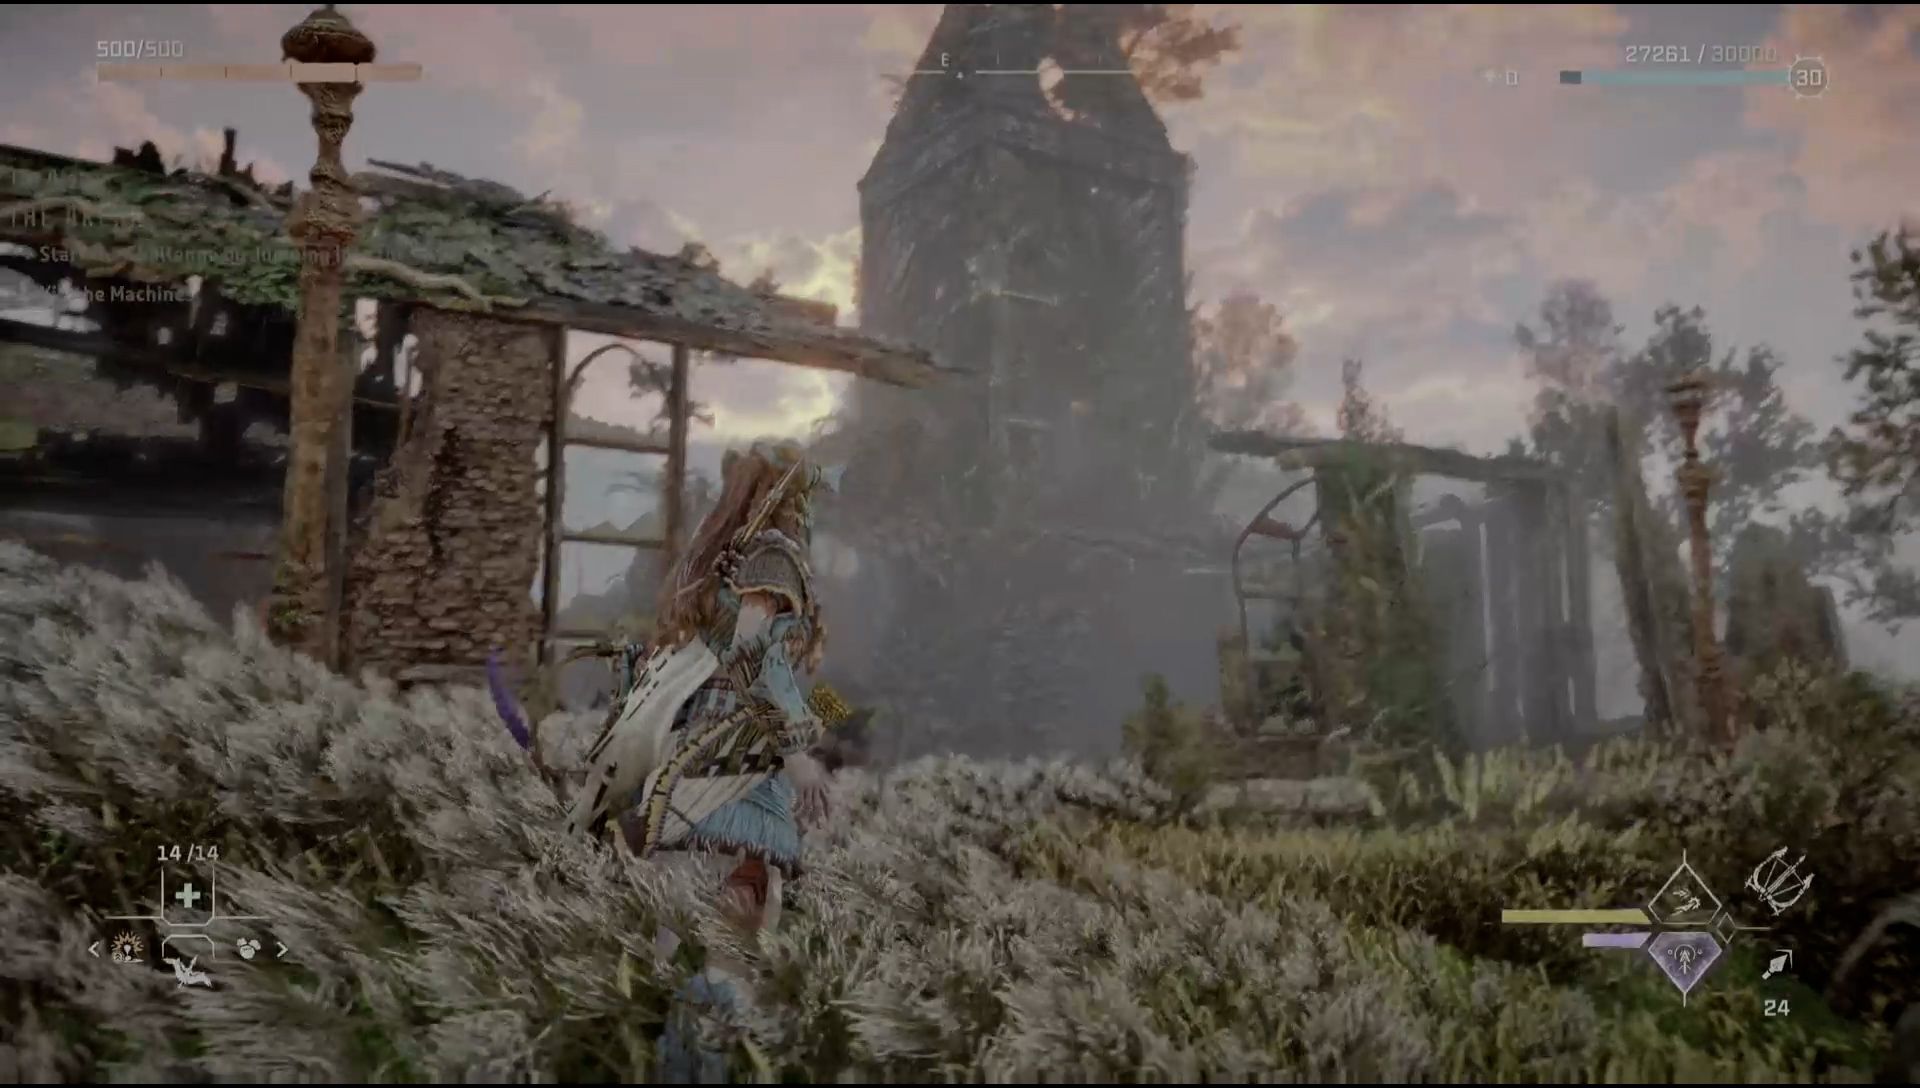
Runner’s Wild is located deep in the woods between a cluster of mountains to the west and scalding spear to the east. It used to be a church, so our goal is to get to the top of the tower.
[gallery size="medium" link="file" ids="419108,419109,419110,419111,419112"]
Enter the church from its ruined front. You’ll see a crate to your right, but ignore it for now. Go straight back and climb up the ledge. Now, jump over the chest high brick wall. To your left is the locked door. Head to the right and you’ll be able to jump down into a room with Firegleam and an anchor to use your pullcaster on. Go ahead and do both to create two openings.
[gallery size="medium" link="file" ids="419113,419114,419115"]
Go out the Firegleam hole and retrieve the crate. Bring it past this hole and push it through the pullcaster wall. Take it all the way down the hall and put it up against the wall. Climb up to the roof to find a second crate. Push it off to the ground.
[gallery columns="4" size="medium" link="file" ids="419116,419117,419118,419119"]
We’ll now have to stack these two crates to create a super crate. Position the second crate against the ledge we first used when we got here. Go back to the wall and grab the first crate. Slide it on top. Now pull your super crate back to and through the hole you made with the Firegleam. Place it against the wall, clamber on up and the key module (Altar Room Key) is yours. Go to the locked door and use it.
[gallery size="medium" link="file" ids="419120,419121,419122"]
Inside is a wall to use your pullcaster on to create a wall. Bring your super crate to this newly-formed wall. Grab the top one and separate it from the bottom. Push that crate past the door and up the ramp.
[gallery columns="2" size="medium" link="file" ids="419123,419124"]
Place at the base of the tower underneath the handhold. Platform up to the top and collect the Ornament.
The Stillsands
What you need: Key Module, Ignitor, Pullcaster, Diving Mask
[gallery size="medium" ids="419127,419128,419129"]
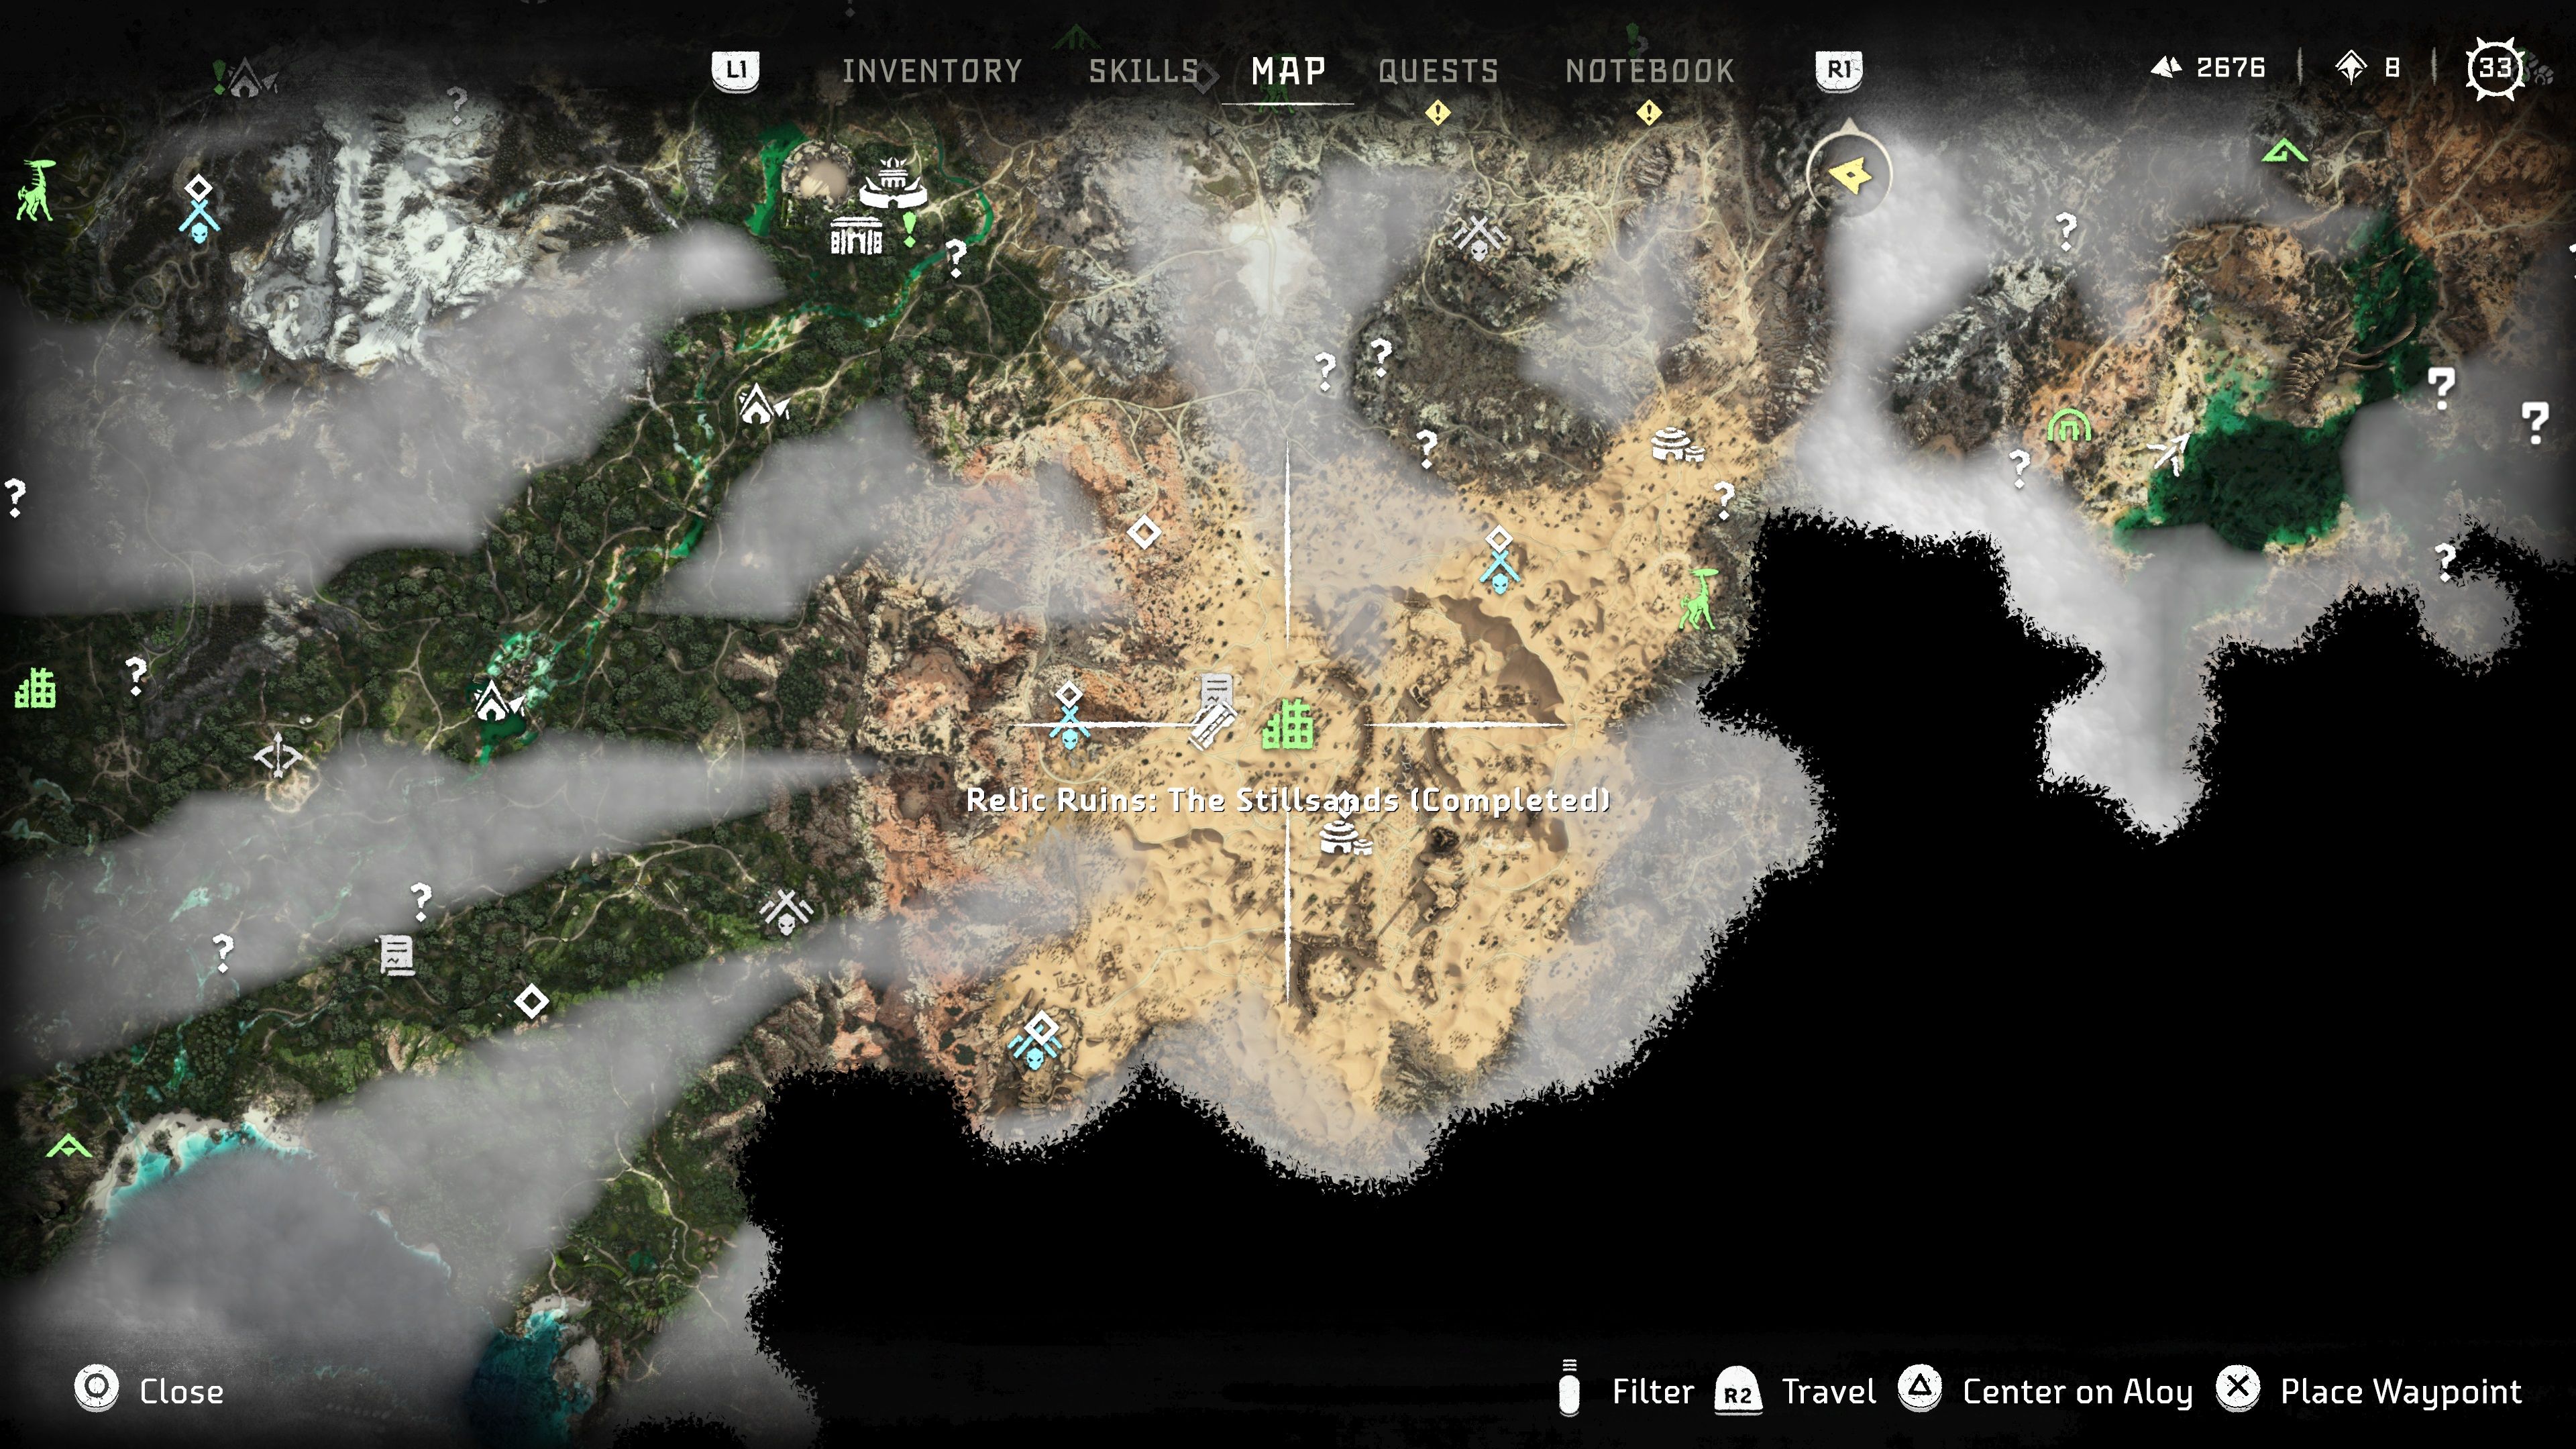
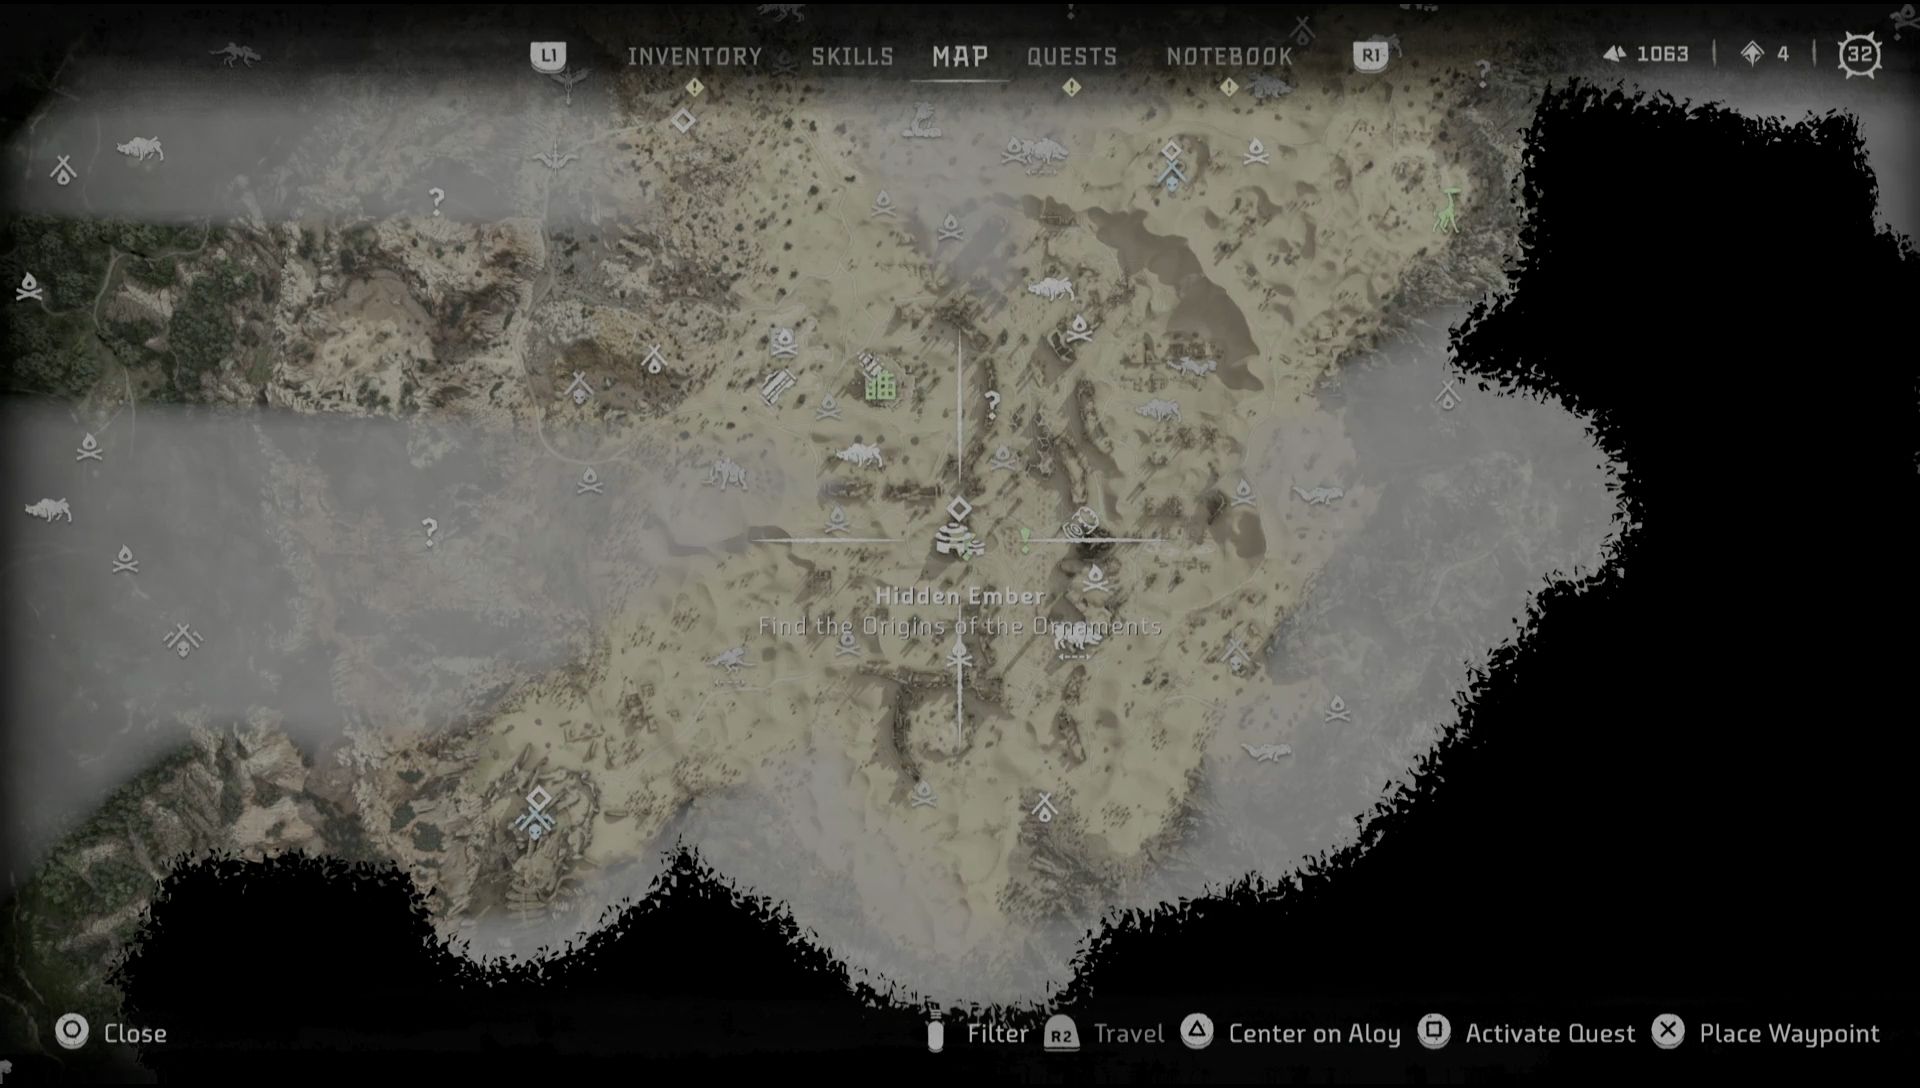
You can find this Relic Ruin slightly to the northwest of Hidden Ember. There's only one entrance from which you’ll need to rappel down from. Once on the floor, turn around and you’ll see a wall with Firegleam. Blow it up.
[gallery size="medium" link="file" ids="419130,419131,419132"]
You’ll see a crate, a drain and a platform. Move the crate so you can get on the platform. Use the yellow valve up there to turn on the water. Jump back down to place the crate in the grate and flood the ruin.
[gallery columns="2" size="medium" link="file" ids="419133,419134"]
Swim out of the room. Behind you is the locked door, but you still need the key module. Swim to the back left of the ruin where you’ll see some stairs and the key module (Store Key) lying there. Get it and swim back to the locked door.
[gallery size="medium" link="file" ids="419135,419136,419137"]
The door reveals a second crate. Take it and push it into the water. Now, swim back into the room with the drain, hop on the platform, and use the pullcaster to pull the crate out of the drain and allow the water levels to return to normal.
[gallery columns="2" size="medium" link="file" ids="419138,419139"]
Return to the second crate and push it all the way to the other side underneath some handholds. Go back to the first crate and push it back into the drain to allow the water levels to rise again.
[gallery columns="2" size="medium" ids="419140,419141"]
Swim to the second crate and use it to platform to the next floor. There on the ground lies your Ornament.
The Long Coast
What you need: Pullcaster, Ignitor, Shieldwing
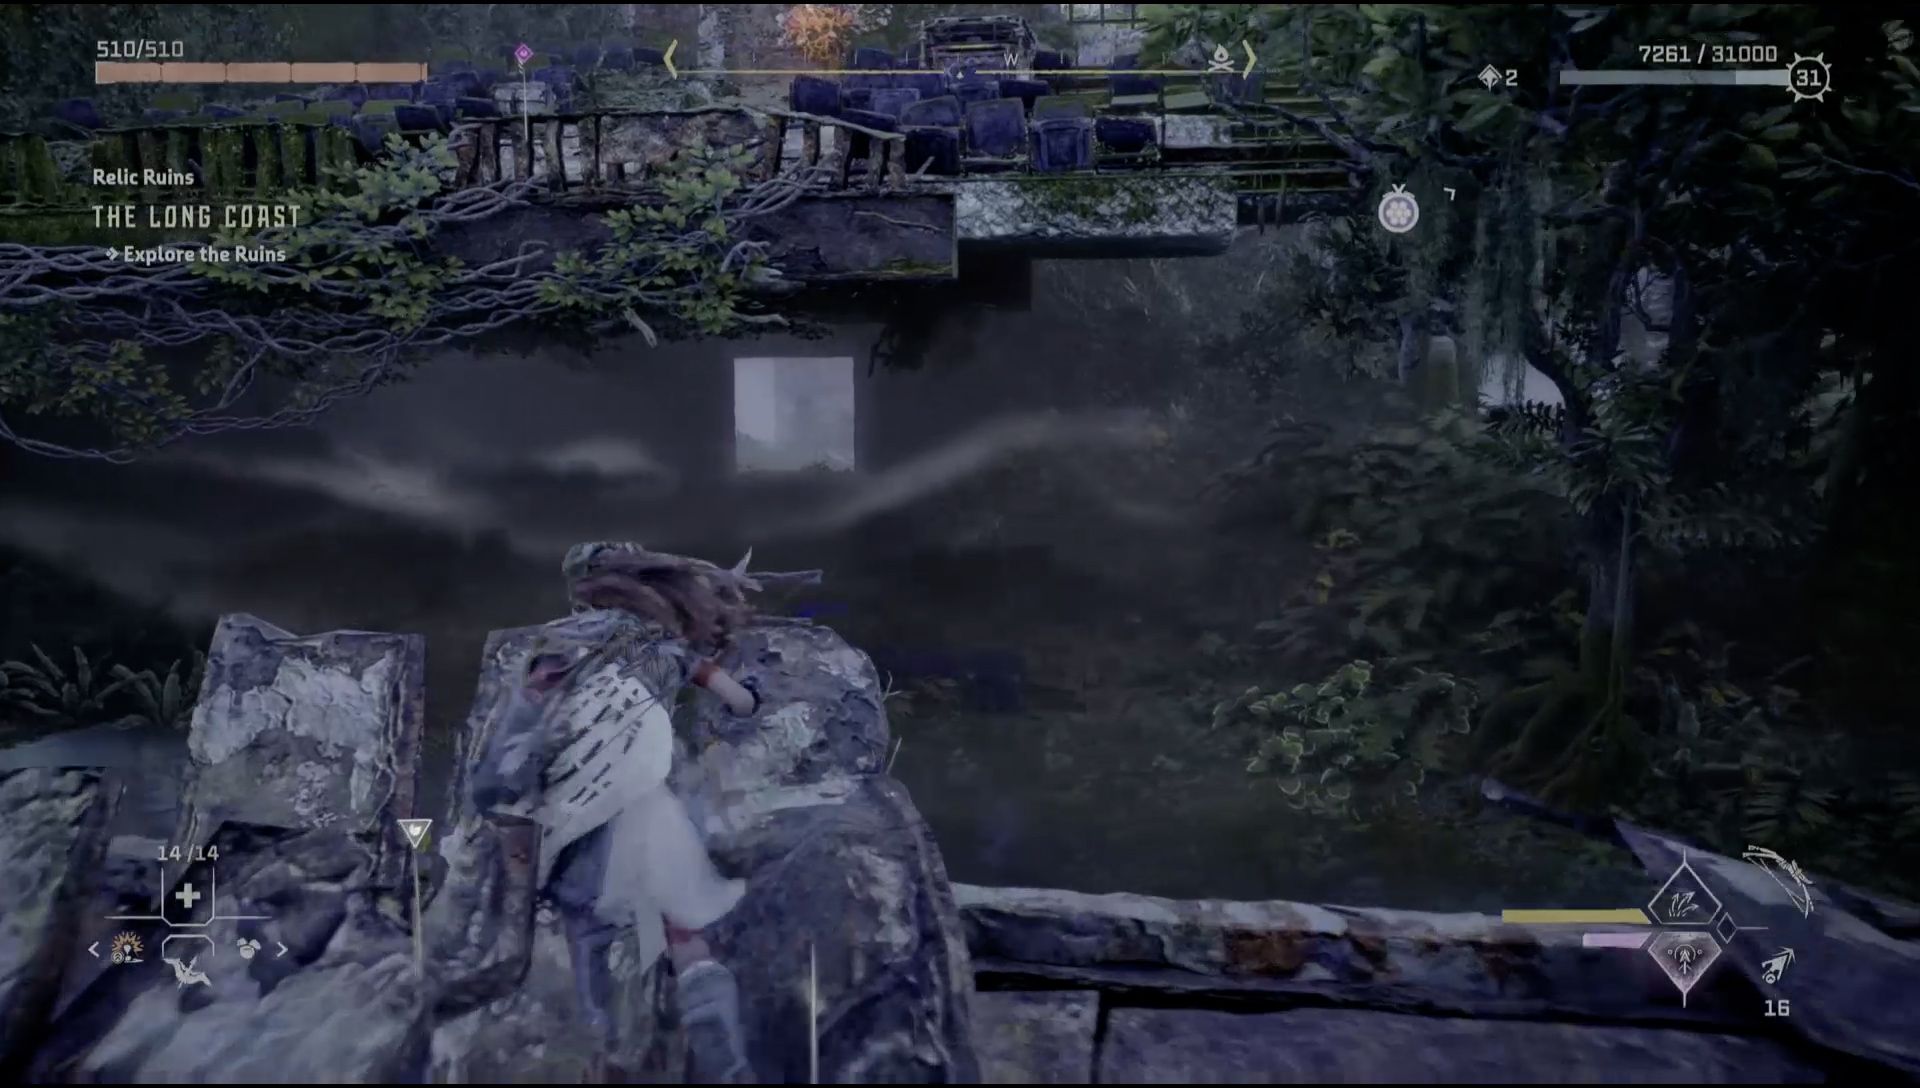
You can find this ruin near the west coast. The Long Coast was an auditorium in the days on the Old Ones. When you enter, to the left is the stage area, and to the right is the seating area. We’ll start with the seating area first, so go right up the ramp into the lobby area.
[gallery columns="4" size="medium" link="file" ids="419144,419145,419146,419147"]
To the left is an elevator with housing for an Energy Cell. Take the stairs behind you up and to the left is a charging station with an Energy Cell. Grab it and quickly take it to the housing. Leave the elevator on the ground floor for now, but go in and use your pullcaster to open the vent on the roof.
[gallery columns="4" size="medium" link="file" ids="419148,419149,419150,419151"]
To the right of the Energy Cell’s housing, use your pullcaster to grapple up a level. Use the handholds to climb to the very top of the tower. From the top, jump on top of the pillar, then use the shieldwing to glide into the seating area where the first crate lies.
[gallery size="medium" link="file" ids="419152,419153,419154"]
Ignite the Firegleam and create a hole. Drag the crate through and push it down to the bottom floor. Place the crate in the elevator and leave it. We’ll need a second crate.
[gallery columns="2" size="medium" link="file" ids="419155,419156"]
Return to the start and look left at the stage area. As you’re approaching the stage, look to the far left to see a platform you can clamber onto. Go up and follow the path into a room with Firegleam. Ignite it and create a hole.
[gallery columns="2" size="medium" link="file" ids="419157,419158"]
Look straight behind to see an opening through which you can use your pullcaster to grab a switch. This activates the lighting rig system. Once pulled, immediately turn around and grapple onto the lighting rig and then quickly jump to the platform behind before the rig returns to its normal positioning. Grab the crate to your right and drop it to the ground floor.
[gallery size="medium" link="file" ids="419159,419160,419161"]
Push the crate all the way to the elevator and put it in with the first. Ride the elevator to the second floor and pull a crate out. Send the elevator back to the first floor and push the second floor crate onto the top of the elevator.
[gallery columns="2" size="medium" link="file" ids="419162,419163"]
Bring the elevator to the second floor once again, use the crate in the elevator to hop onto the elevator roof, and then that second crate to reach handholds. Climb up to retrieve your ornament.
Isle of Spears
What you need: Key Module, Two Passcodes, Pullcaster, Vine Cutter Module, Ignitor
[gallery columns="4" size="medium" ids="419166,419167,419168,419169"]
Located in the heart of San Francisco and near the Quen camp. Start on the side of the building with the campfire and climb up to an open window with an elevator needing power. Follow the path all the way to the back right and ignore the Energy Cell and charging station. In the back right room is a vent on the ceiling. Open it with your pullcaster.
[gallery size="medium" link="file" ids="419170,419171,419172"]
Follow the vent into the next room and ignite the Firegleam. This room’s charger is closer, so return to the Energy Cell, place it in this charger, and then take it to the elevator’s housing. Ride the elevator down.
[gallery columns="4" size="medium" link="file" ids="419173,419174,419175,419176"]
On the first floor lie two pools of water with a crate in the left pool. Pull the crate out and place it in the right pool. Swim to the other side and use the Metal Flower. Turn around and pull the crate over, jump on it and then look to your right. Through the wall is a ladder you can lower by firing an arrow.
[gallery columns="2" size="medium" link="file" ids="419177,419178"]
Go past the vines and immediately turn left. Jump into the water and swim to the ladder, climb up and acquire the key module (Main Office Key).
[gallery size="medium" link="file" ids="419179,419180,419181,419182,419183,419184"]
Return to the elevator and pull the crate back towards you. Place it in the elevator and ride back up. Move it down the pathway to the wall with handholds. Climb up and jump across to the other building. Follow the pathway and head to the room with a locked door and datapoint containing the second half of a passcode: 109. Use it to open the locked door you just passed.
[gallery size="medium" link="file" ids="419185,419186,419187"]
Outside the door, go to the left and you’ll see a hole to fall through. On this floor, go past the door (you can open it and explore inside, but there’s nothing of use in getting the Ornament) and look to the left. Across the way is a crate you’ll need to pull into the water below. Jump down after it.
[gallery columns="4" size="medium" link="file" ids="419188,419189,419190,419191"]
Turn around and climb onto land and pull the crate with you. Drag it into the room and position it underneath a vent, then climb up. Climb up into a new office with a datapoint providing the first half of the full code: 2109. Put that into the door to return to the main building.
[gallery size="medium" link="file" ids="419192,419193,419194"]
Drop into the water, turn around, and look slightly to the left to see the final locked door. Insert the key module and input the following code: 2109012. Enter and collect your Ornament.
Nights of Lights
What you need: Two Passcodes, Pullcaster
[gallery columns="2" size="medium" link="file" ids="419197,419198"]
This is a side quest you can accept after acquiring Poseidon. Return to Hidden Ember and meet with Stemmur at the very top of the building. He’ll send you into the ruins of Las Vegas in search of a Gizmo. Follow the objective marker till you arrive at the correct building. You’ll see the Ornament through the window and past a locked door.
[gallery size="medium" link="file" ids="419199,419200,419201"]
Look to the left at the elevator shaft and grapple upwards. Follow the stairs up into a warehouse with a datapoint that provides the second half of the passcode: 135.
[gallery columns="4" size="medium" link="file" ids="419202,419203,419204,419205"]
To the right of the datapoint is an opening for Aloy to hop through. On the other side, to the right you’ll see two crates stacked on top of each other. Go to the right of that and you’ll find an opening to pull the top crate off the bottom. Remove the bottom crate from the area. Go to the left side and pull that top crate back to its original so you can also remove it.
[gallery columns="4" size="medium" link="file" ids="419206,419207,419208,419209"]
We’ll need to recreate the super crate again. Take one of the crates and move it to the corner of the ramp behind Aloy. Move the other crate up the ramp and maneuver on top of the other. Position the super crate against the fence in front of the ramp. Before you climb up, use the slight opening to the right to use your pullcaster and move the crate inside blocking the path.
[gallery size="medium" link="file" ids="419210,419211,419212"]
Use the super crate to climb up and enter this room. Open the vent on the floor and follow it. When you exit, look to your right and use your pullcaster to pull down a wall. Inside is the datapoint with the first half of the code: 739.
[gallery columns="2" size="medium" link="file" ids="419213,419214"]
Return to the door and input the full code: 739135. Acquire the Ornament.
[gallery size="medium" link="file" ids="419218,419217,419216"]
Return to Stemmur for your reward. This unlocks the ability to display different holiday-themed lights based on the Ornaments you’ve collected. You’ll also unlock the chest by Stemmur, which rewards you the Legendary Shredder Gauntlet, Ancestor’s Return.
You’ve now completed all Relic Ruins and acquired all nine Ornaments! Be sure to return to Hidden Ember often to witness the light show!

