Quick Links
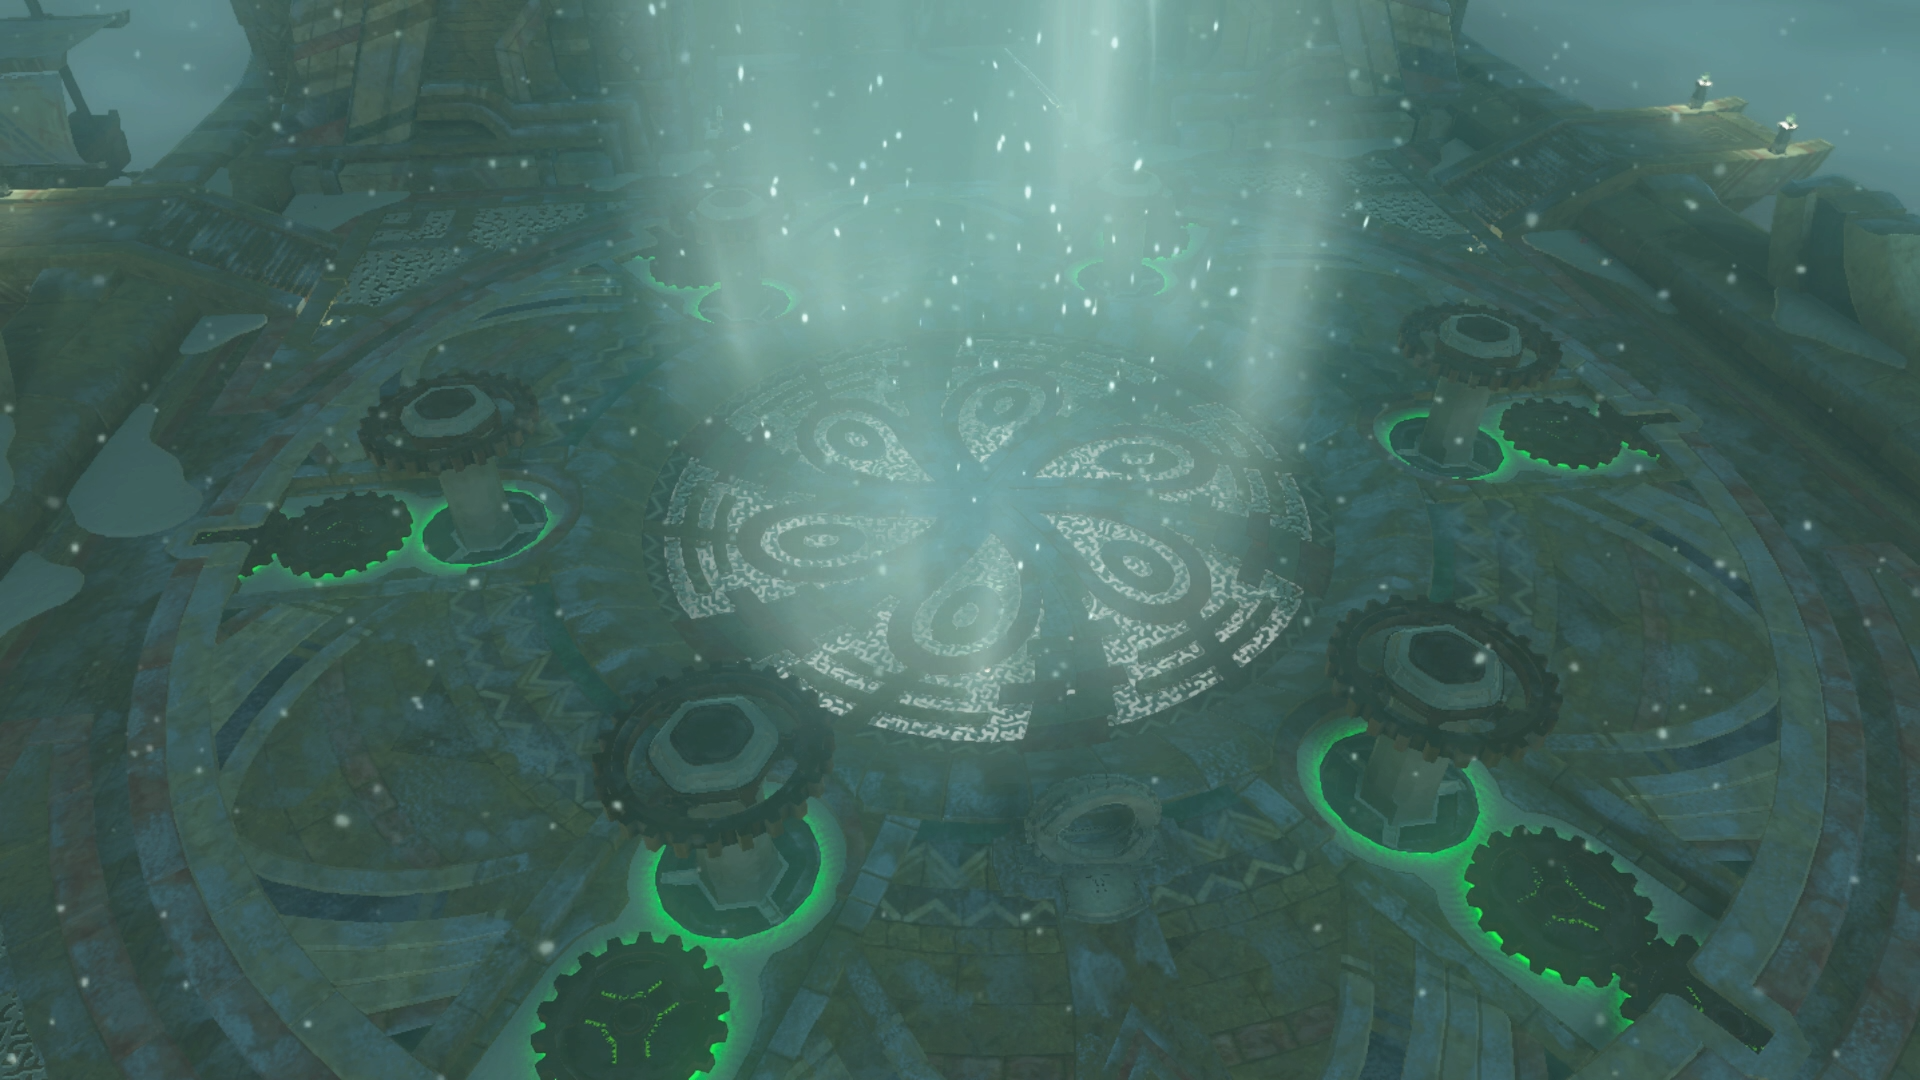
The Wind Temple is one of four main challenges in The Legend Of Zelda: Tears of the Kingdom, and is part of the Main Quest: "Regional Phenomena". Its location is shrouded by the storm high above in the sky above Rito Village. Initial access to the temple must be completed after finding Tulin on top of a nearby mountain and gaining access to his wind gust ability.
After beating the Wind Temple players will have access to Tulin's ability whenever they want, they simply need to access the Key Items tab in their inventory and select Vow of Tulin, Sage of Wind and summon or dismiss them.
|
TIP...Make sure to wear some cold resistance gear or bring some "Spicy" food to increase Link's resistance to cold in order to survive the cold climate in this zone. |
How To Beat Wind Temple In TOTK
The Wind Temple in TOTK has 2 components for completion:
- Find and unlock the 5 locks
- Defeat the boss (Colgera)
- Phase 1
- Phase 2
There are a few challenges that players will need to overcome in order to access the locks, using their abilities to solve the puzzles blocking the path to the lock. Once all 5 locks are located and activated on the ship the boss will spawn. A save point will be just before the boss fight so you don't need to worry about having to unlock all the locks again.
How To Find All Locks In Wind Temple In TOTK
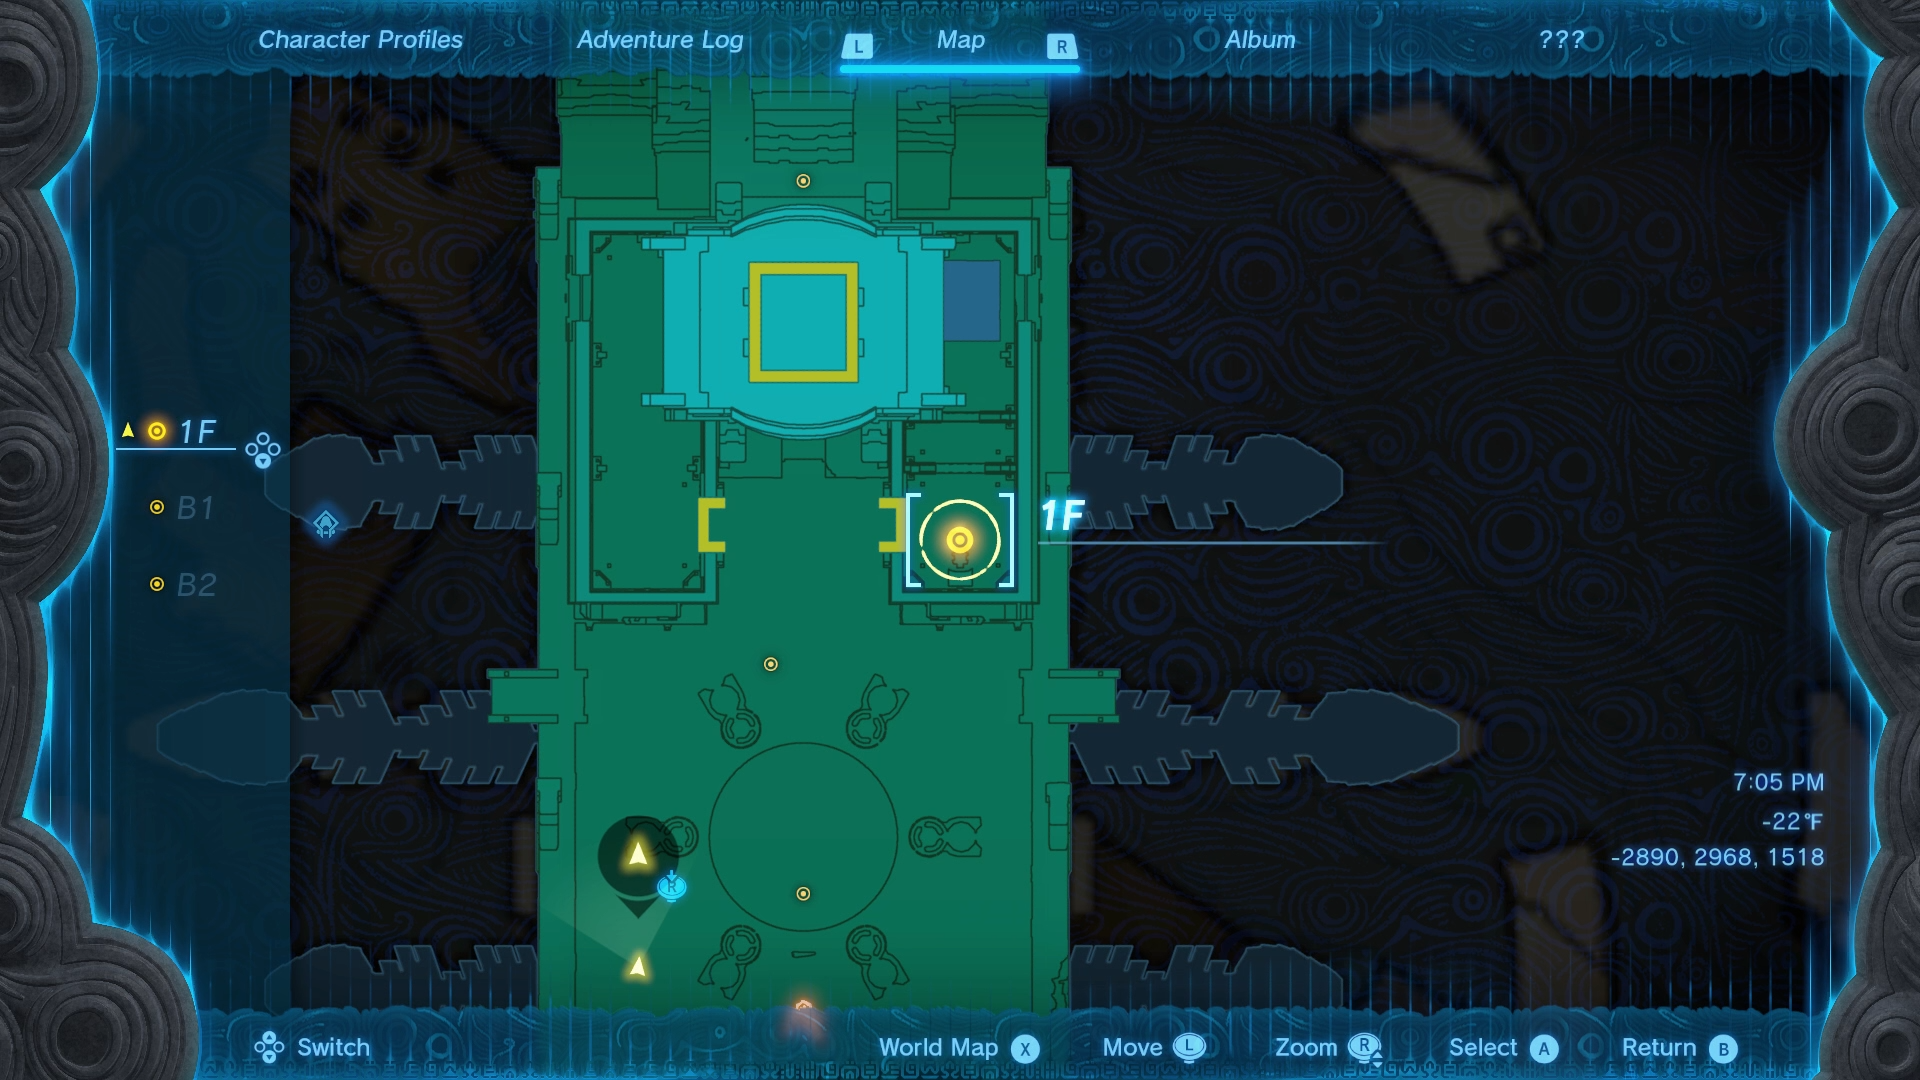
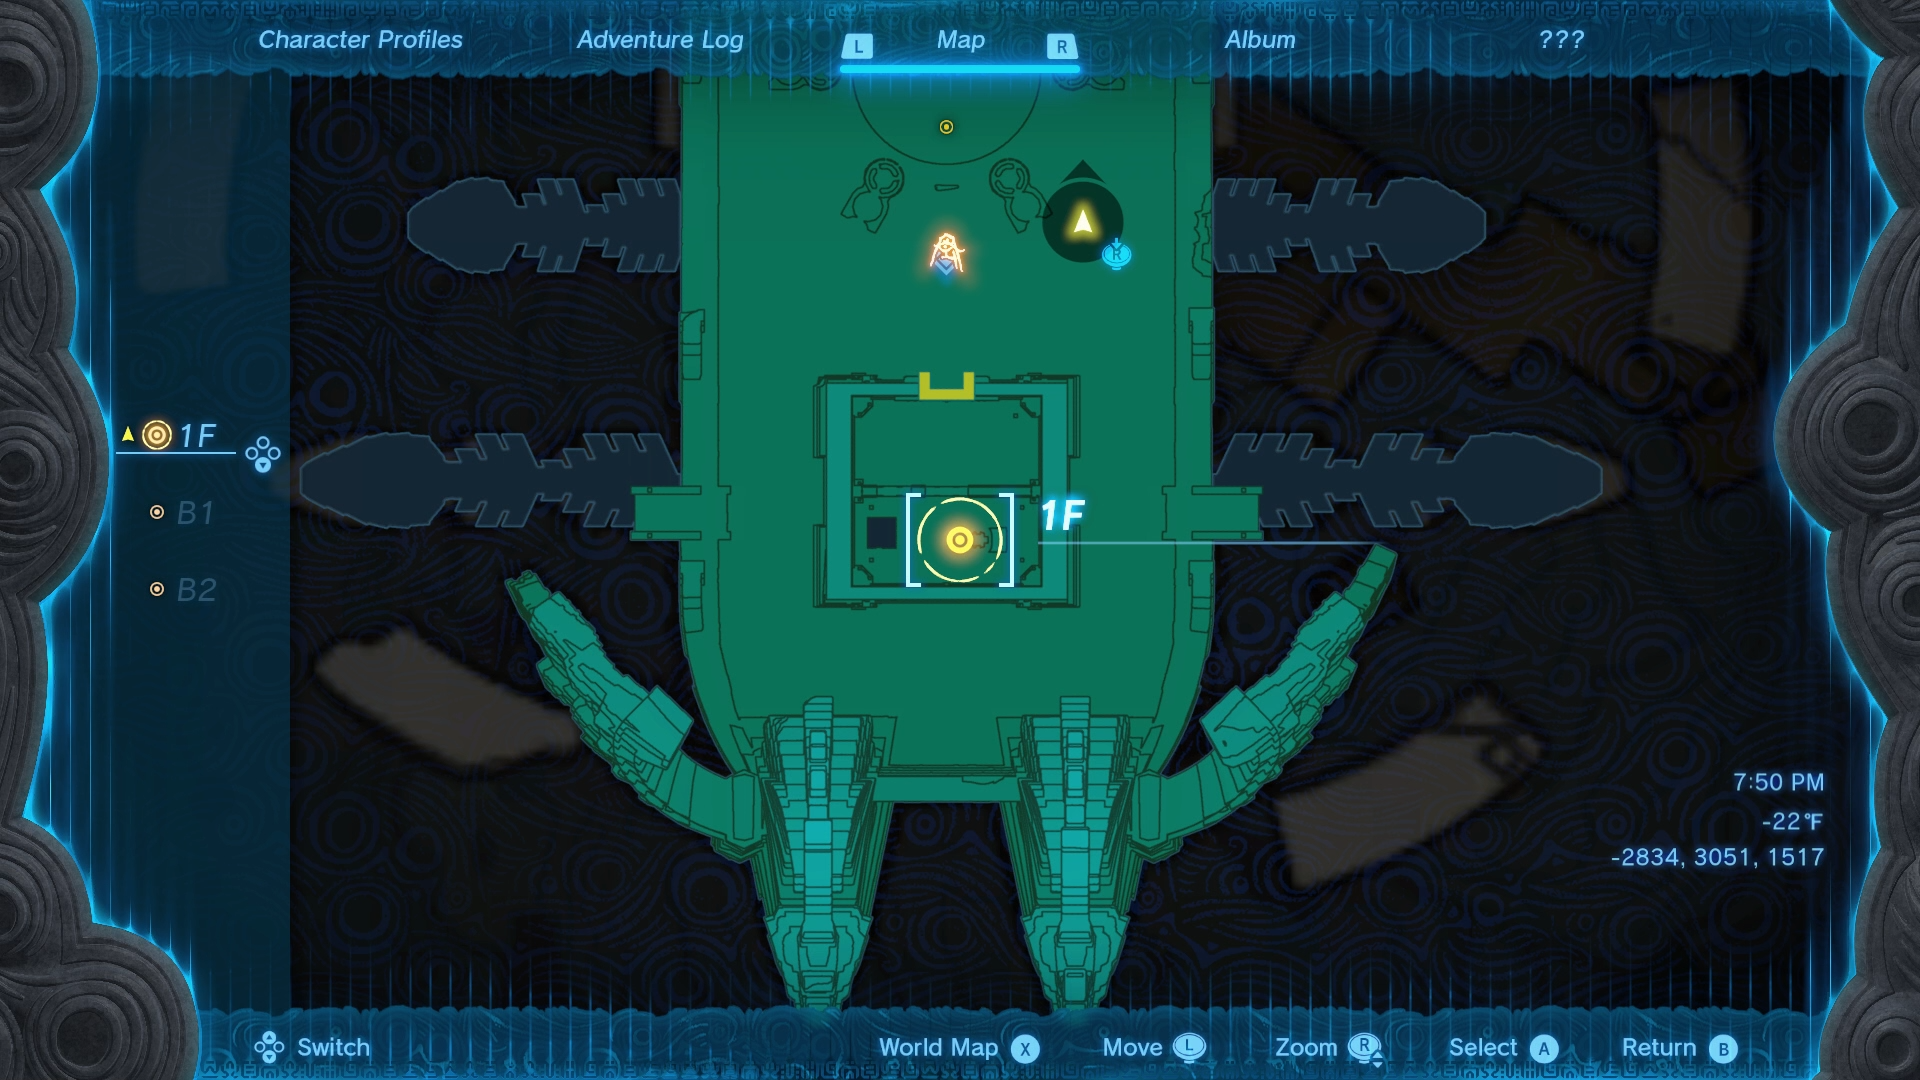
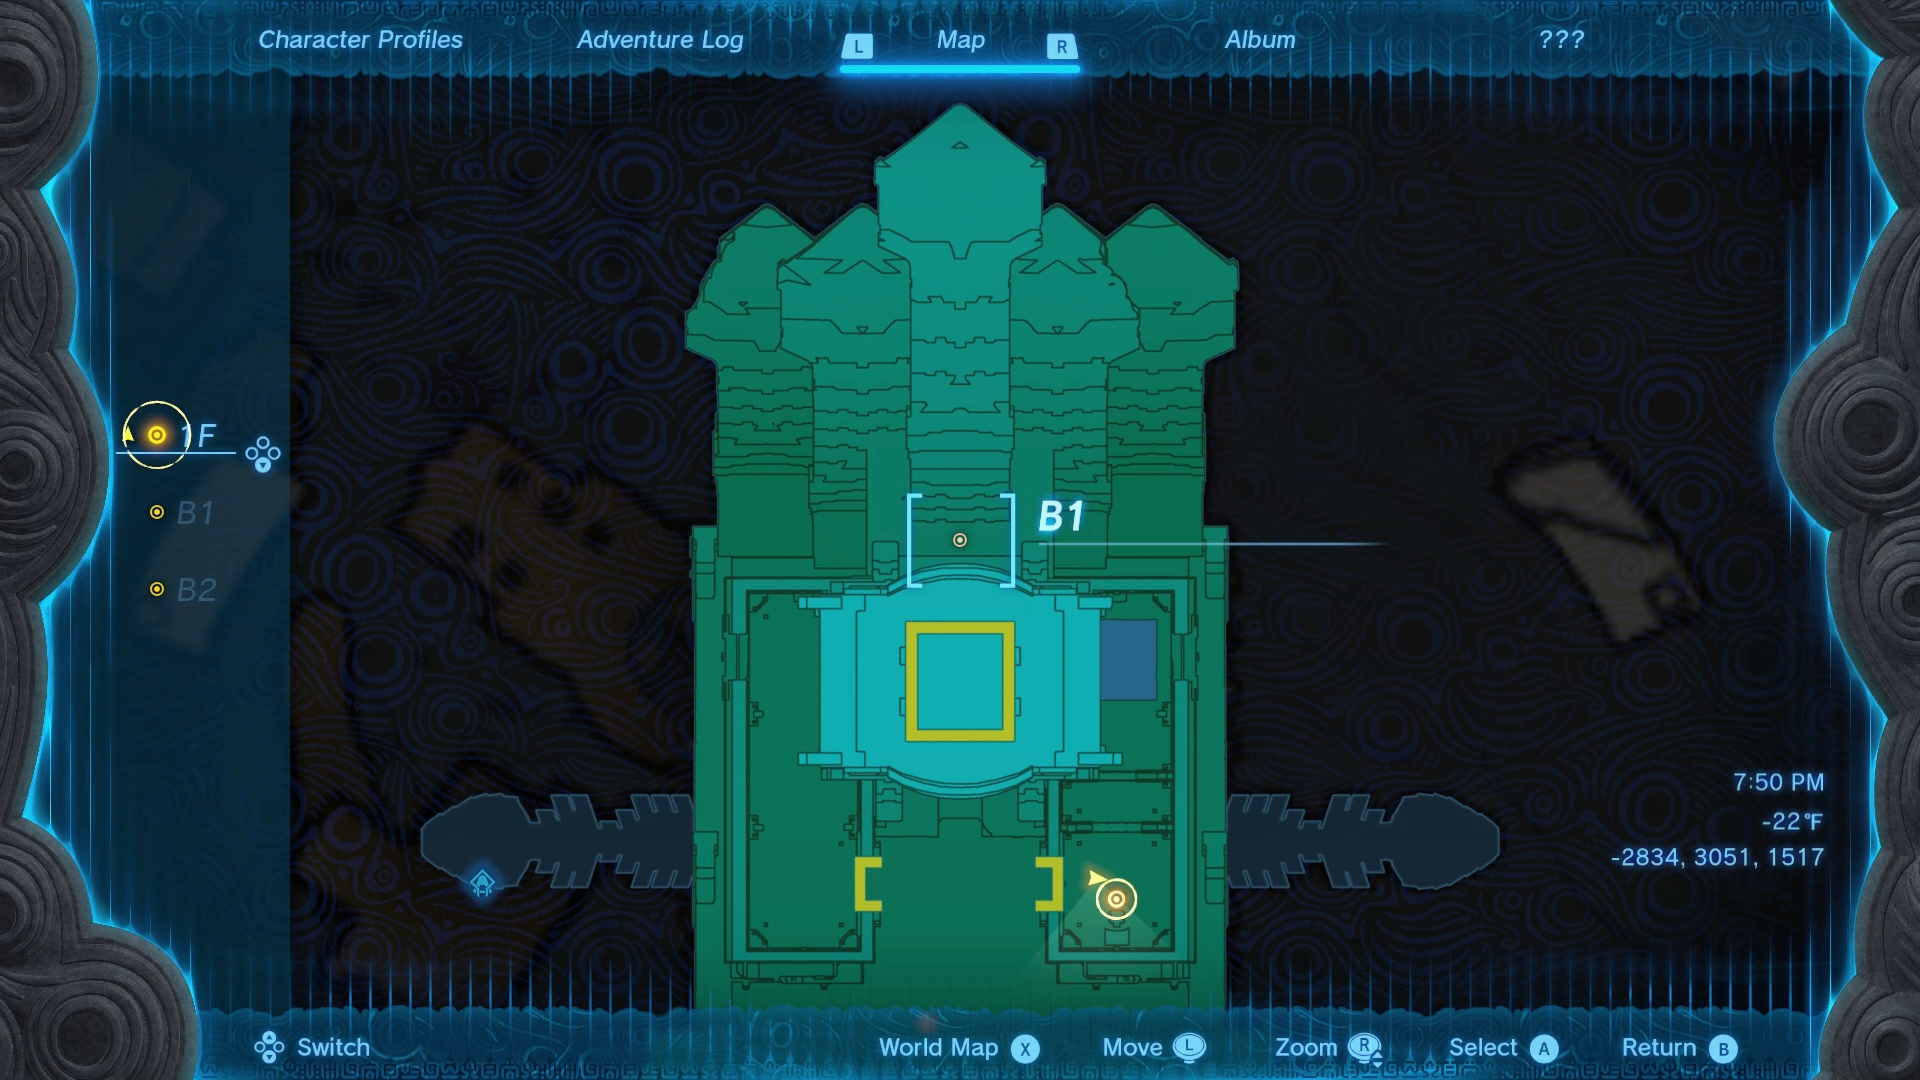
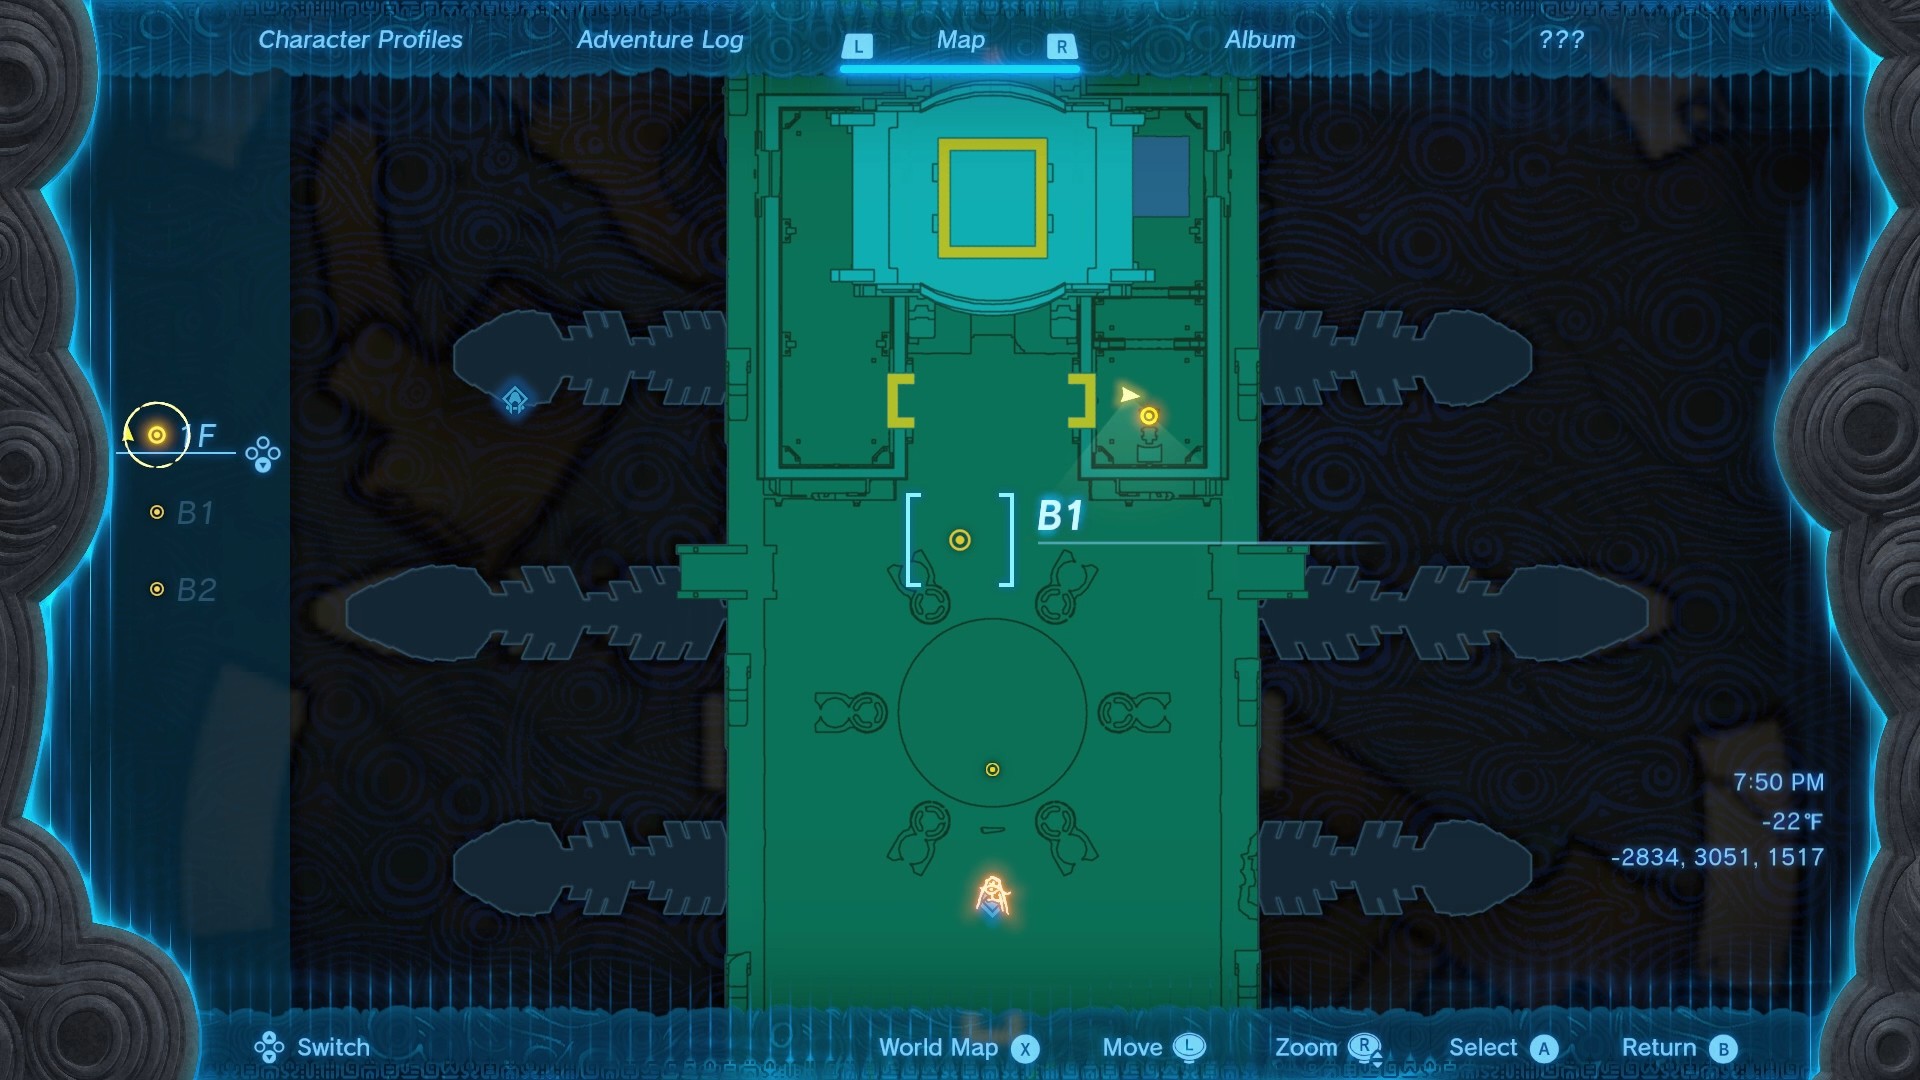
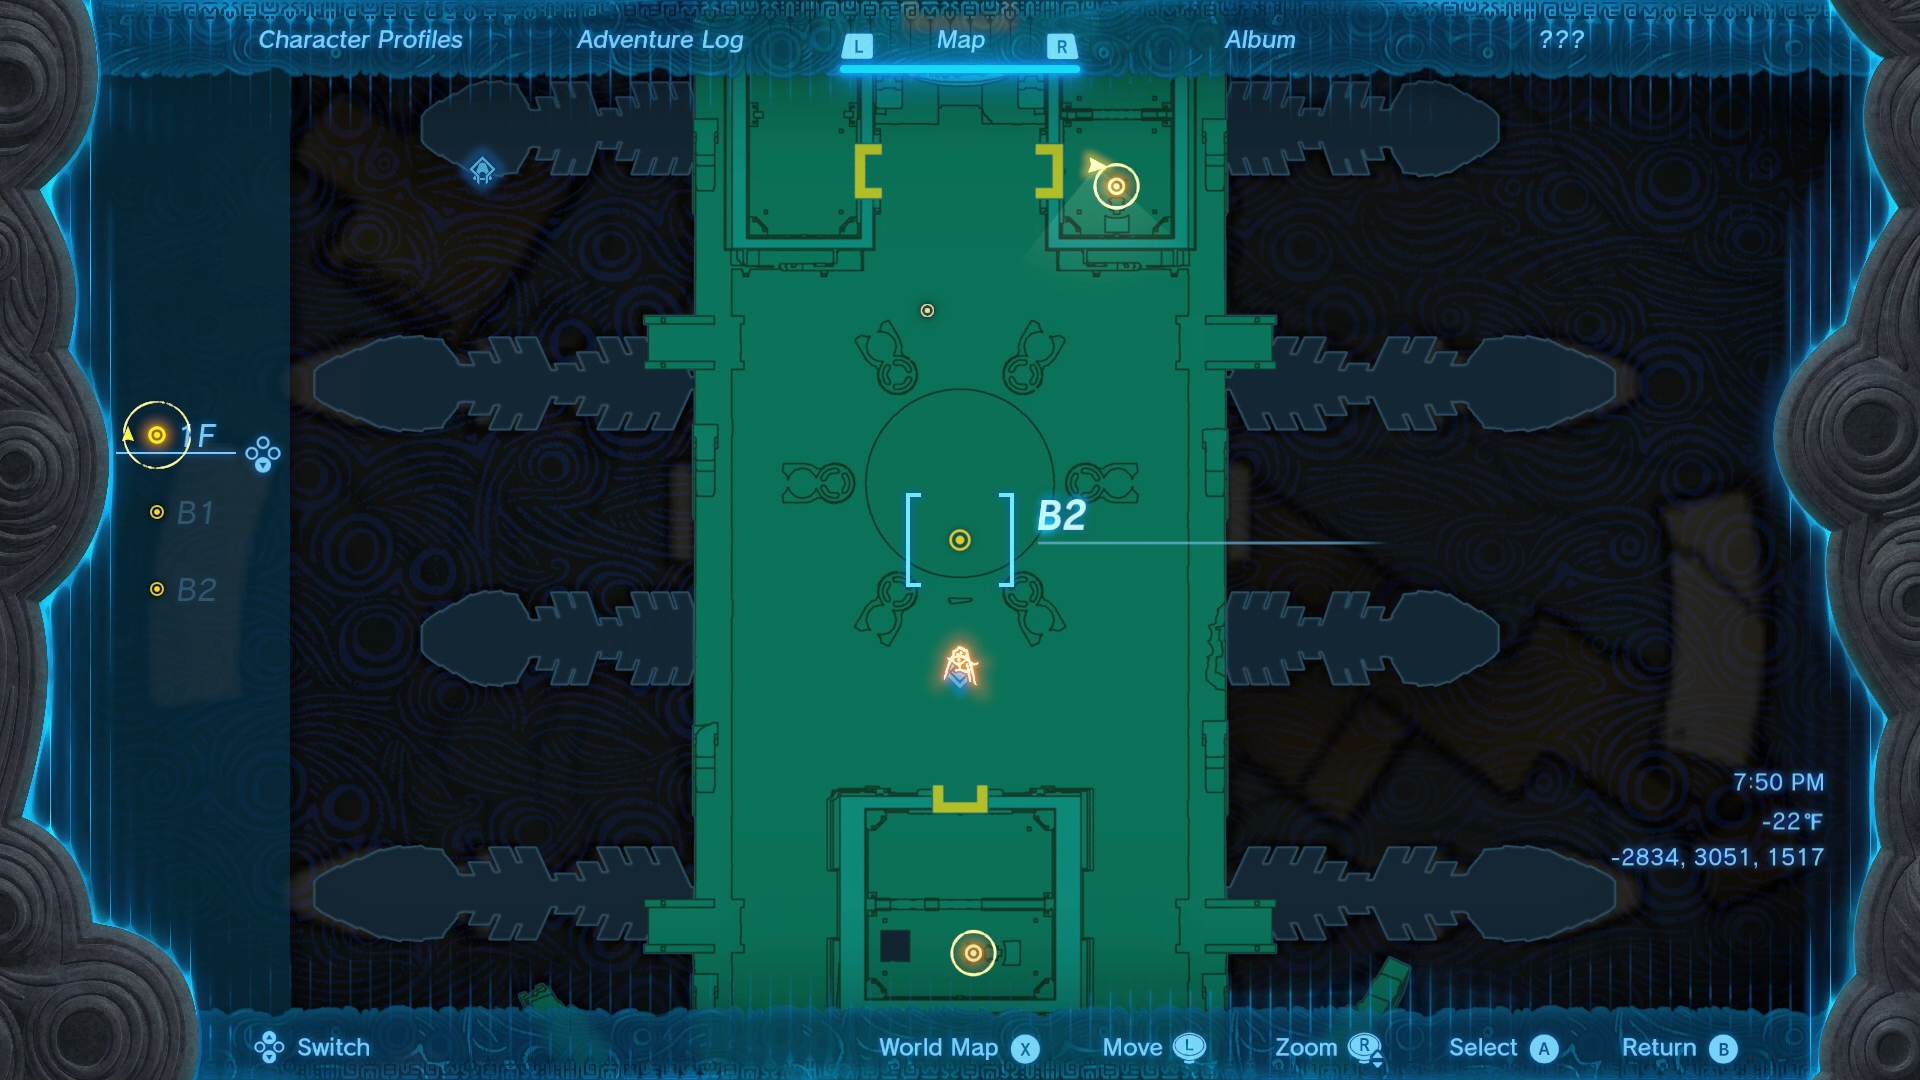
The 5 locks general location can be seen on the players map, highlighted with the yellow circles. There are 3 levels to this map, 1F, B1, and B2, which correspond to the 3 levels of the ship.
1F Lock - Northeast
|
[gallery columns="6" ids="444552,444553,444554"] |
The first lock players will likely want to access is the one located on the main deck of the ship in 1F. This one is locked behind a grate that can be accessed via the lever on the ground to the right of it. Use the Ultrahand ability to fuse an Icicle to the lever and then move it to unlock the door. Use Tulin's Wind gust ability to activate the turbine, unlocking the first lock.
There is a chest in the door opposite to this one on the main deck of the ship.
1f Lock - South
|
[gallery columns="6" ids="444612,444613,444614,444615,444616,444617"] |
The entrance to the 1f Lock South is located on the Western side of the ship. Players need to fall off the side of the ship and paraglide into the opening. Watch out for the flying Keese and Soldier Constructs nearby. There is a chest down the hall to the left behind lasers.
Use Ascend on the archway above to paraglide over the gap. Use Ascend in the following room with the broken ceiling to get to the next puzzle. There is a chest underneath some broken wall pieces.
Use Ultrahand on one of the broken wall pieces to fuse it to the pillar in the ceiling. Rotate fused piece with Ultrahand until the door on the right opens. Use Recall on the object and climb the ladder while the door is open.
Climb the next ladder and watch out for the Soldier Construct before the next Locked Turbine.
B1 Lock - North
|
[gallery columns="6" ids="444556,444557,444558,444559"] |
The entry for this lock is located at the highest part of the ship on the Northern side. It can be accessed by using the paraglider in the middle of the ship to fly high into the air. Use Tulin's Wind gust ability to quickly reach the top of the ship instead of climbing the walls. Watch out for the cannon on the south side, you can use the Recall ability when it fires to destroy the cannon.
Use the Ultrahand ability on the doors at the top to gain entry to the tunnel. Glide down to the north opening, past the lasers to access the lock. Remember to use Tulin's Wind gust ability to unlock this turbine.
There is a chest on a lower level down in this air shaft on the southern side.
B1 Lock - Central
|
[gallery columns="6" ids="444564,444565,444566,444567,444568"] |
The entrance to this lock is on the East side of the ship. You have to jump off the ship and paraglide onto the side entrance, you'll see an opening blocked with ice; attack it to break through. Watch out as there are Keese enemies nearby.
Once inside, grab an Icicle with Ultrahand before using Recall to get past the rotating platform, it will be needed for the next puzzle. The Icicle will melt when it gets close to the fires so try to keep it higher as you move.
After defeating the Sentinel enemy, fuse the Icicle with Ultrahand to the spinning gears. The doorway will open revealing the Locked Turbine to use Tulin's gust ability. Exit with Ascend.
B2 Lock
|
[gallery columns="6" ids="444618,444619,444620"] |
The entrance to this lock is located under the ship and can be accessed from either side. Paraglide to the ships moving paddles near the outer bottom of the ship. Watch out for the cannon, you can avoid it or use Recall on the projectile to destroy it.
Jump off the oar and under the ship and use Tulin's Gust to paraglide horizontally more easily. The Locked wind turbine is guarded by a Soldier Construct. Ascend to the main deck of the ship or unlock the door across the gap.
How To Beat Colgera In TOTK
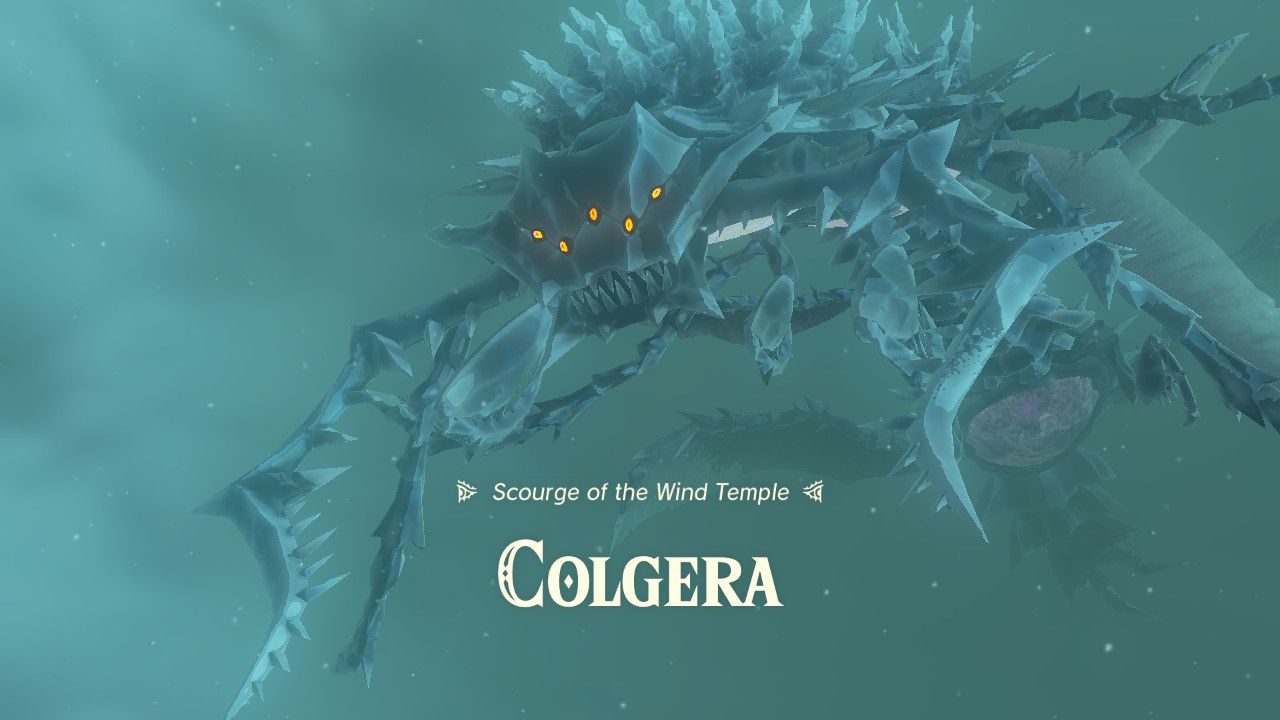
The Scourge of the Wind Temple Boss Colgera has two phases, the initial phase lasts until the boss is at 50% health. You need to hit the exposed areas of the boss, indicated by the Glassy Pink surfaces. The underside of the boss is easier to hit with a bow and arrow as they are already exposed, whereas the top side of the boss has scales that will shoot upward at the player. When the scales are removed, the weak spot on the top side is exposed and can be hit with a melee weapon.
Breaking the weak zone requires three attacks, the final dealing damage to the boss. When the final blow for the weak zone is dealt the boss will fly into a void zone and reappear under the player.
TIP...Save Tulin's Gust of Wind ability to avoid the bosses vertical attack when it reappears. |
Once the 3 pink weak zones have been exposed and broken, the second phase begins.
Phase 2 Colgera Boss Strategy
[gallery columns="6" ids="444630,444631,444629,444632"]
You'll need to watch out for the bosses new attack pattern here, the tornados deal damage and will knock the player down briefly. The best way to avoid them is to paraglide above them or use Tulin's Gust ability to attempt to go between the gaps.
The Wind Temple Lock Puzzles and Boss Battle aren't too difficult if players come prepared with cold resistance gear or food. The Glide Shirt is also a good item to have for the temple as there is a fair amount of falling involved that is made easier by its bonus attributes. Using a Keese Eyeball with arrows is also a great way to make hitting the weak zone of Colgera easier

